
As a sewing beginner, I thought front slash pockets would be hard to make. But it turns out it’s easier than patch pockets!
Here’s a simple way to add front pockets while sewing a pair of pants (and skirts).
How to sew front pockets: Step-by-step guide
Cut out the pocket fabric
Decide how big you want your pockets to be, and cut the pocket fabric so that it’s twice as long side ways, and the desired depth down ways.

I wanted rectangular pockets that were 15cm wide and 25cm deep (including seam allowance), so I cut out two 30cm x 25cm rectangles.
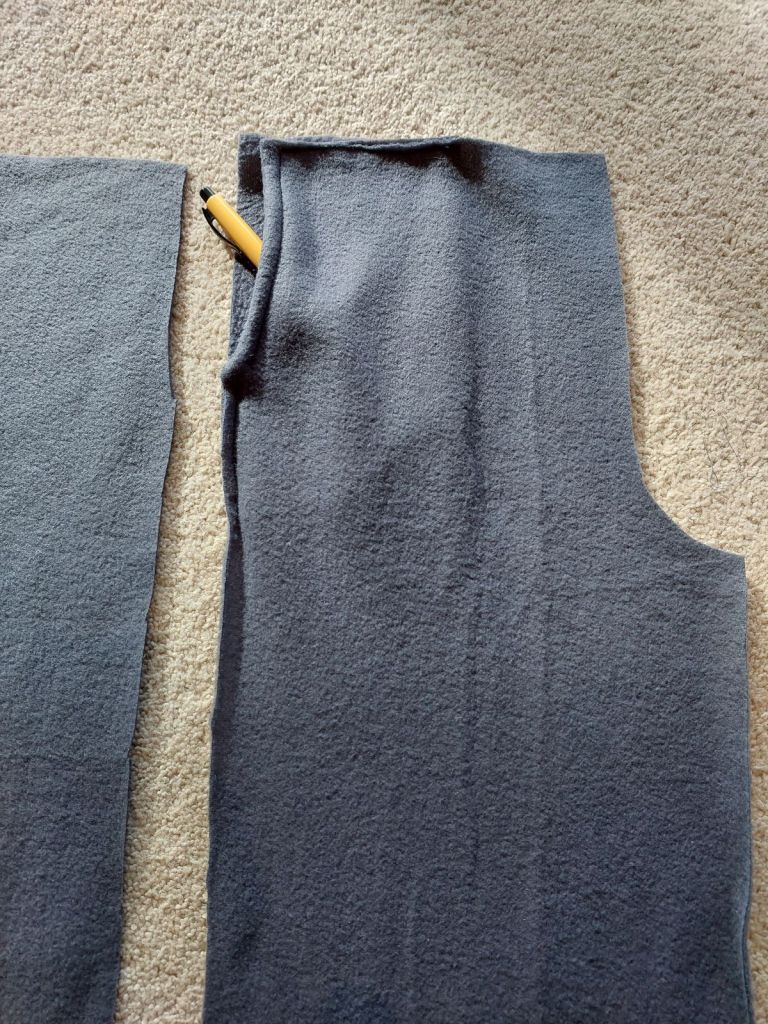
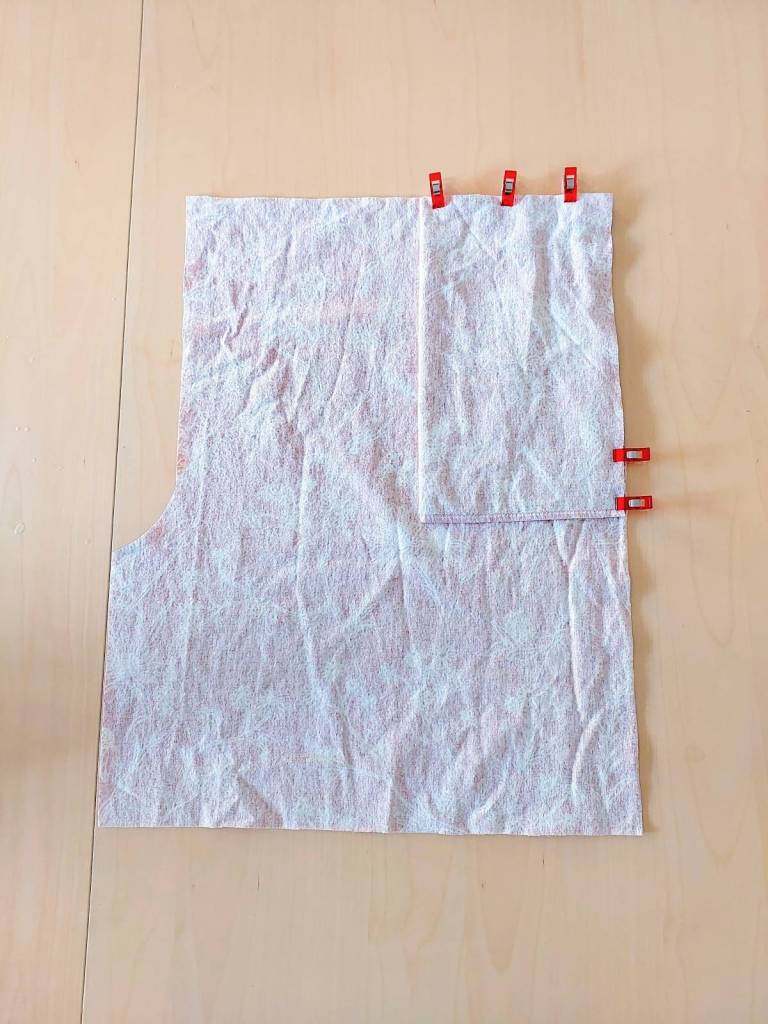
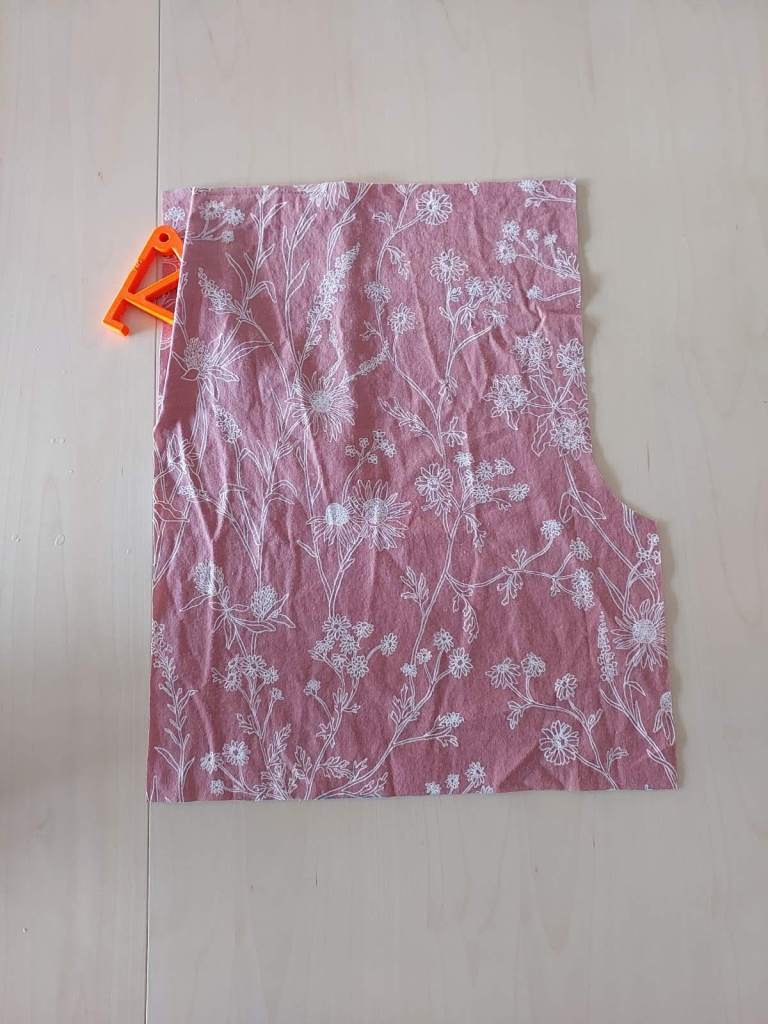
Align the pocket fabric to the outer edge of the pants fabric, right way out, and cut both fabric to shape the pocket opening.


It’s a bit hard to see the right and wrong side of the fabric with this fleece, so I’ll add photos of this floral shorts version.

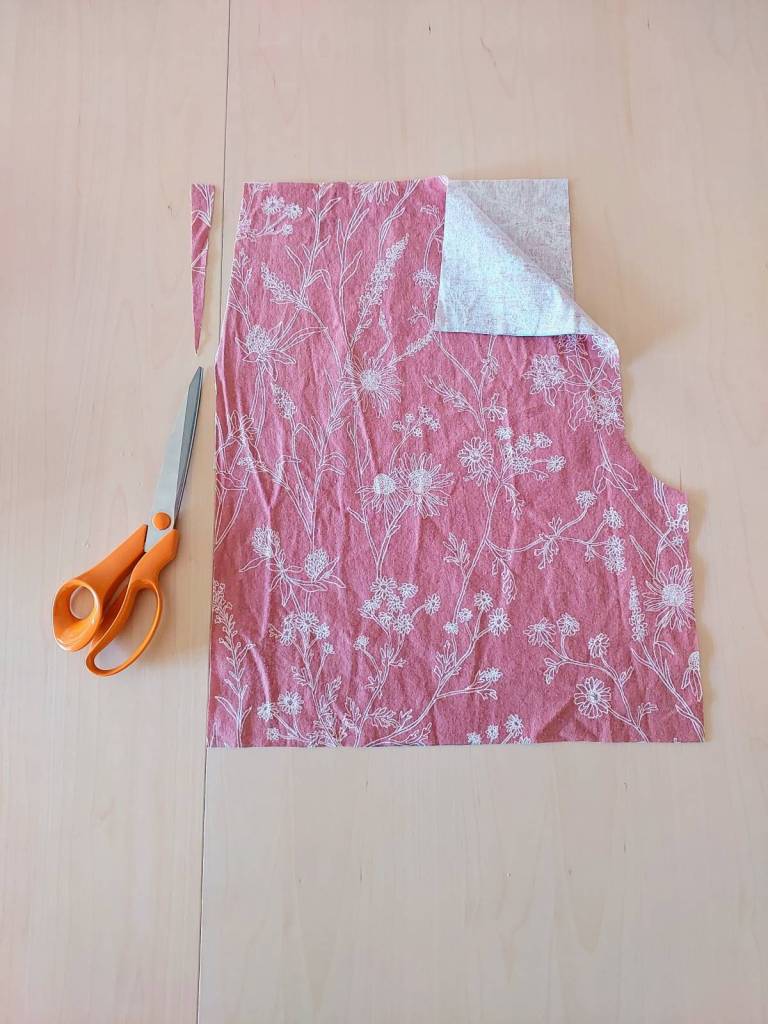
I cut a diagonal line (approx 17cm long and 2cm wide) to make a straight pocket opening, but it can be a curved line if preferred.
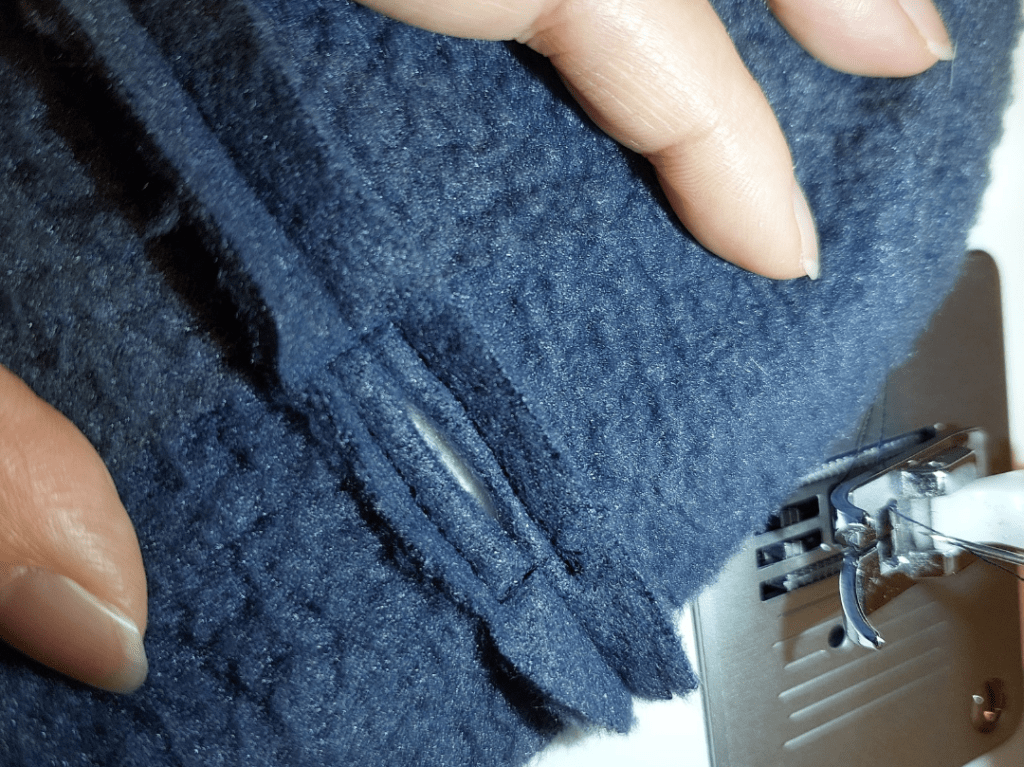
Sew the pocket opening
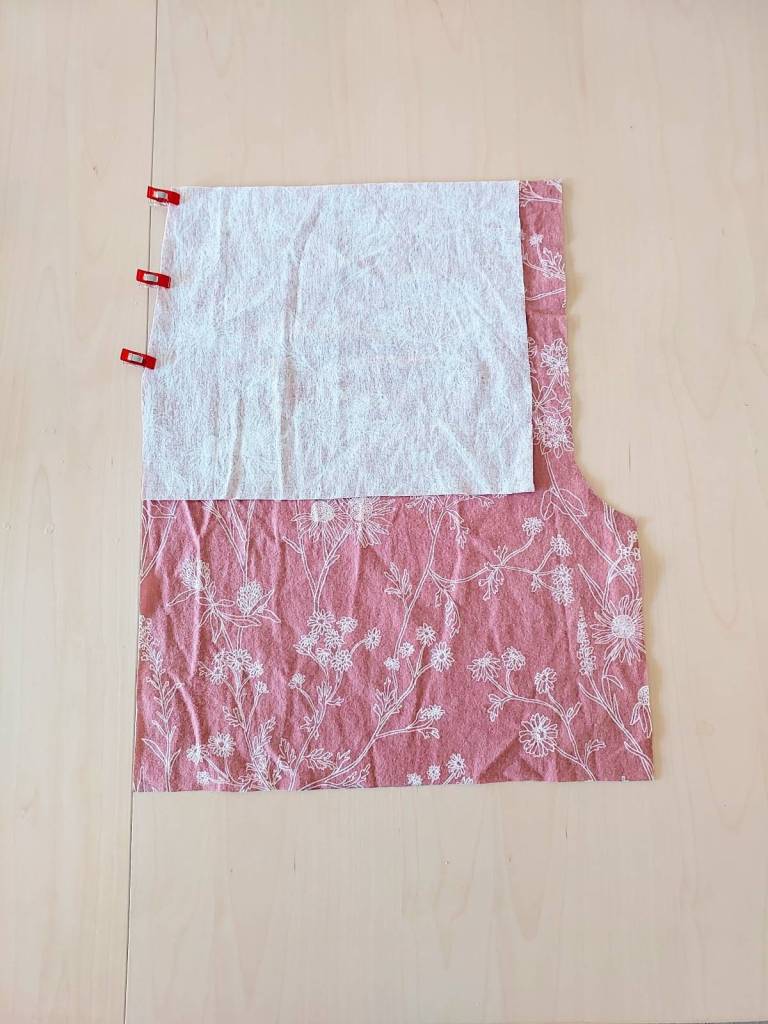
Turn the pocket fabric over, like turning a page of a book, to place the pocket on top of the pants so it’s inside out. Sew along the pocket opening edge.
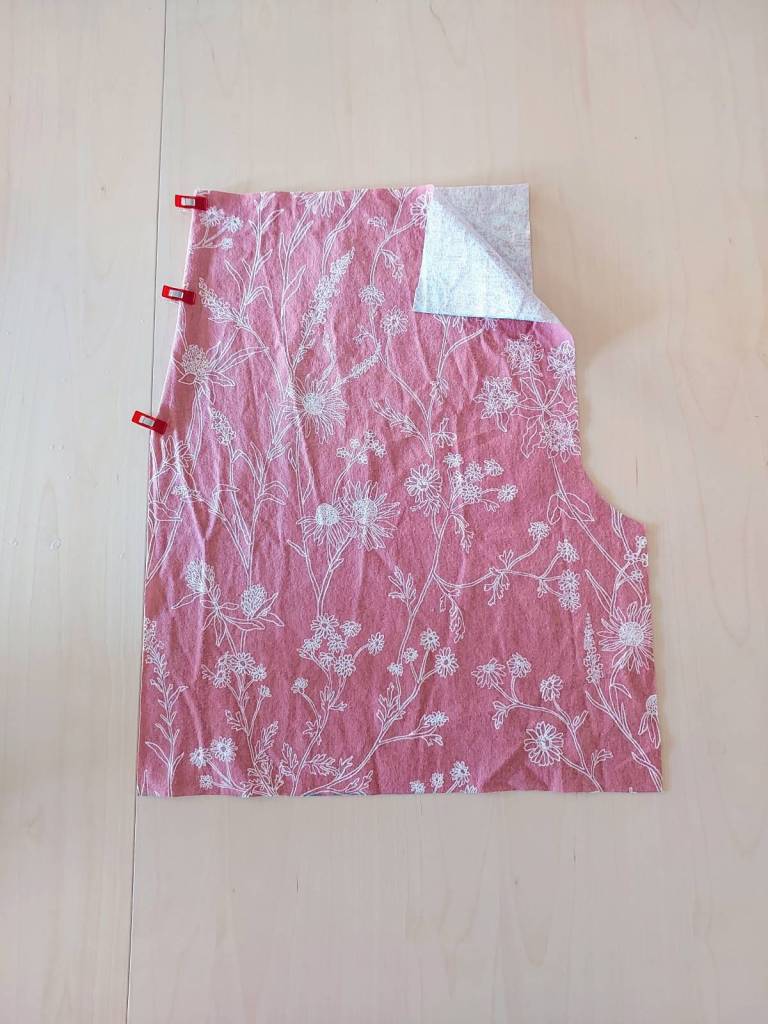
Turn the pocket fabric over (again, like a page of a book) back underneath the pants fabric, so that they’re right side out. Secure the pocket opening with another stitch.


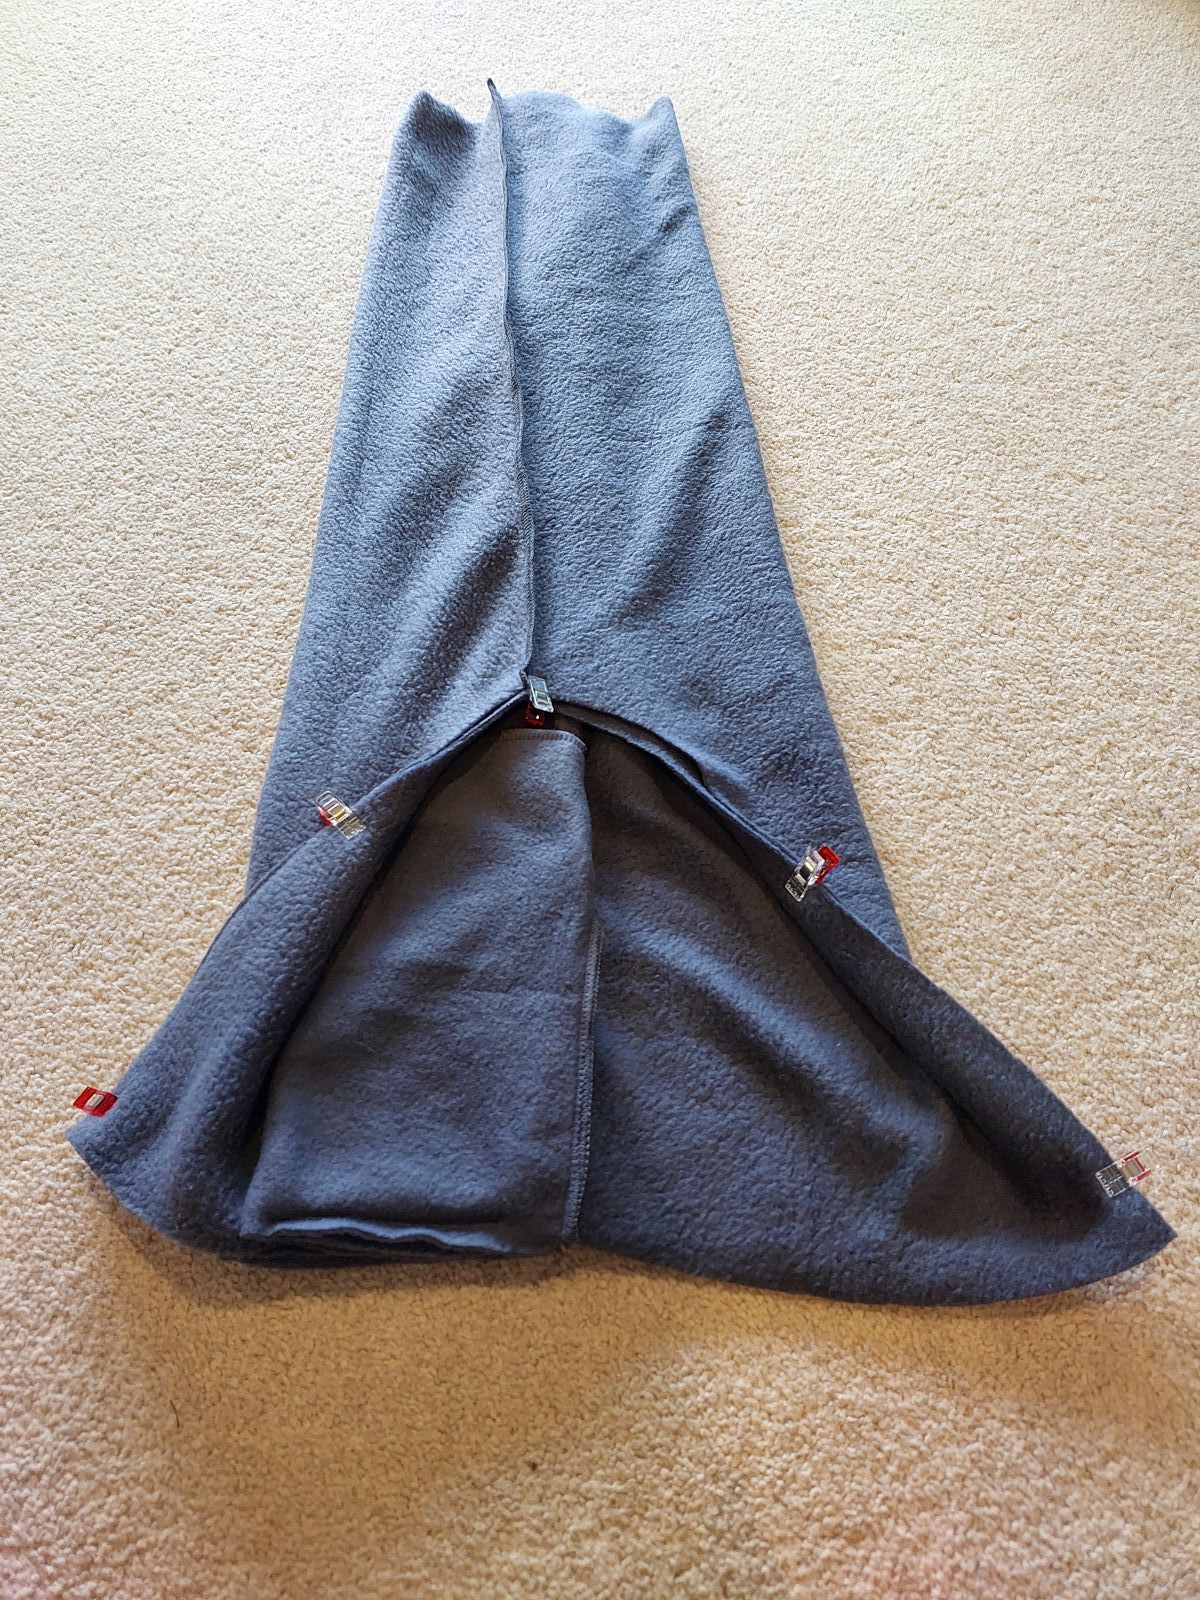
Serge the pocket’s bottom
Fold the pocket fabric in half, right way out. The un-sewn edge of the pocket will extend beyond the pocket opening edge.
Fold the pants fabric out of the way, and serge the bottom of the pocket.


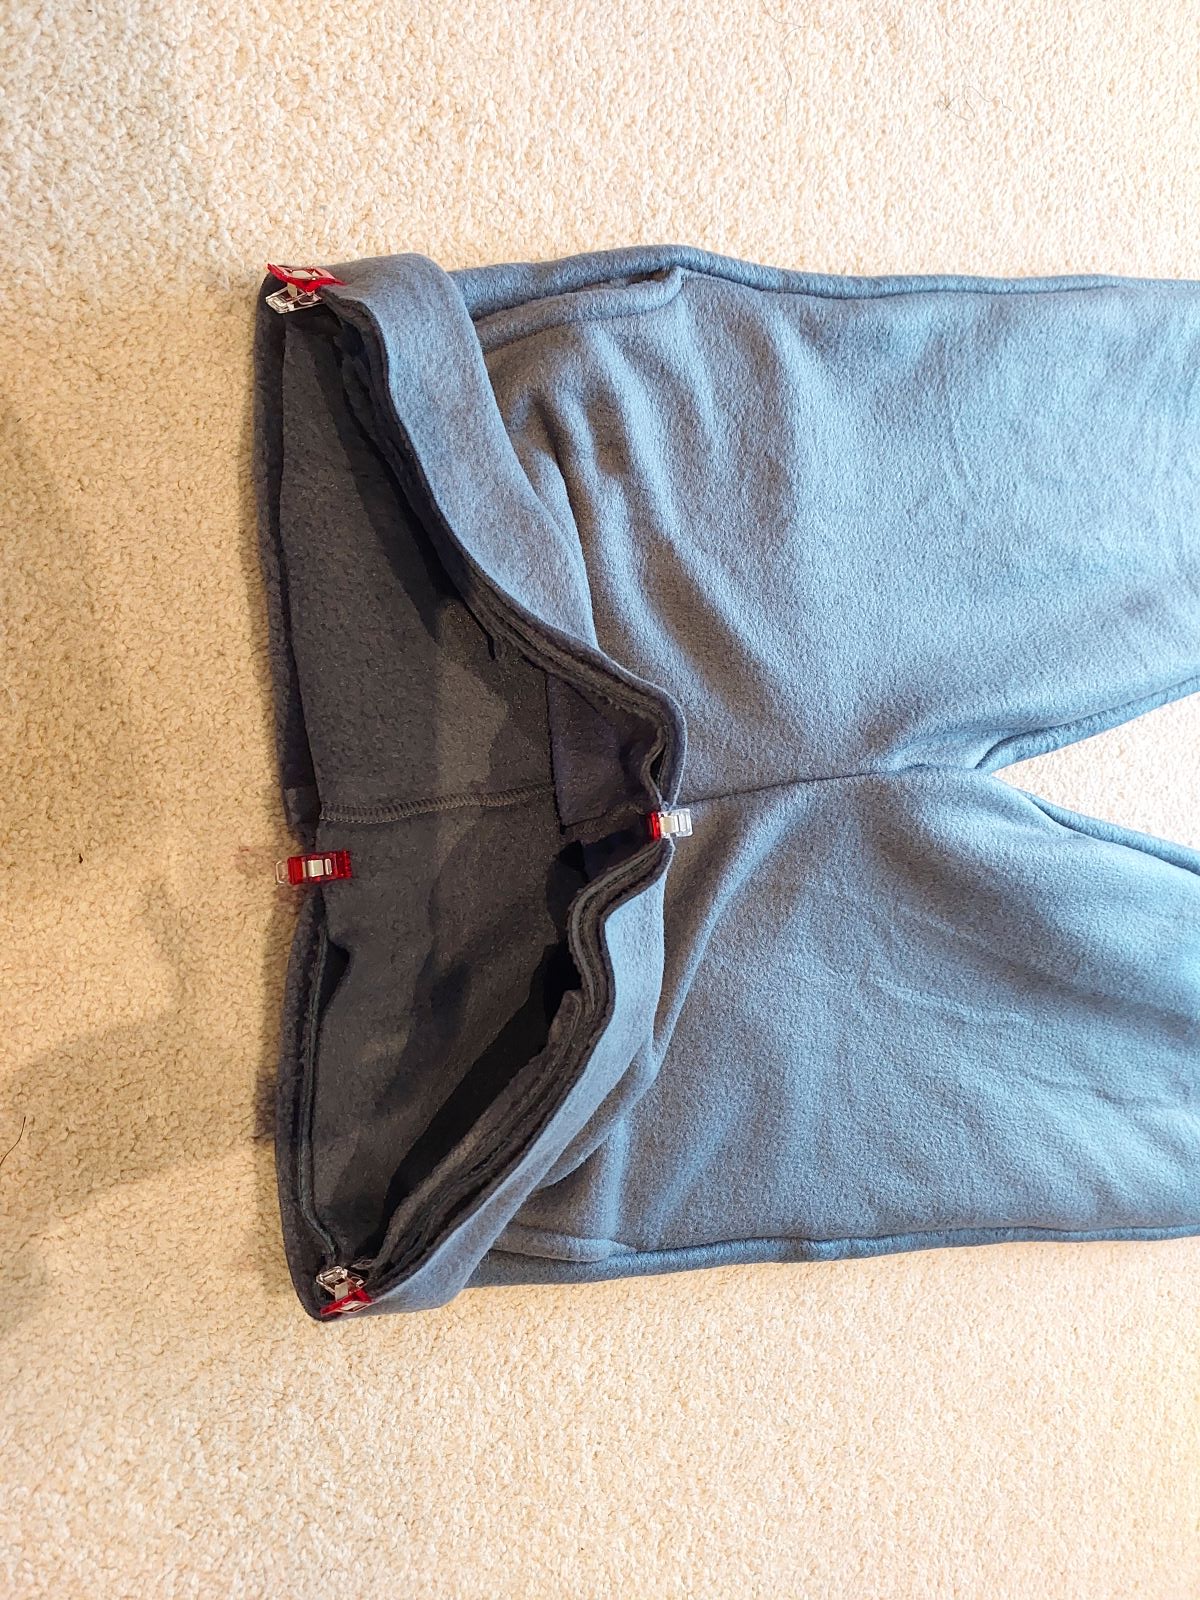
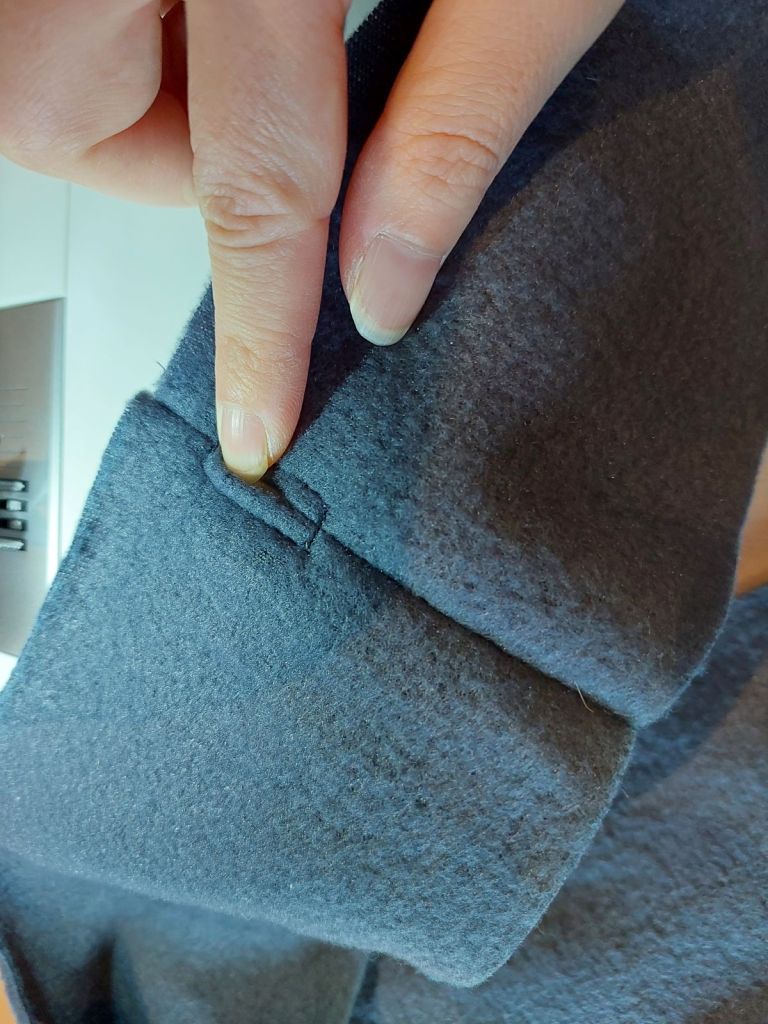
Secure the pockets in place
Sew along the top of the pocket. This edge will be serged with a waistband to the top of the pants.
Sew along the side of the pocket, avoiding the pocket opening. This edge will be serged with the back quarter of the pants along the outer edge.


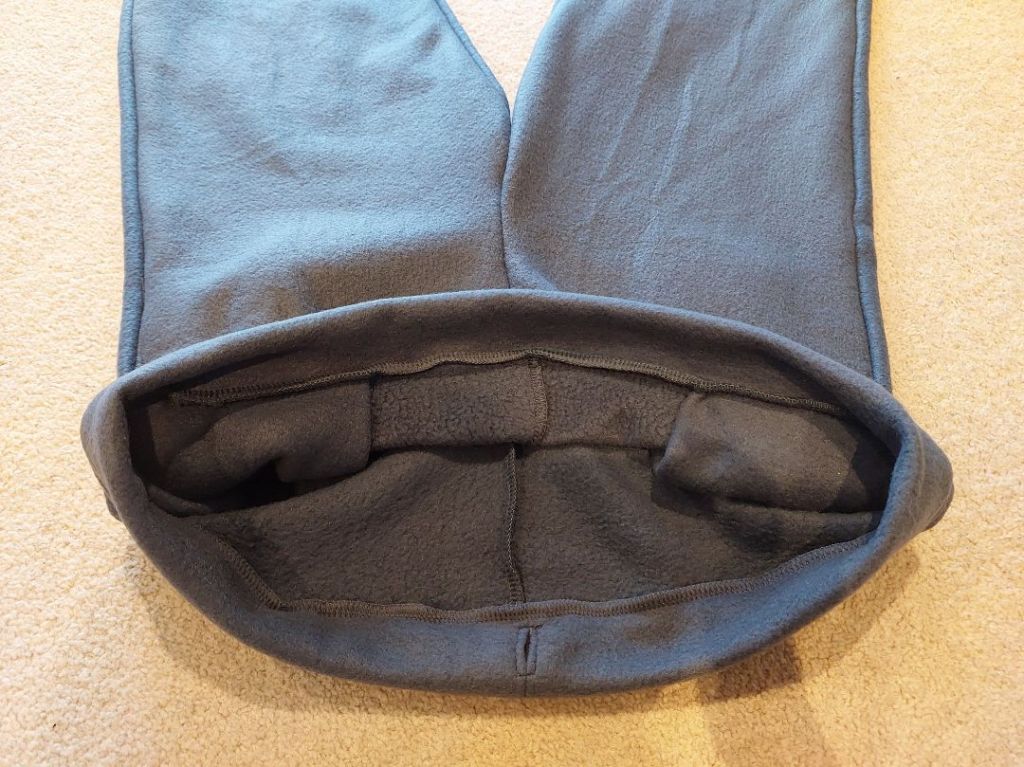
Sew the rest of your pants
Once you repeat the above steps for the other leg, you can sew the pants panels together. (Details in another post.)


Tips for sewing waistbands
It’s nice to have elastic casing (for waistbands and cuffs) with a permanent opening. This allows easy adjustment of elastic later, as well as easy replacement when the elastic degrades over time.
To make a casing with easy access to the elastic:
Cut the casing fabric so that the length matches where it’ll be sewed onto, and the height is double the end result + 2cm.
Fold the fabric in half to make a loop, wrong side out. Using a lock stitch sewing machine, sew the loop closed, leaving a gap long enough for elastic to be inserted, 1~2cm from the top. (The center point where it’ll be folded should be sewed closed.)


Open the seam and sew a rectangle around the gap.
Fold the casing in half, right way out, and serge it to the waist (or cuff).


Sewing pattern used
The pattern used to make these pair of pants was below, which fit me well being a size 8.
(I was going to add cuffs to adjust the length at the end, but didn’t end up wanting more length.)
I took the average of three of my comfy pants for the measurements, then drew directly onto the fabric with a ruler and posca pen.


Helpful videos
Sewing Bunny has a step by step video of how to sew pants pockets. 😃


Leave a Reply