These adorable Astronaut & Earth earrings are made by drawing, cutting, then heating and shrinking a sheet of plastic. Follow the step-by-step guide, with a free downloadable template included.
Here I’ll be sharing:
1-minute making video
I’ve sped up my making video so that you can see the whole process without getting too bored – you don’t need to learn how to use pen and scissors 😉
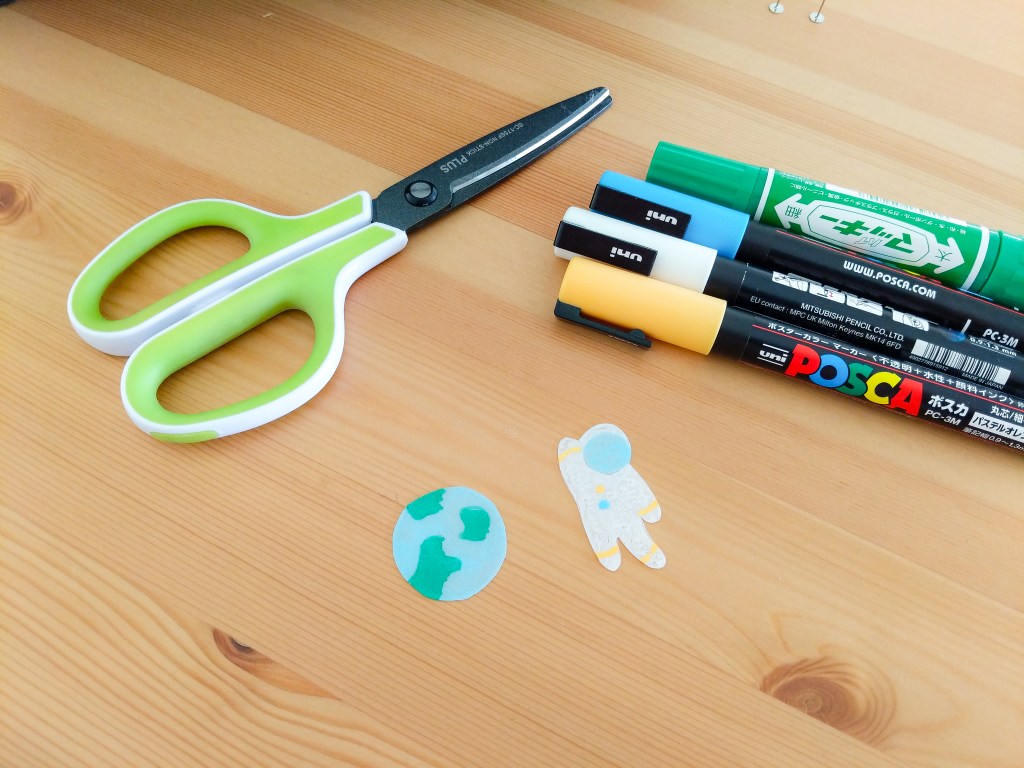
What you’ll need
- Sanded shrink art plastic sheet
- 2x earring stud posts & backings
- Coloured pencils or markers
- A pair of scissors
- An oven or hot sandwich press
- Baking paper and foil tray
- A pair of winter gloves – to protect your hands from heat
- A hard-cover book or notepad – or anything hard and flat
- Glue (eg. craft glue, super glue or resin)
How to make Kei’s Space Stud Earrings
How-to video
Step-by-step instructions (with photos)
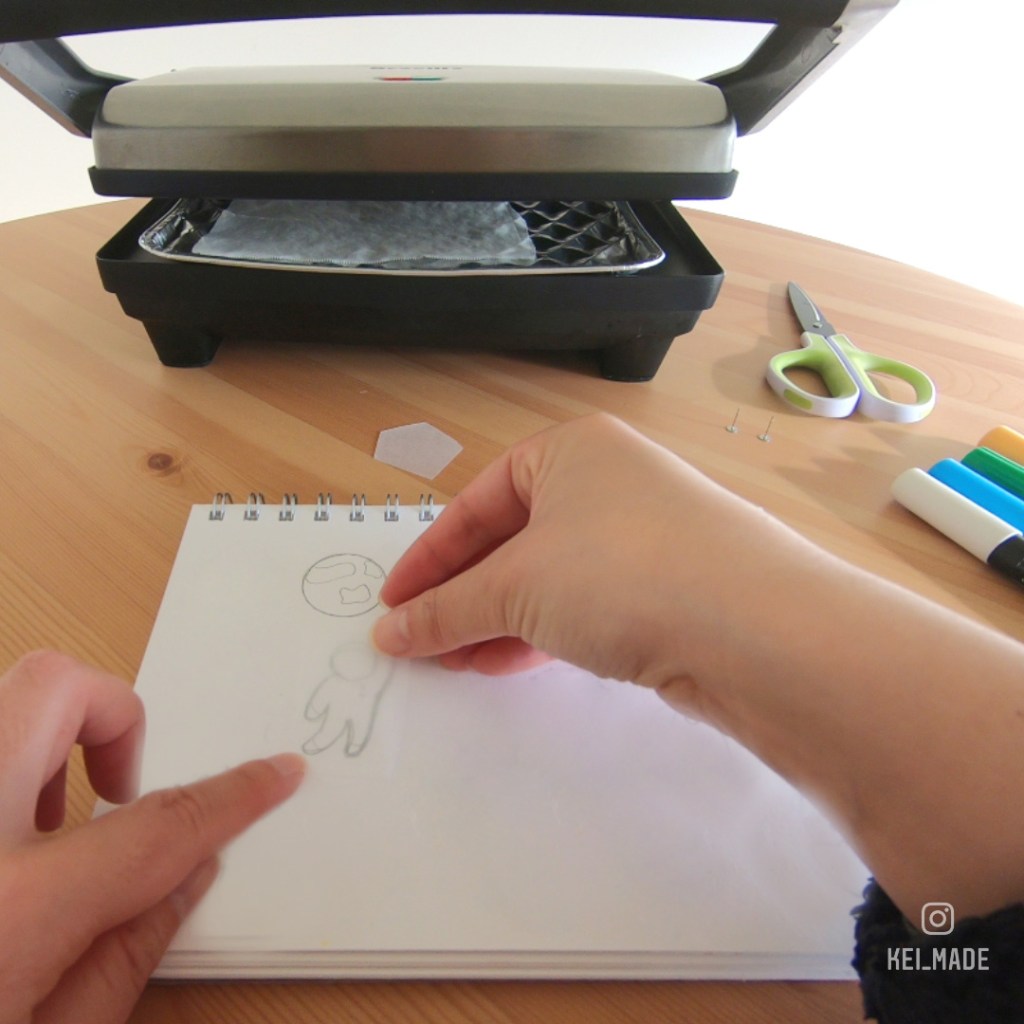
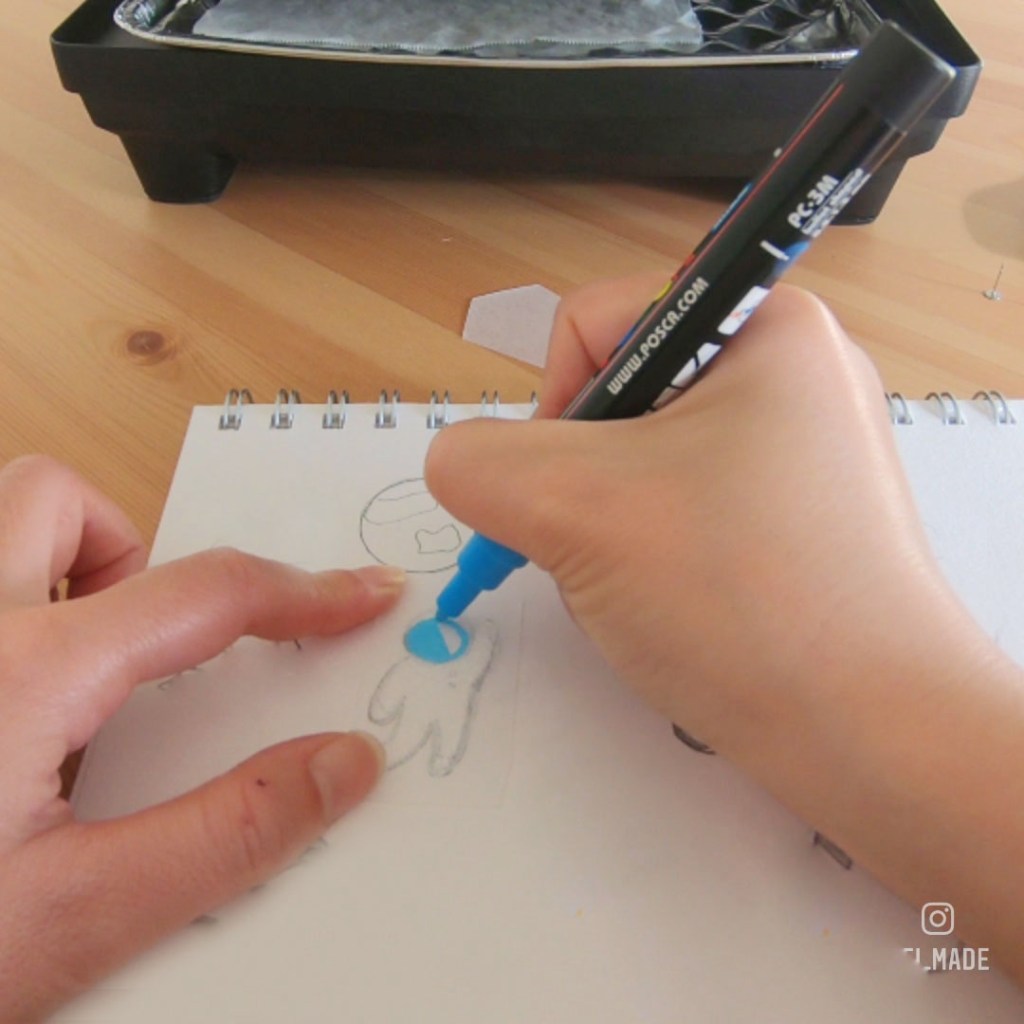
1. Trace/Draw the astronaut illustration onto the rough side of frosted plastic, and colour it in using permanent markers, textas, paint markers, crayons, or coloured pencils.
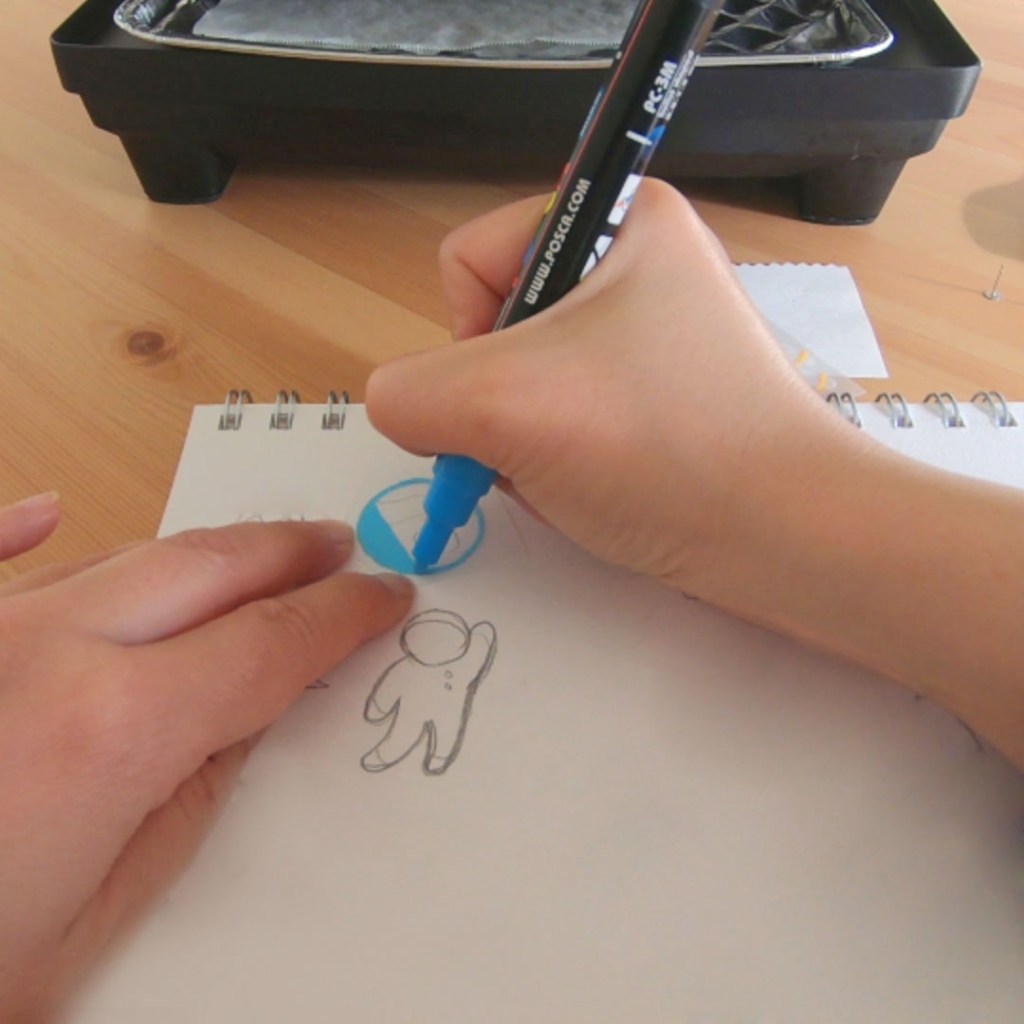
If you’re using permanent or paint markers, it’s a good idea to blot in between colours using a piece of scrap paper. you can also add details like buttons and cuff lines on the reverse (slippery) side of the plastic. If you’re using coloured pencils or textas, you’ll need to complete colouring in on the rough side of the plastic only.

2. Trace the earth illustration onto the rough side of frosted plastic and colour it in. If you’re using markers, you can colour in the continents on the reverse (slippery) side of the plastic. If you’re using coloured pencils or textas, you’ll need to colour both the sea and land on the rough side.


3. When you’re done colouring, cut them out using a pair of scissors.

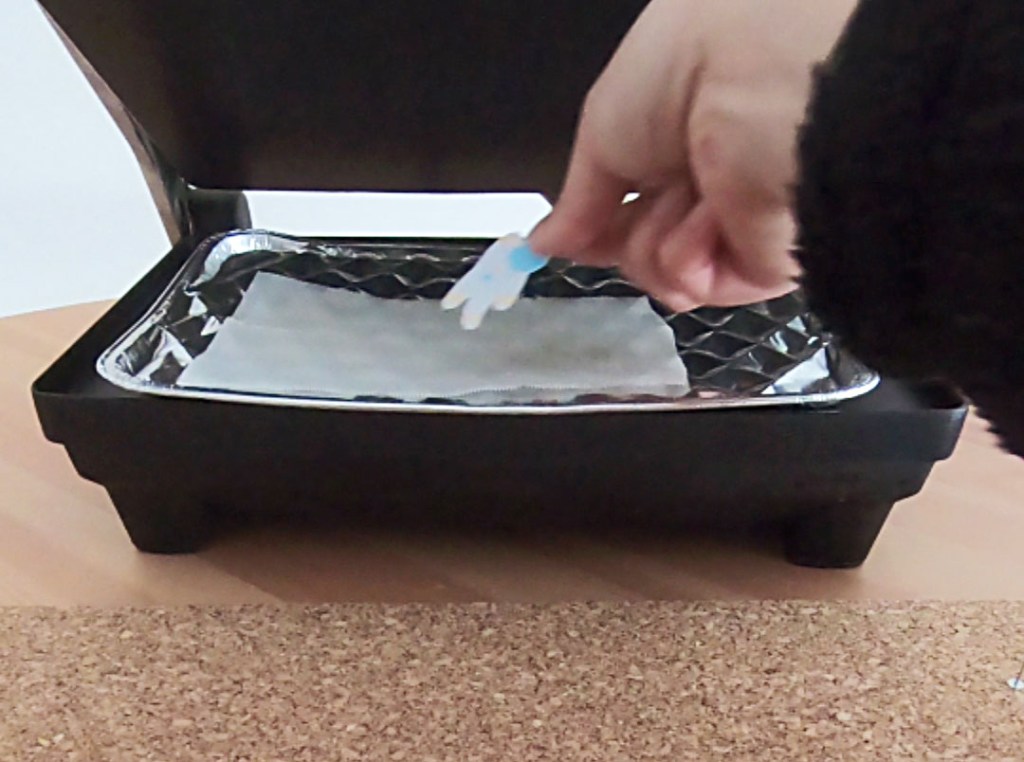
4. Put your winter gloves on, as in the you’ll be touching hot things. In the hot sandwich press (or heated oven), place a sheet of baking paper on top of a foil tray, and place your astronaut on top. (If you don’t have a foil tray, you can scrunch up some aluminum foil and gently straighten it out – It’s to prevent your plastic from burning by touching hot plates.)
If you’re using a hot sandwich press, close the lid but keep about a 3cm gap so the top plate doesn’t touch your charm. If you’re using an oven, you can close the door completely.
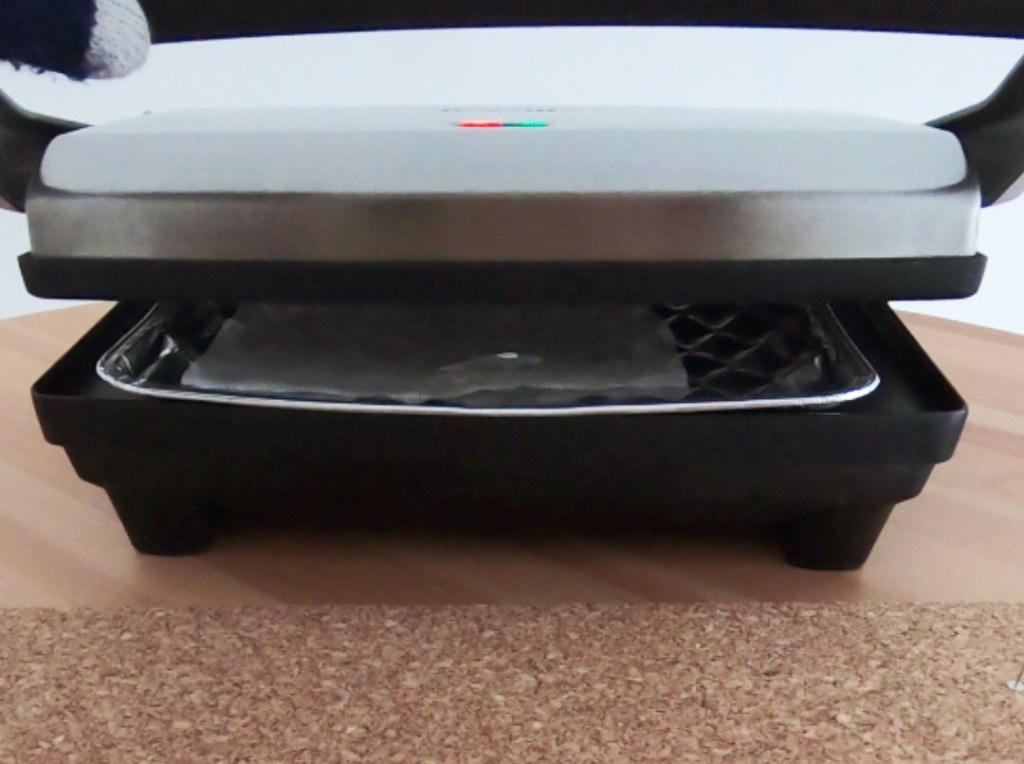
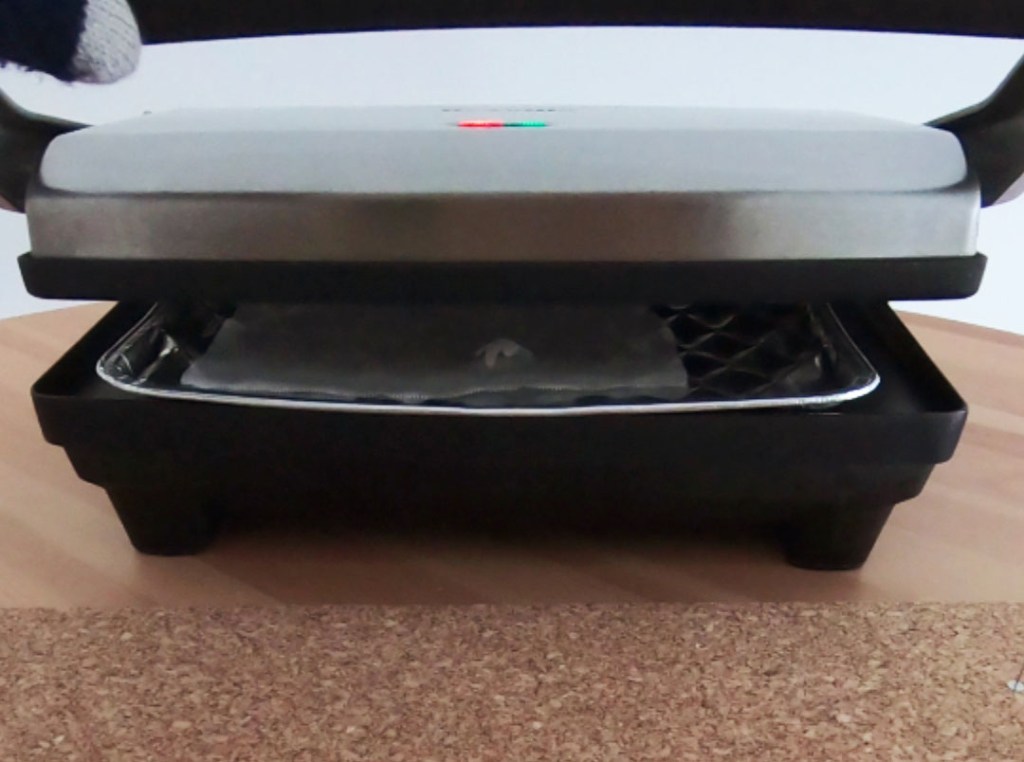
5. Watch your charm shrivel and shrink. This process should start within a minute, and will be over in several seconds.
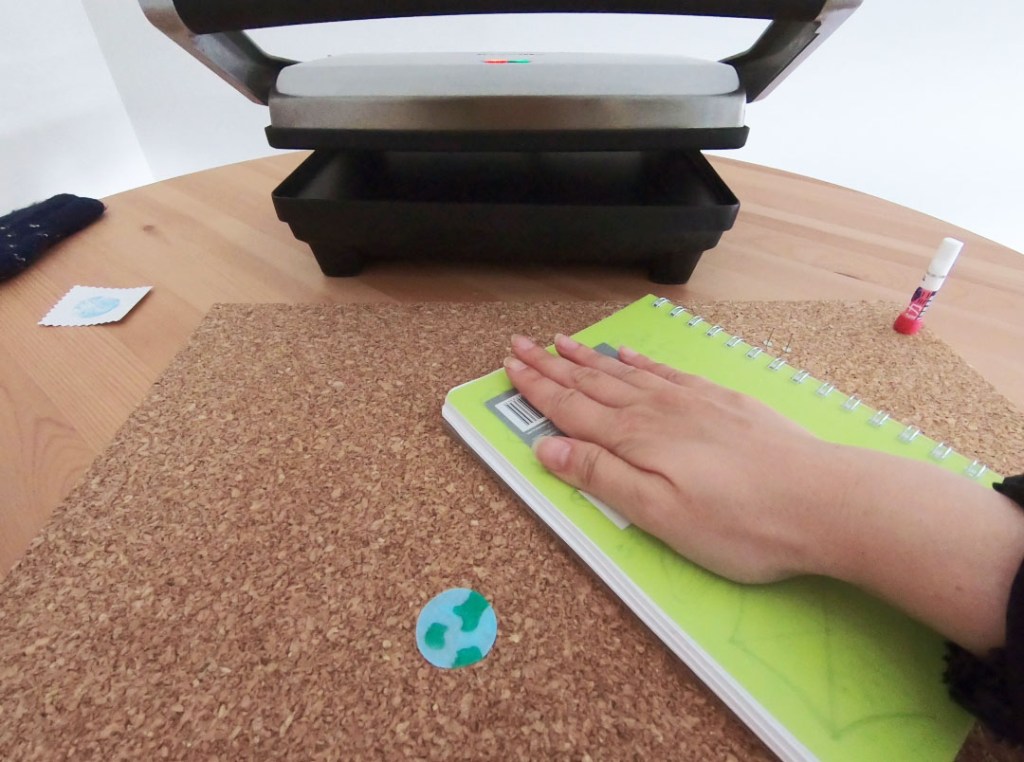
When your charm has stopped shrinking, take it out of the sandwich press (or oven), and press on it with something hard and flat – I used a hard cover notebook – to flatten it.

6. Repeat to shrink your earth charm. Then, your astronaut and earth charms are ready to become earrings!


7. Using super glue or craft glue, glue on the earring studs to your charms. It’s best to avoid gluing them onto the centre so that they’ll fit on your ear lobes.

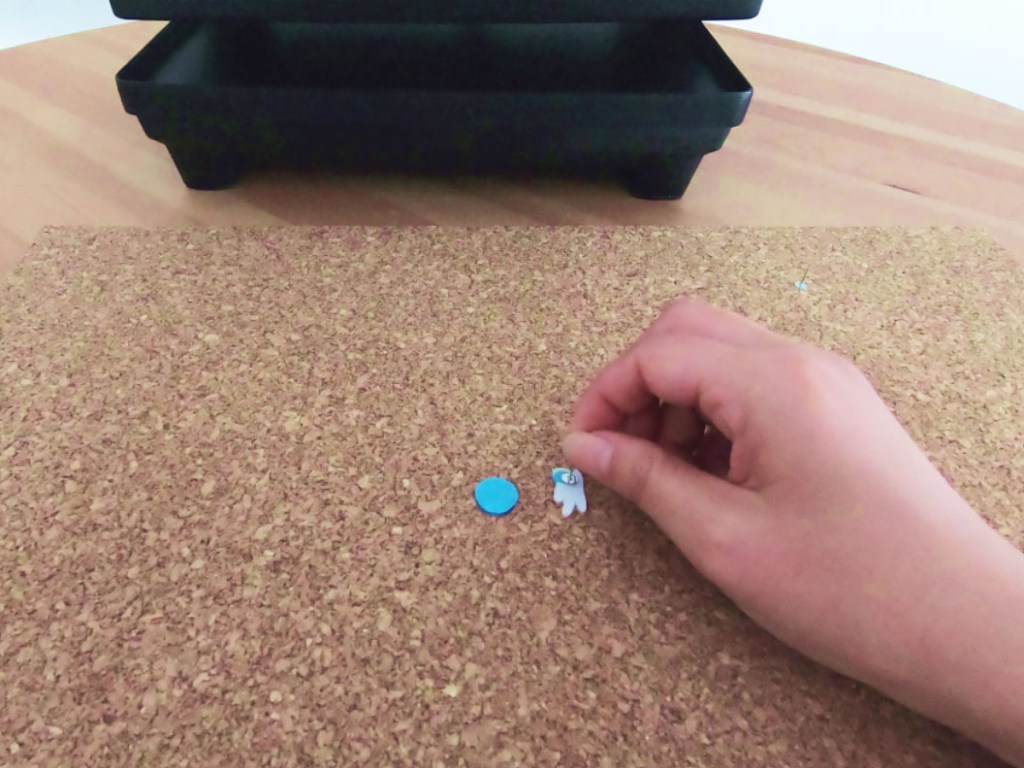

Well done!
Tip: Optionally, you can add a bubbly sheen to your astronaut and earth earblings if you coat it with UV resin or clear nail polish.
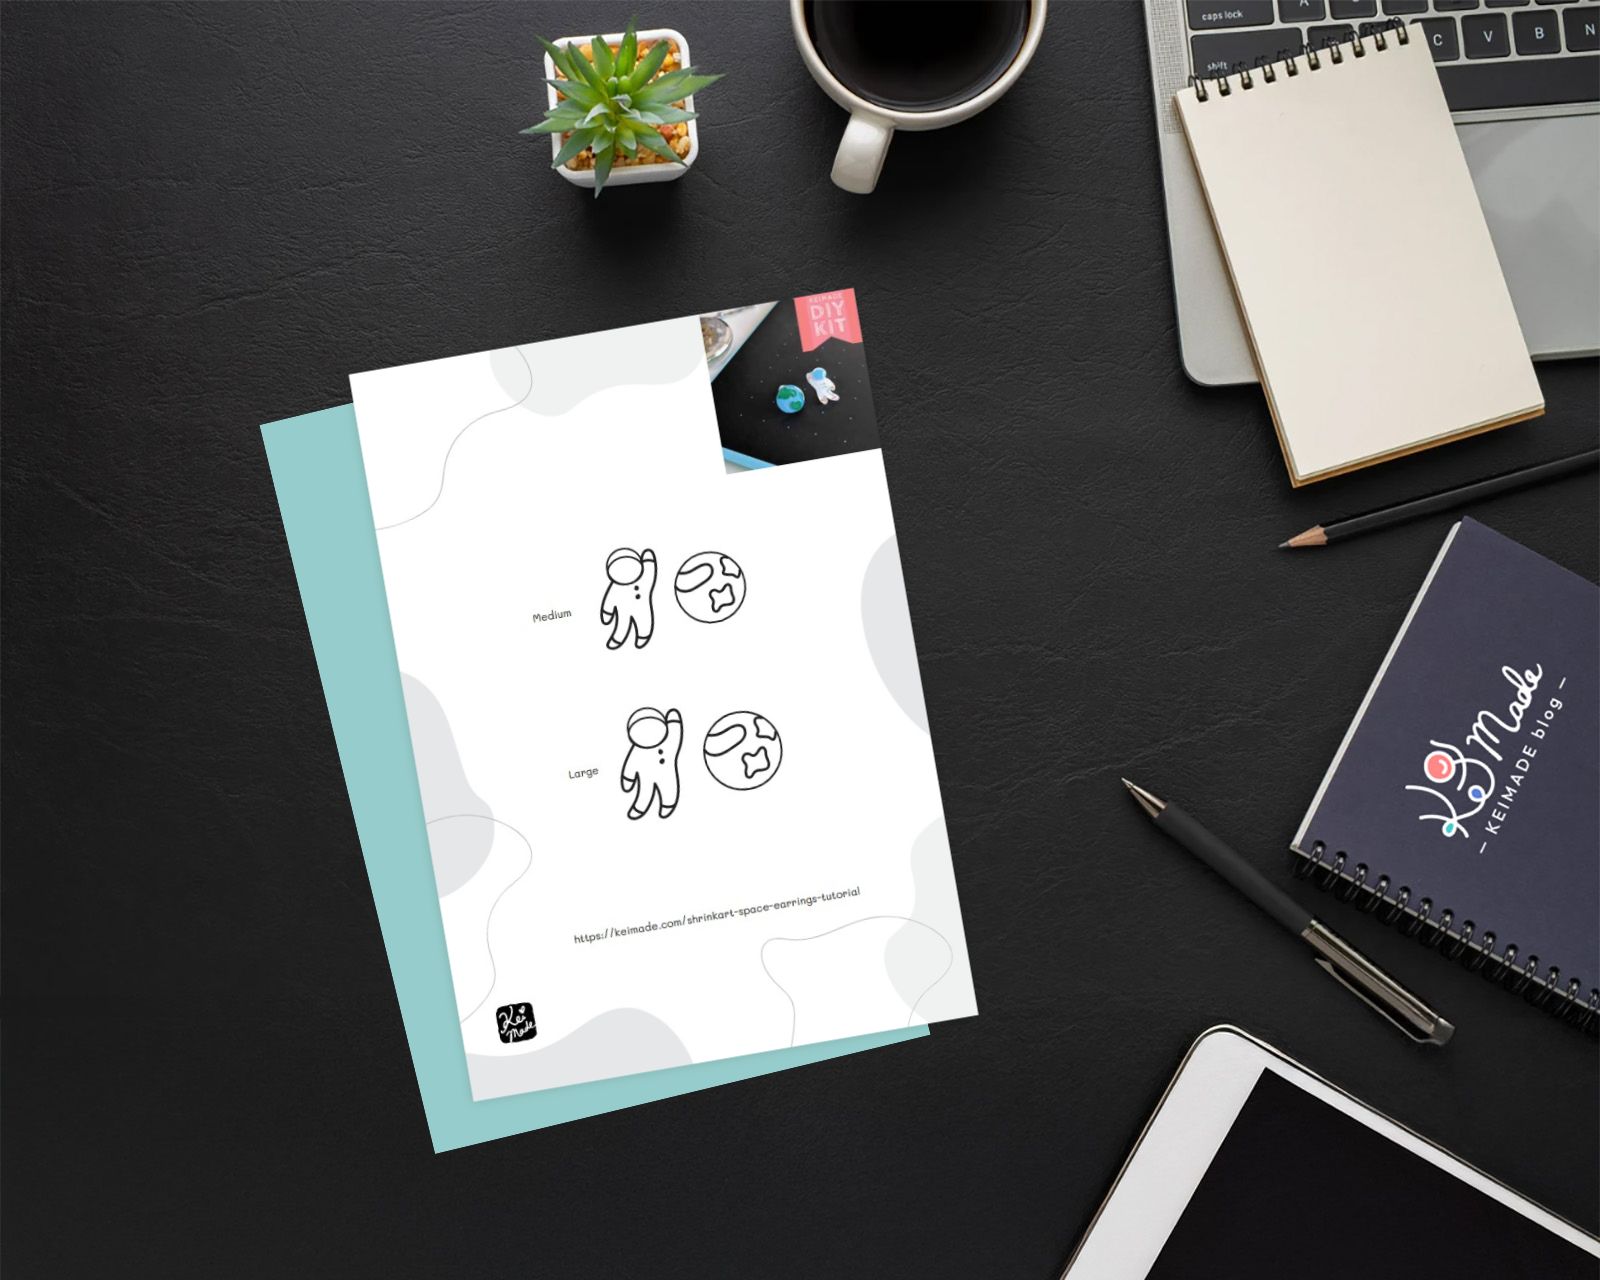
Free template download
You can download a free pdf template of the astronaut and earth to print and trace over.


Save this in your socials for later:


Leave a Reply