Previously I shared the easiest way to sew side seam pockets for absolute beginners.
A month into my sewing life, I was ready for something better. This method balances easy with secure, and good looking 😆
Step-by-step guide to sewing in-seam pockets:
Overview
Here is a quick overview of how to sew seam pockets; scroll down for step by step tutorial with photos.


Cut the fabric (Free PDF & SVG pocket patterns)
①Cut out 4 pocket panels. The right way will face inwards, so cut out two mirrored pairs.

I use the pocket template below to make pockets that fit my smart phone.
Download the free pattern below in PDF or SVG (for Cricut , Silhouette, Brother & other cutting machines).


↑ You can buy Spitz merch to support my blog ↑
②Cut out the skirt or dress panels, and decide how high the pockets will be sewn on.


Sew the front pocket panel
③If the fabric warrants it, iron on a thin strip of interfacing on the back of the front skirt panel, along where the pocket will be sewn on.


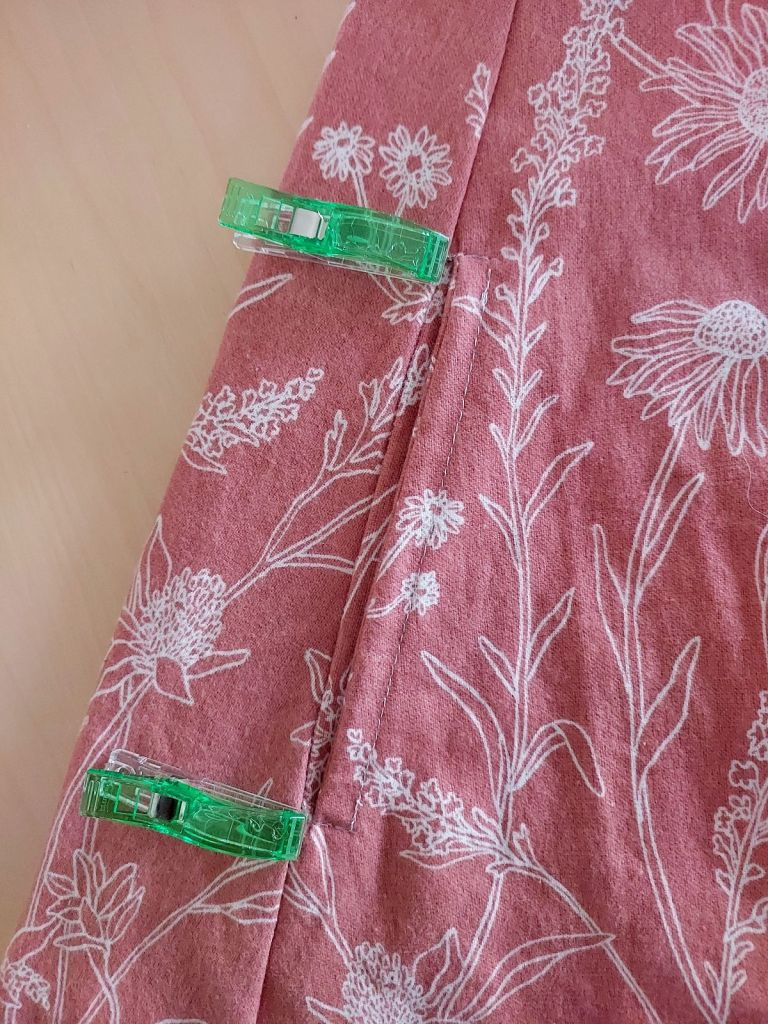
④Place the front pocket fabric on top of the skirt panel, right way facing each other.
Sew 15cm along the pocket opening, about 1cm away from the edge. (Indicated between the red clips.)
We want to leave just enough room from the edge so that when that edge is serged with the back skirt later, the pocket opening won’t be serged shut.


⑤Cut two slits at the top and bottom of the stitch, just enough to almost reach the stitch ends.
Instead of angled slits of 45deg like in the photos, cutting slits at 90 degrees can make flipping them out easier in the following step.
Leaving about 5mm from the stitch, cut out the excess fabric. What’s left will be sewn closed inside a seam next.


⑥Flip the pocket fabric over 180 degrees, so that the fabrics are now right way out.
Sew 1cm inside along the pocket opening, trapping the raw edges inside.


Attach the back pocket panel
⑦Place the pocket back panel on top, so they’re facing right way in.
Serge the front and back pocket panels together along the pocket outline (along the red clips).


⑧Stitch along the pocket perimeter again, this time with a lock stitch (normal sewing machine) to strengthen the pocket.
In-seam pocket is now complete! It’s ready to have the back skirt panel serged on along the edge.


Sew the skirt together
⑨Face the skirt’s back panel and front panel (now with pockets) together, inside out.
Serge along the edge to close the skirt. Ensure the left overlocker needle gets very close to the pocket opening, but not above it so it doesn’t sew the pocket closed.
Feeling the fabric as it gets serged helps not to sew the pockets closed.


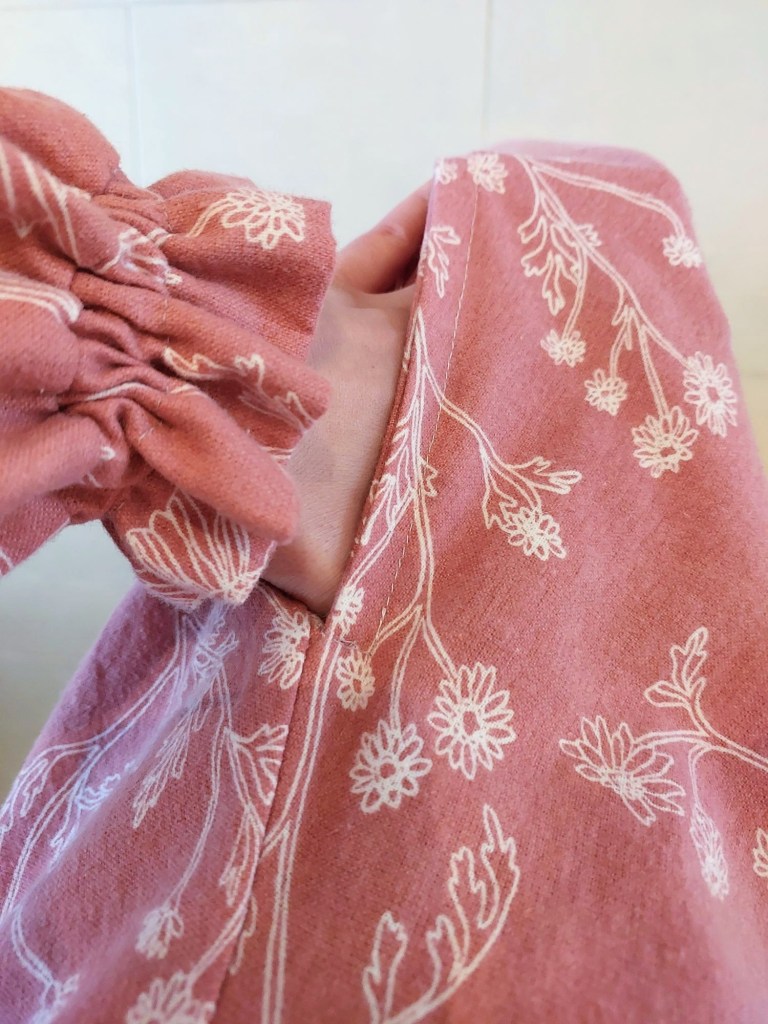
Flip the skirt right way out to check the pocket didn’t get serged closed. If the pocket is still accessible, and the stitch is right next to it, it’s a job well done 😊


The finishing touch
⑩Finally, secure the pockets in place by adding a few horizontal stitches at the top and bottom of the pocket opening; it’ll connect the stitches at step 6, and make the pockets face forward inside.

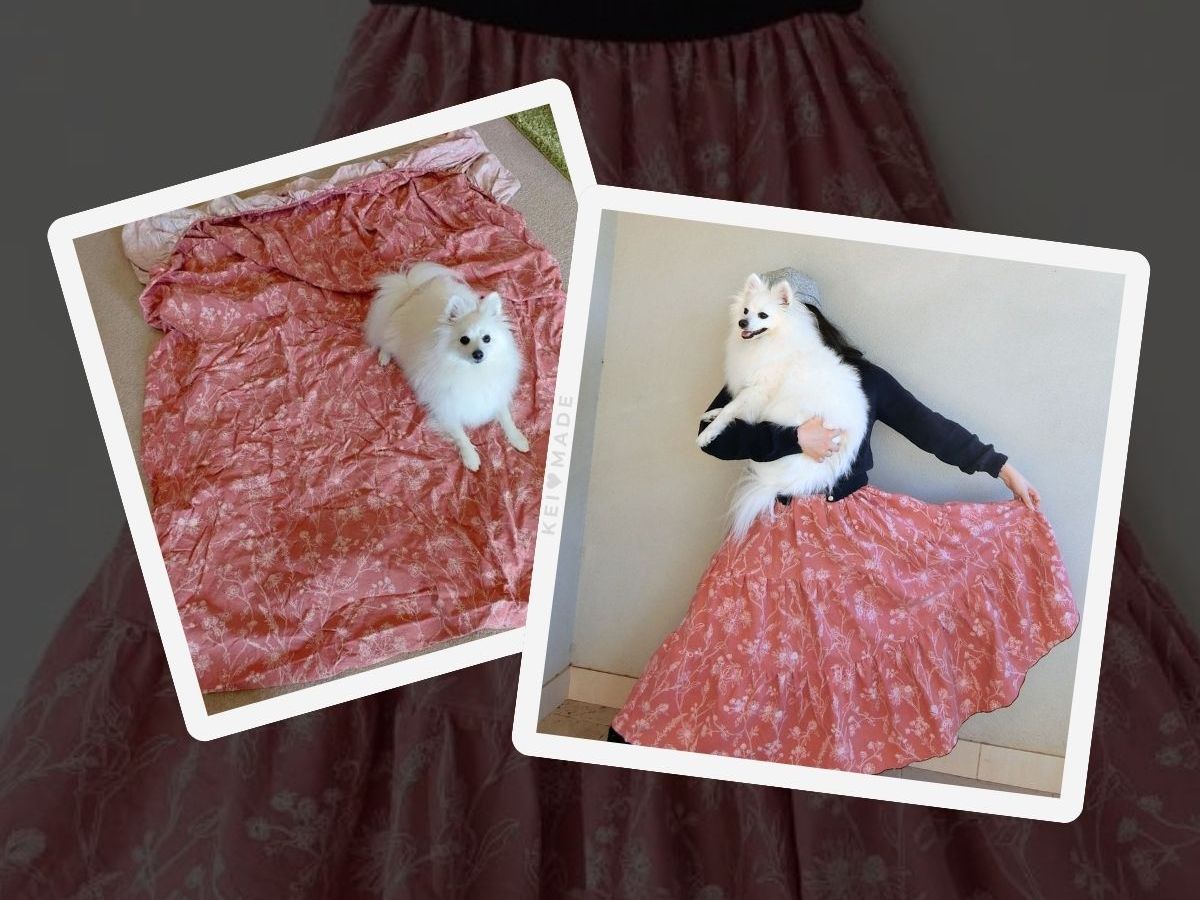
And it’s done!
I tried a few different ways of sewing in-seam side pockets, but most were a bit more tricky, like having to line up the pockets after each side had been sewn onto the skirt separately.
This method, based on yuca’s article with slight changes, is simple and efficient, making getting into sewing easier 😊


Leave a Reply