These cute lemon earrings are made by drawing, cutting, and heating a sheet of plastic! When the charm is baked, it gets smaller and thicker – making them durable and lightweight suitable for jewellery making.
One-minute making video
Do you want to watch a longer video? I added it to the step-by-step instructions 🙂
What you’ll need
Materials:
- Frosted shrink art plastic sheet
- 2x leaf charms (or make your own with shrink art plastic)
- 2x earring hooks – I used surgical stainless ear wires
- 2x jump rings
- 2x long eye pins
- (
If you’re in Australia, you can buy this craft kit on MadeItCraft kit coming back soon.)
Tools:
- Coloured pencils or markers
- A pair of scissors
- A hole puncher – a single hole punch is best
- Jewellerly pliers – to assemble the earrings
- An oven or hot sandwich press – to shrink, thicken, and harden your charm
- Baking paper and foil tray
- A pair of winter gloves – to protect your hands from heat)
- A hard-cover book or notepad – or anything hard and flat
Free template download
You can print and trace over this template file to draw your lemon charms. Or you can turn them into oranges or grapefruit depending on how you colour them in!


Video tutorial
Detailed written step-by-step instructions are below this longer making video 🙂
Step-by-step instructions with photos
Making the lemon charm
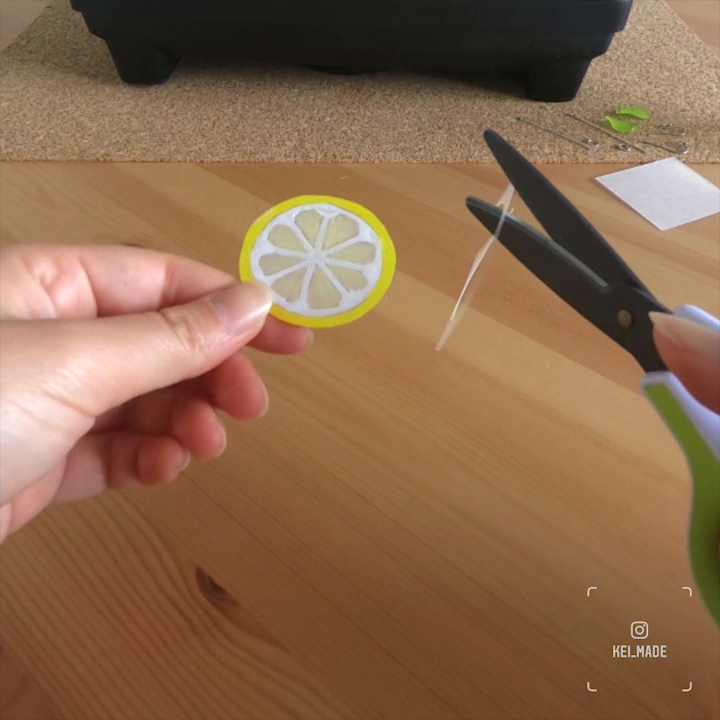
1. Draw/Trace a circle about 45mm in diameter onto the rough side of the frosted plastic, and colour it in using markers, paint markers, crayons, or coloured pencils. (I used a combination of posca markers and pencils.)


2. When you’re done colouring, cut it out using a pair of scissors.

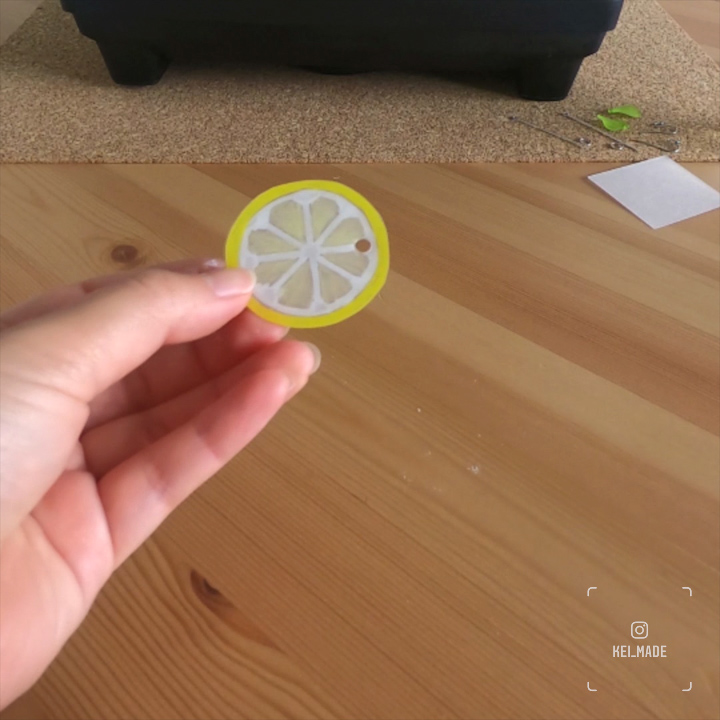
3. Using a hole puncher, punch a hole about 5mm away from the rim. (I happened to own a large leather puncher, but a typical hole puncher will work.)

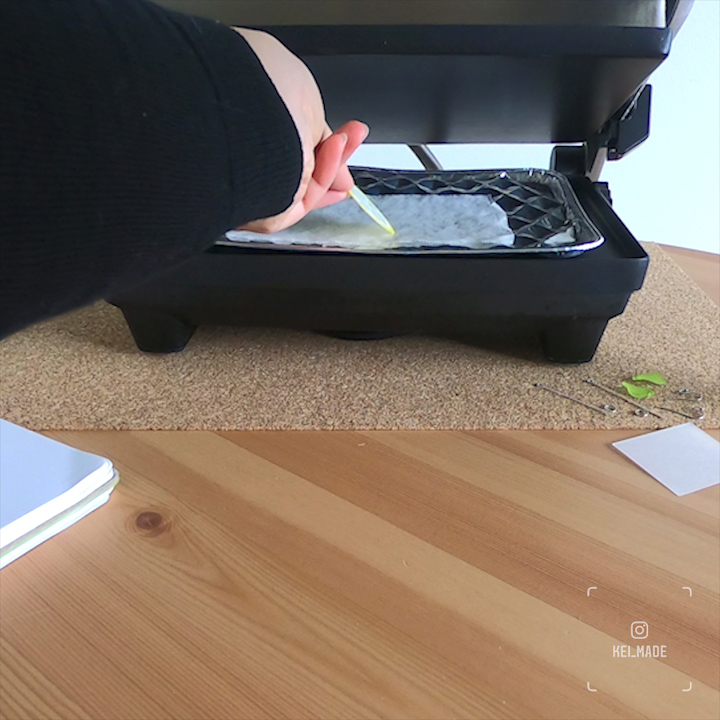
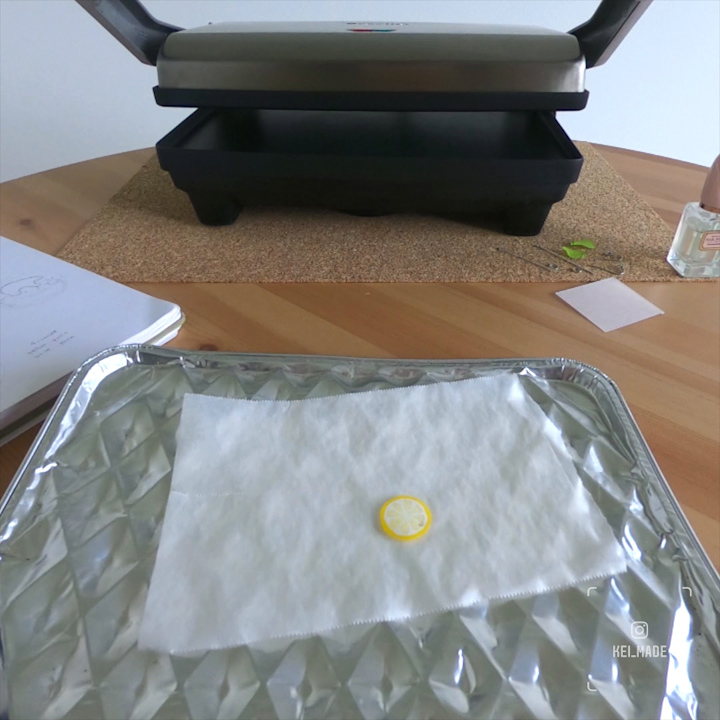
4. Turn a hot sandwich press on, or set your oven to 180~200 degrees celcius.
In the sandwich press (or oven), place a sheet of baking paper on top of a foil tray, and place your plastic lemon on top. (If you don’t have a foil tray, you can scrunch up some aluminum foil and gently straighten it out – It’s to prevent your plastic from burning by touching hot plates.)

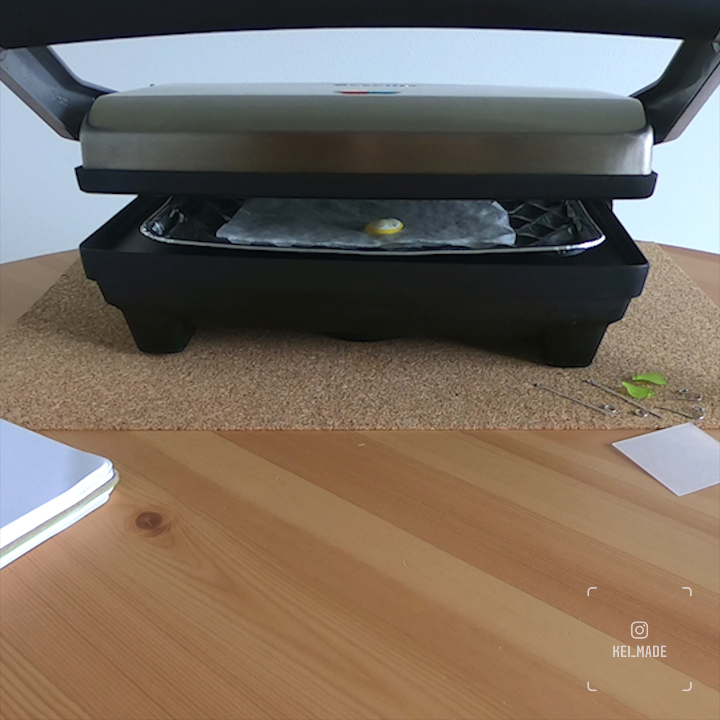
5. If you’re using a hot sandwich press, close the lid but keep about a 3cm gap so the top plate doesn’t touch your charm. If you’re using an oven, you can close the door completely.
Watch your charm shrivel and shrink. This process should start in a few seconds, and will be over in a few seconds. (My video shows this at around double~triple speed.)

6. Put your winter gloves on, as you’ll be touching hot things.
When your charm has stopped shrinking, take it out of the sandwich press (or oven), and press on it with something hard and flat – I used a hard cover notebook – to flatten it while it’s still fairly hot.

Your lemon charm is complete! It’s time to assemble your earrings.
Assembling your earrings
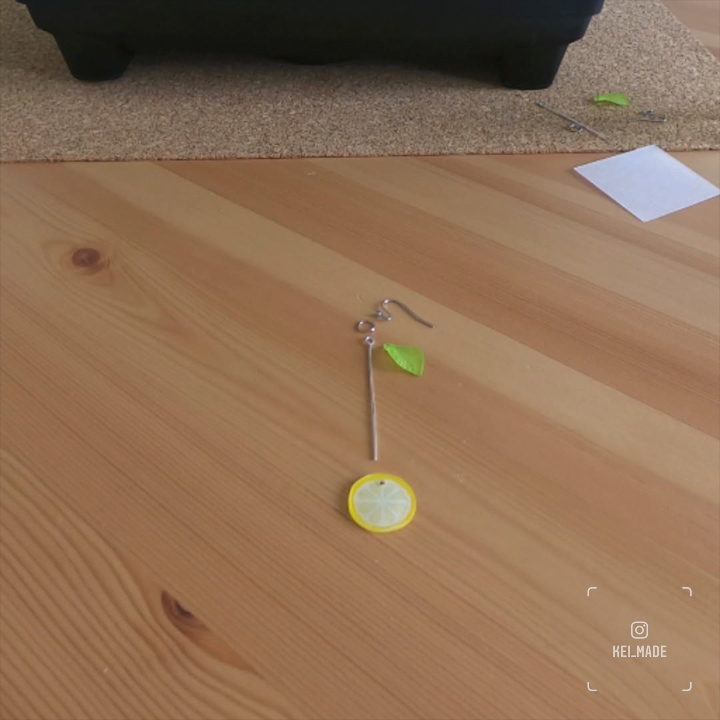
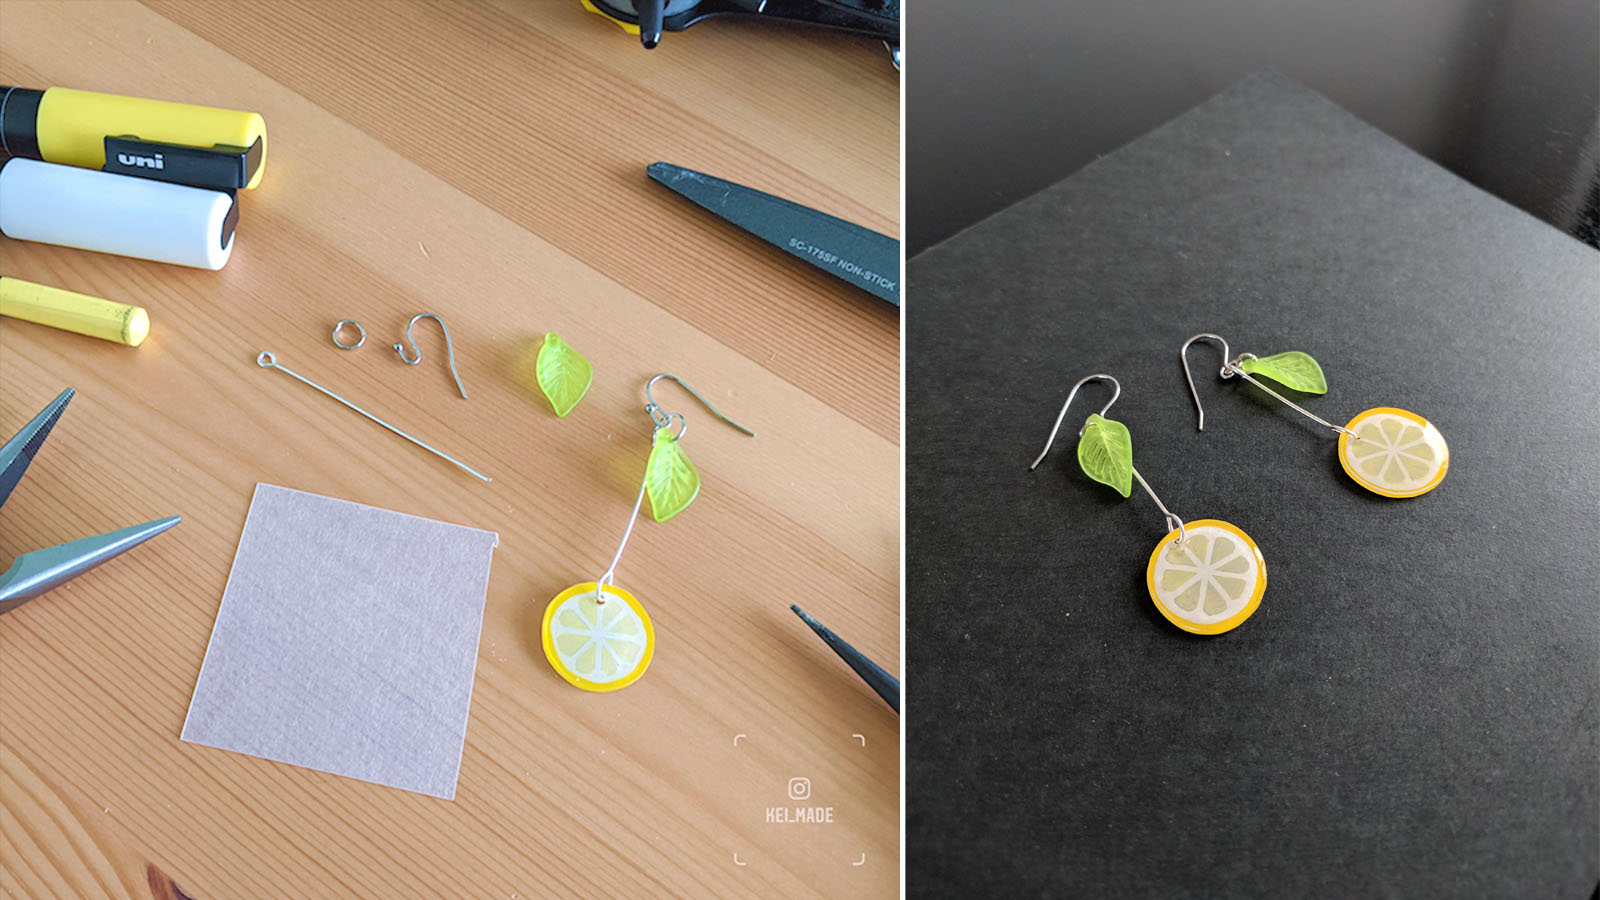
7. Take a look at the photo (below left) to see the plan of where we’re heading. (If you’ve opted to make your own leaf charm, see how to make it with shrink plastic.)
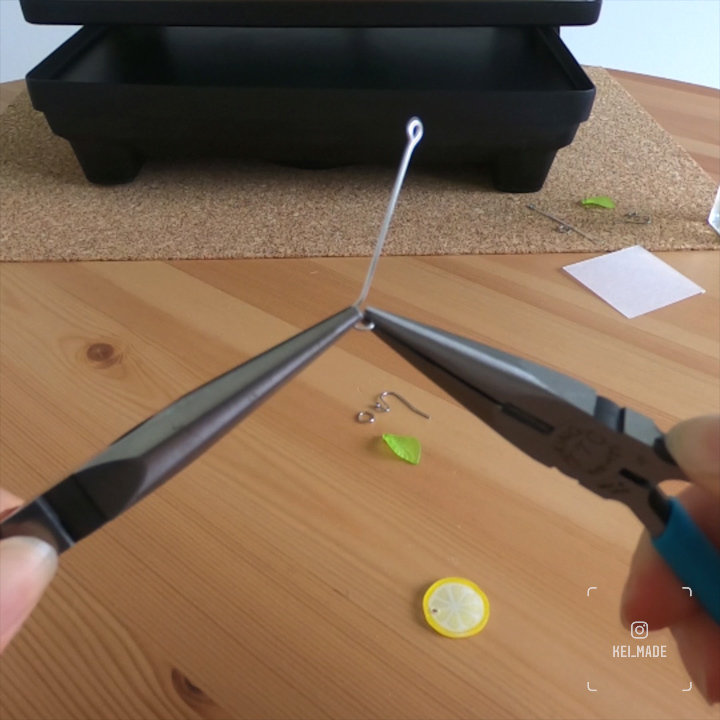
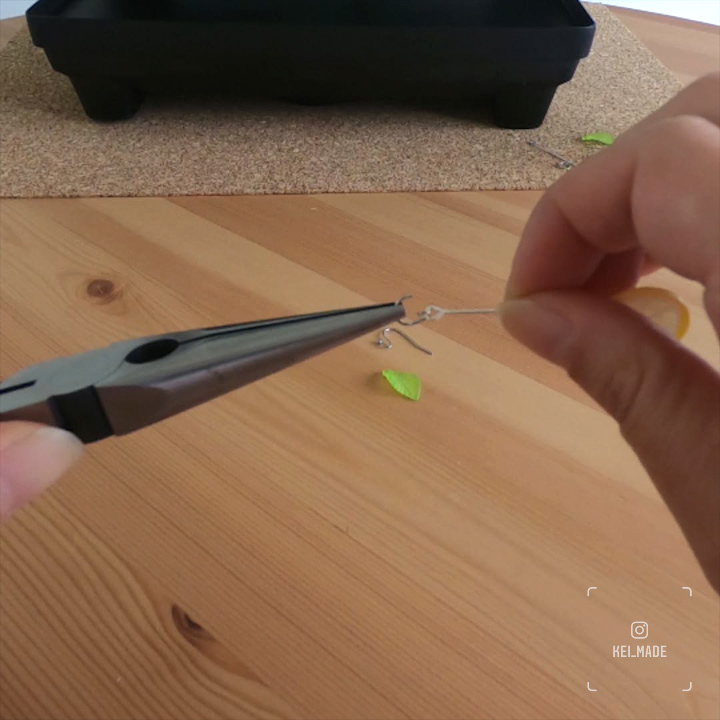
Using jewellery pliers, make a loop at the end of the long pin – we’ll be hooping this through the hole in the lemon. (You can cut the head pin shorter first if you like your earrings to be shorter.)

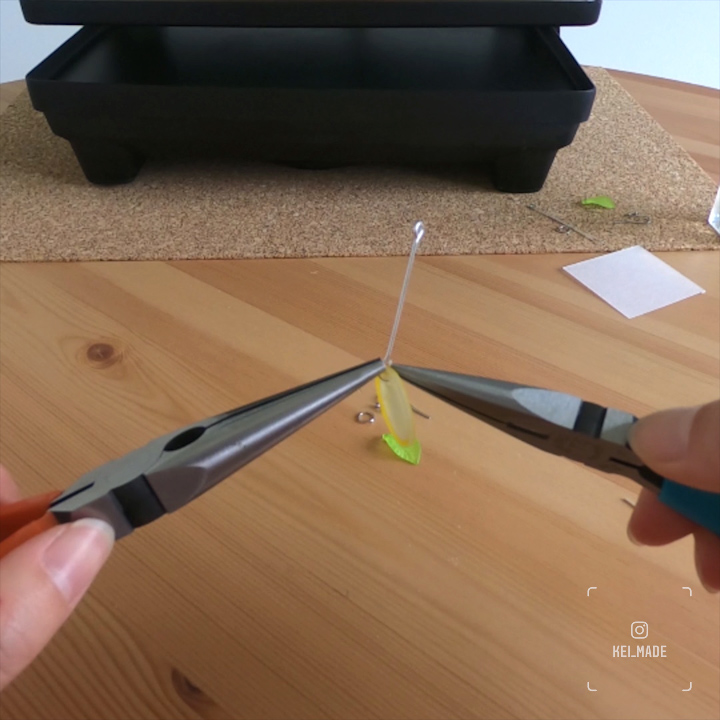
8. Open up the loop you just made, and pop the lemon charm through.

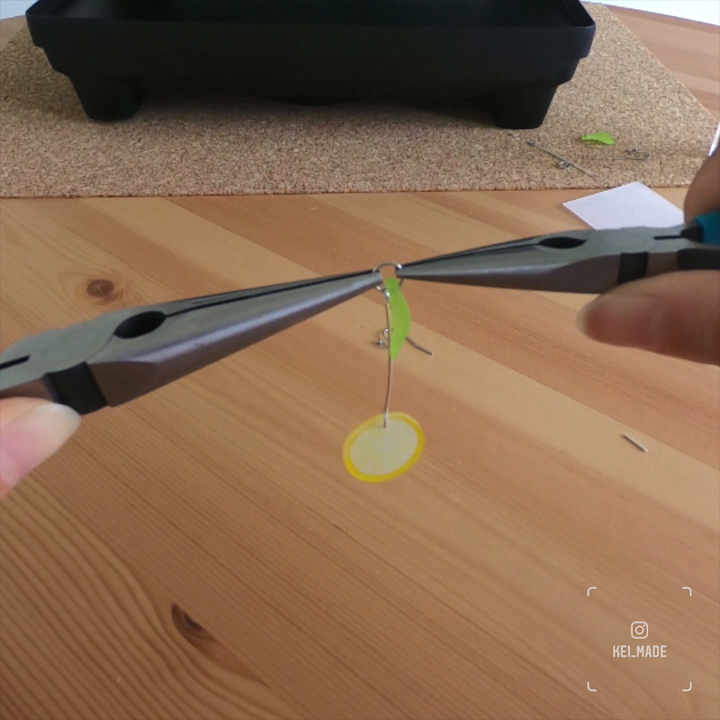
9. Close the loop and pat yourself on the back – the hardest bits are done!

10. Open up the jump ring, and pop the lemon pin and leaf charm through. Close the jump ring.
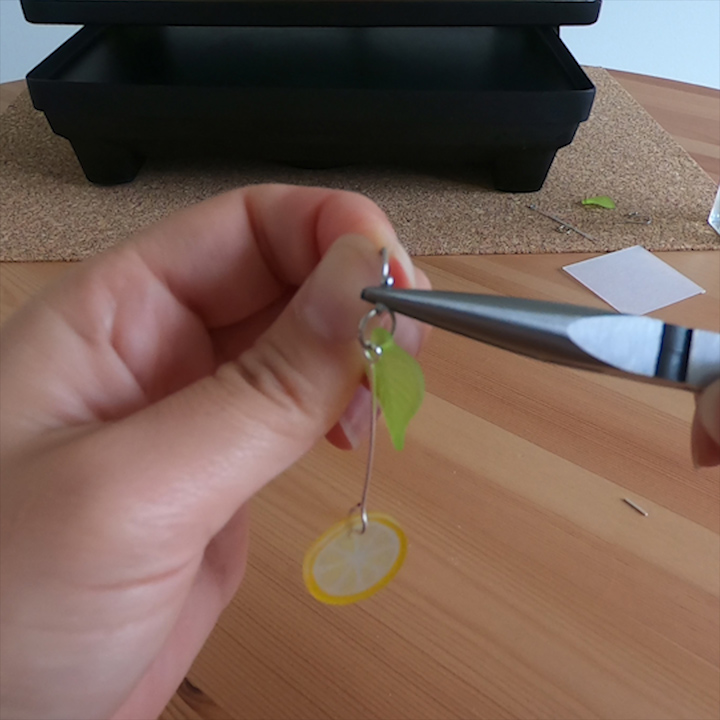
11. Pop the ear wire through the jump ring, then close off the ear wire. If it’s stiff you can use your pliers to push it closed.

12. Great work! One earring is complete 🙂 Repeat the steps above to make the other side, and you’ll be proud to have made your very own pair of lemon earrings!
If you want to make the leaf charms too
If you’d like to make your own leaf charm out of shrink plastic instead of a pre-made charm, the steps are very similar to how you made the lemon slice charm. Here are the steps.


Tip for making it bubbly and shiny
If you have clear nail polish or UV resin, you can add a bubbly sheen to your lemon slices by giving it a coat!


Leave a Reply