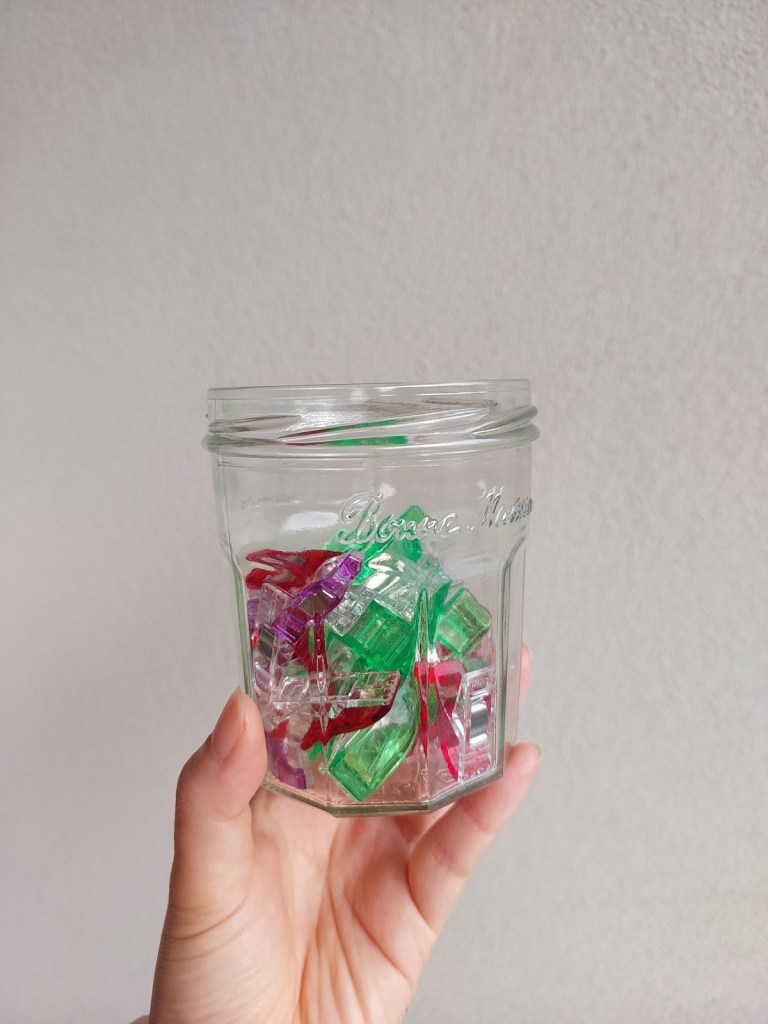
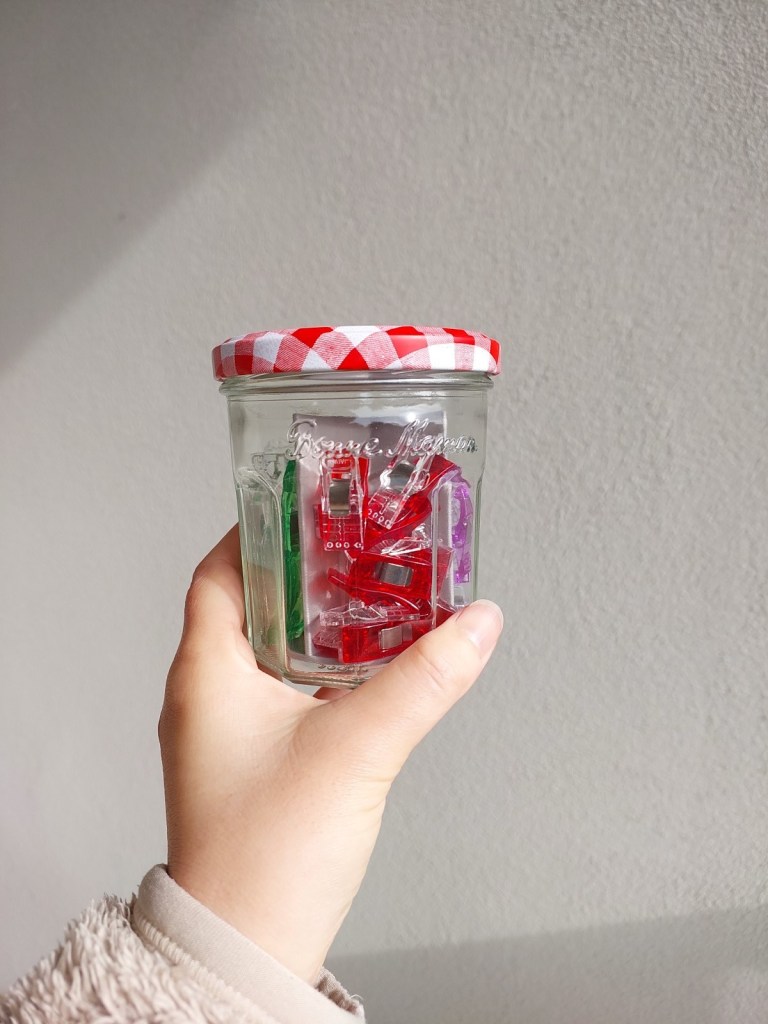
I love these Wonder Clips by Clover; they’ve replaced my sewing pins on most occasions. But I didn’t have an organiser for them so they were stored in a Bonne Maman jam jar.
The problem was, it was hard to pick the medium (red) or small (purple) clips as they would get buried under the large (green) clips.
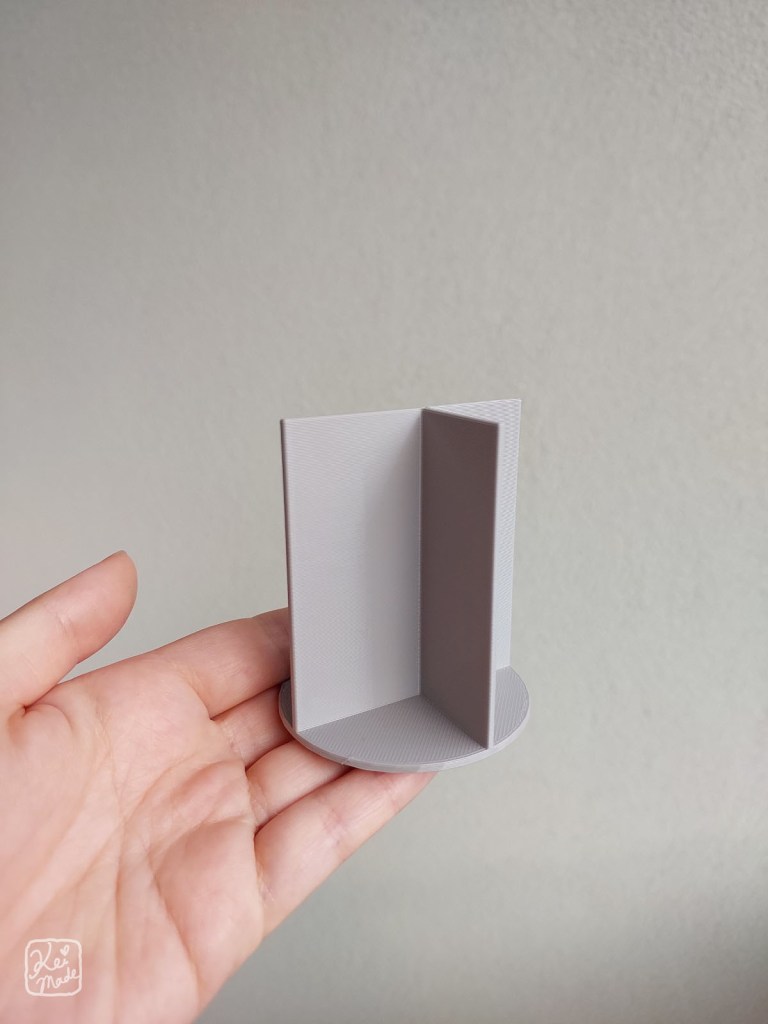
So I decided to 3D print a divider for the jam jar. My first ever 3D print!
Modeling a divider with Fusion 360
I’d never made a 3D model with Fusion 360, so let me note down how I made this divider.
Creating the base
For the base, a cylinder was created by going to Solid>Create>Cylinder.
I clicked on the bottom plane to create a cylinder flat against the ground, clicked the (0,0) coordinate as its centre point, then typed in 60mm as its diameter and 2mm as its height.

Splitting the face
I wanted to split the top face of the cylinder in order to extrude the divider upwards.To get a better view, I clicked on the view cube to view the cylinder from the Top.
To split the face of the cylinder, I clicked Solid>Sketch, then Line. I clicked the crosshair cursor on the perimeter of the cylinder to create lines where I wanted the divider to be. This was as simple as clicking on one side of the cylinder to start the line, then clicking the other side of the cylinder to end the line. When I made all lines needed for the extrusion, I clicked Finish Sketch.

Using the grid as a guide, the lines were dragged to become 2mm apart.
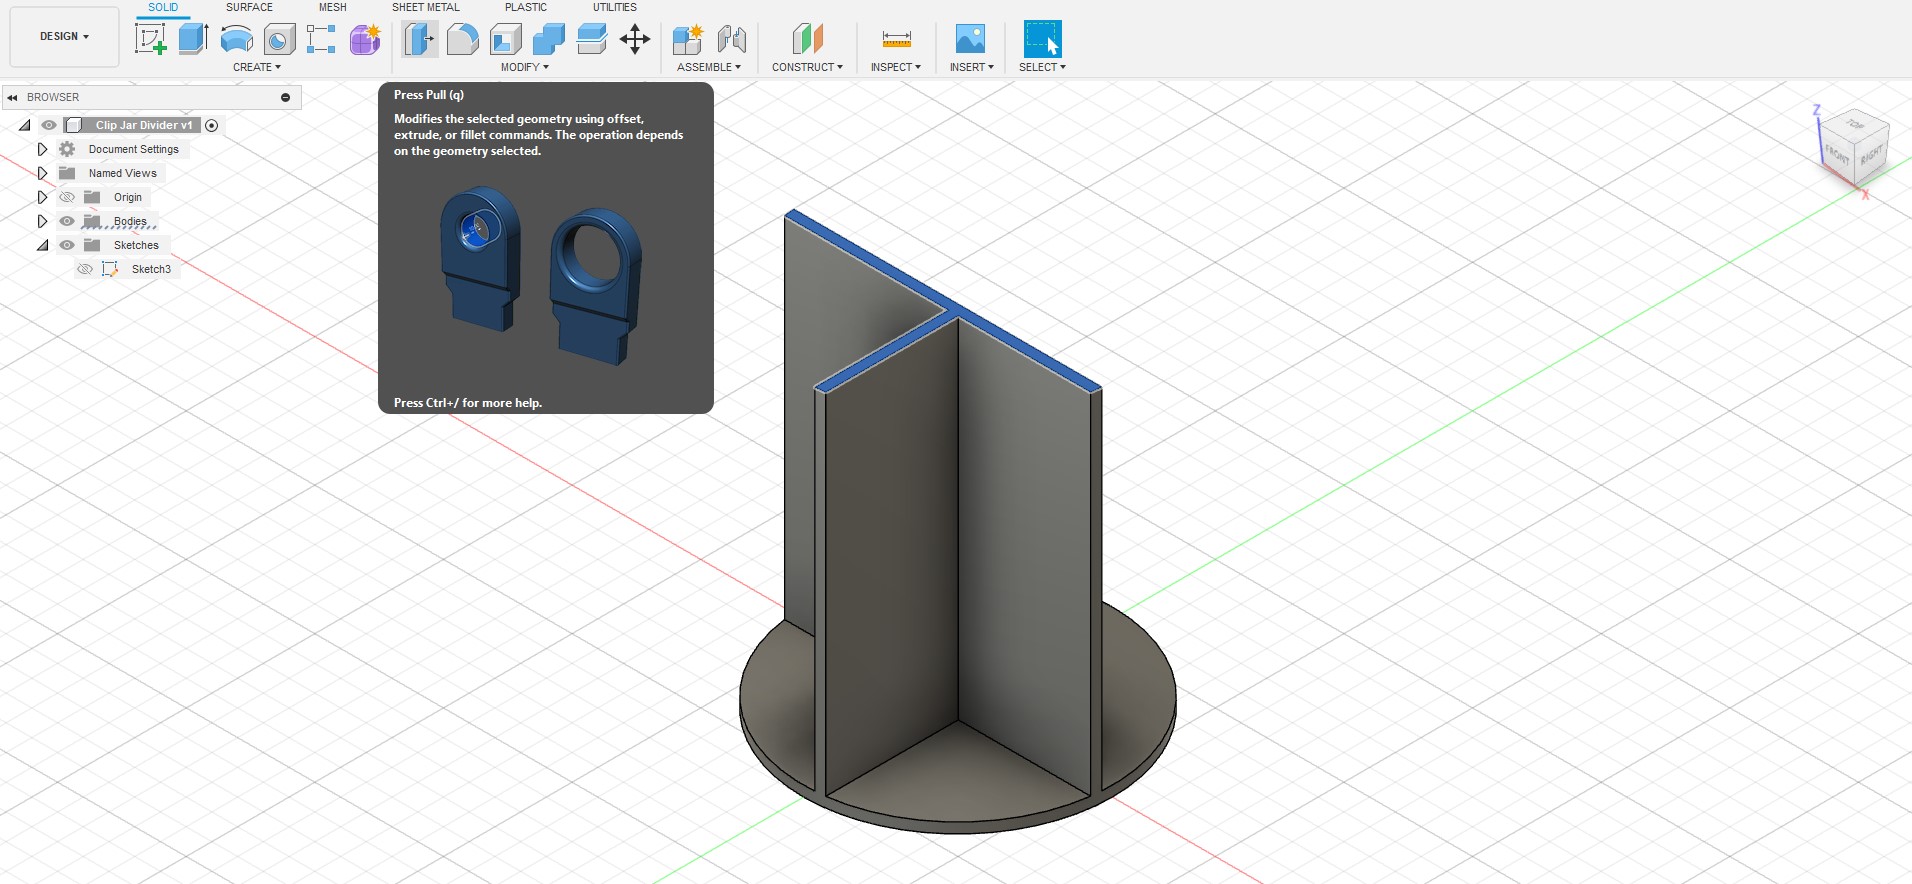
Extruding the divider
On the view cube, I clicked on Home to get back into isometric view.
To extrude the divider, I selected the divider faces then fired off Modify>Press Pull and pulled the arrow upwards. I set the extrude distance to be 68mm.
Smoothing the edges
To smooth the edges, I hit Select then dragged the cursor to select the whole model and clicked Modify>Fillet. I set the fillet amount to be 0.4mm.

And that was it! I went to File>Export and exported the model as a .obj to open it up in Slicer.
The 3D Print
It was a pretty exciting midnight, getting my hubby’s brand new Prusa to print my first ever ‘thing’. The MK4 sang a lovely tune as it printed around in circles.


After about 50 minutes, the printing was complete!

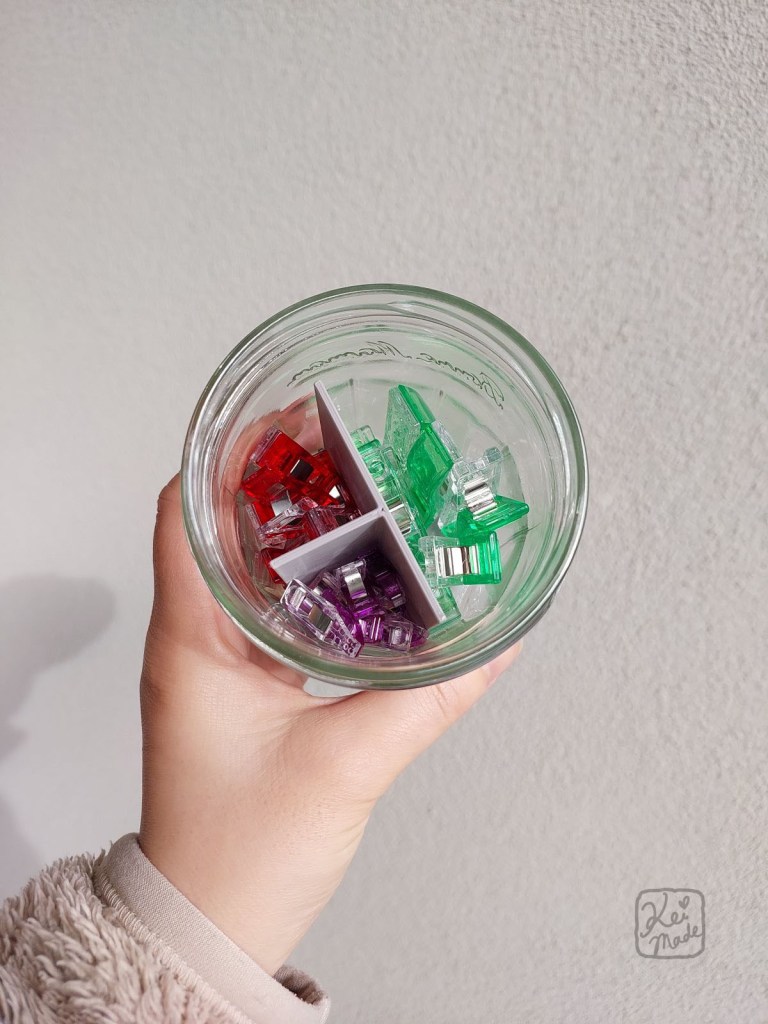
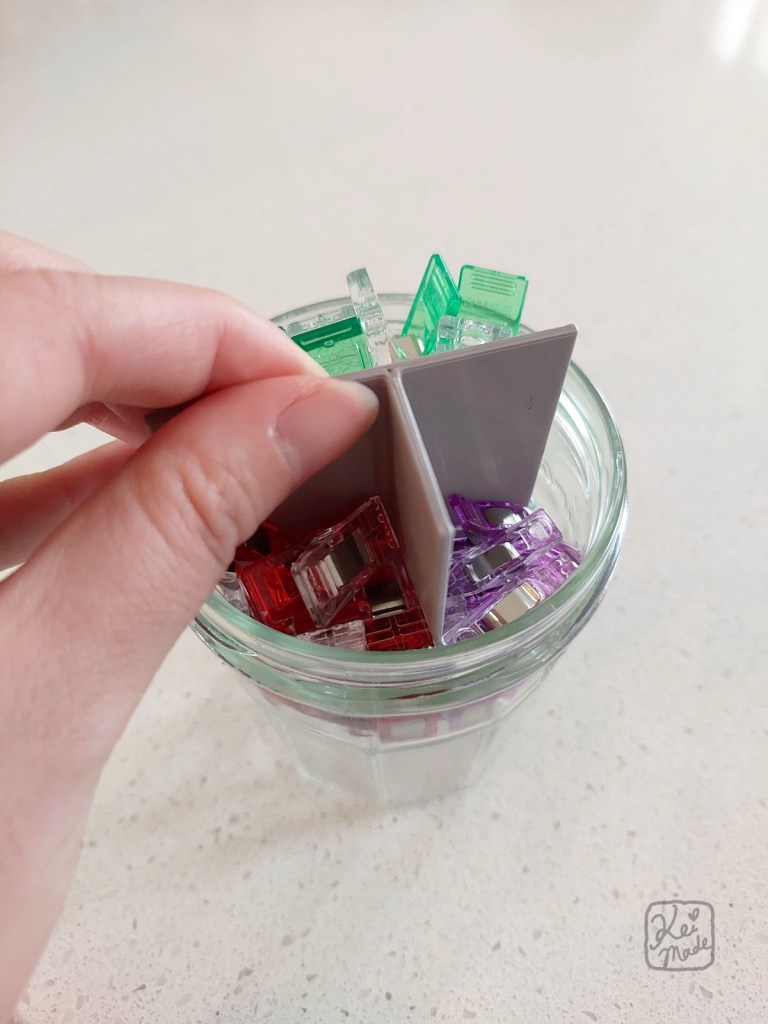
Now it’ll be so easy to grab the medium-sized red clips without spilling the whole jar out 😀


Leave a Reply