



It’s nice to have elastic casing (for waistbands and cuffs) with a permanent opening. This allows easy adjustment of elastic later, as well as easy replacement when the elastic degrades over time.
In this post:
How to make a casing with easy access to elastic
Prepare by cutting the casing fabric so that:
- length = where it’ll be sewed onto +2cm; and
- height = double the end result + 2cm.
[1] Fold the fabric in half to make a loop, wrong side out. Sew the loop closed, leaving a gap long enough for elastic to be inserted, 1~2cm from the top. (The center point where it’ll be folded should be sewed closed.)
[2] Open the seam and sew a rectangle around the gap.
[3] Fold the casing in half, right way out. It’s ready to be sewed on to the waist or cuffs.

Steps with photos
[Preparation] Cut the casing fabric so that the [length = where it’ll be sewed onto +2cm] and [height= double the end result + 2cm].


[1] Fold the fabric in half to make a loop, wrong side out.
Sew the loop closed, leaving a gap long enough for elastic to be inserted, 1~2cm from the top. (The center point where it’ll be folded should be sewed closed.)
[2] Open the seam and sew a rectangle around the gap.
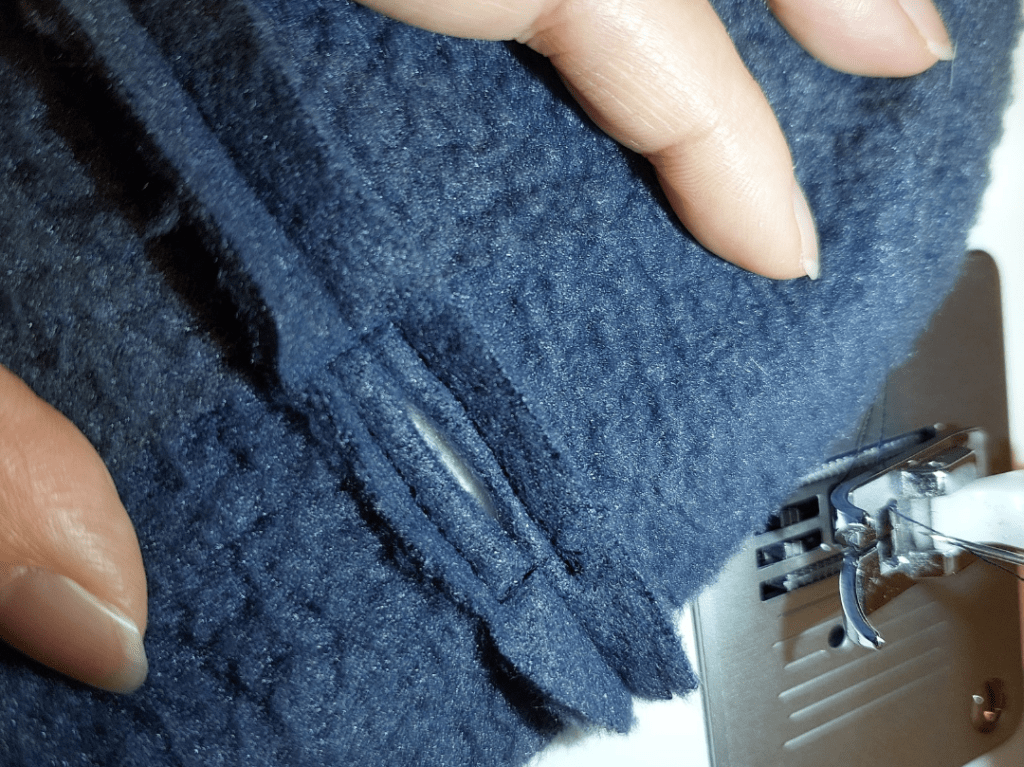

[3] Fold the casing in half, right way out.
It’s now ready to be sewed on to the waist or cuffs.

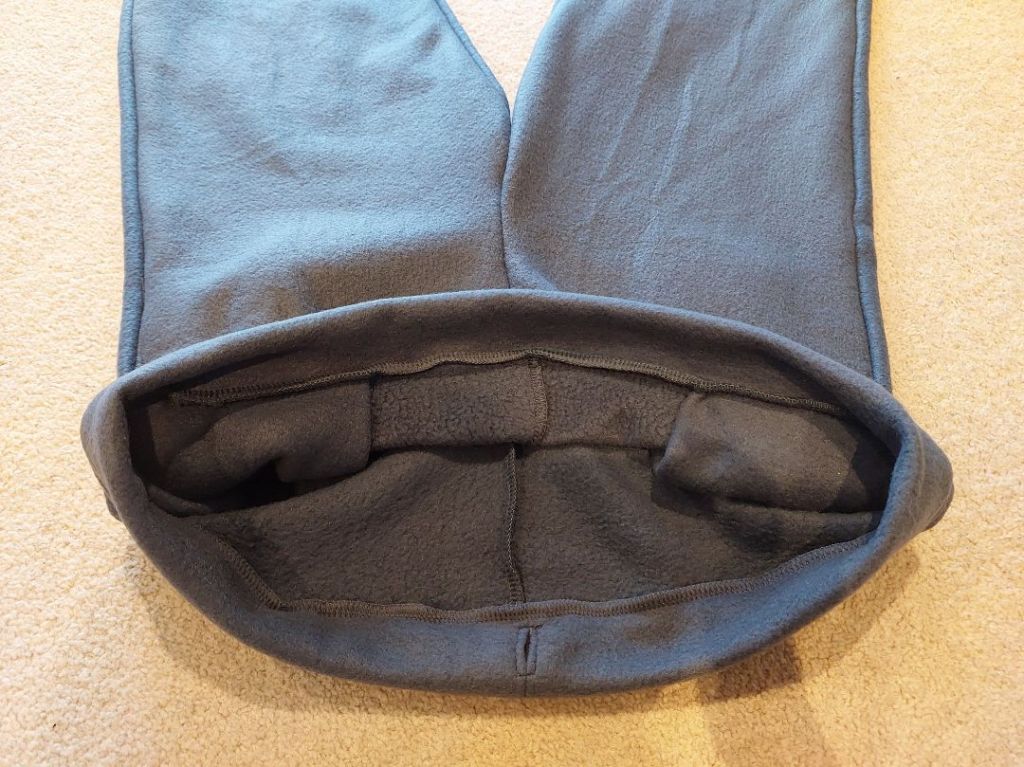
Multiple elastic casing & shirring
To make a shirring effect, the number of elastic can be increased by sewing more stitches in the round between the rectangle opening after step 3.

For example for an elastic casing with two layers of elastic:


Wrap up
Easy access to elastic = no need to undo stitches to change the elastic.
Elastic can degrade over time, becoming permanently stretched. Your body size can change over time too.
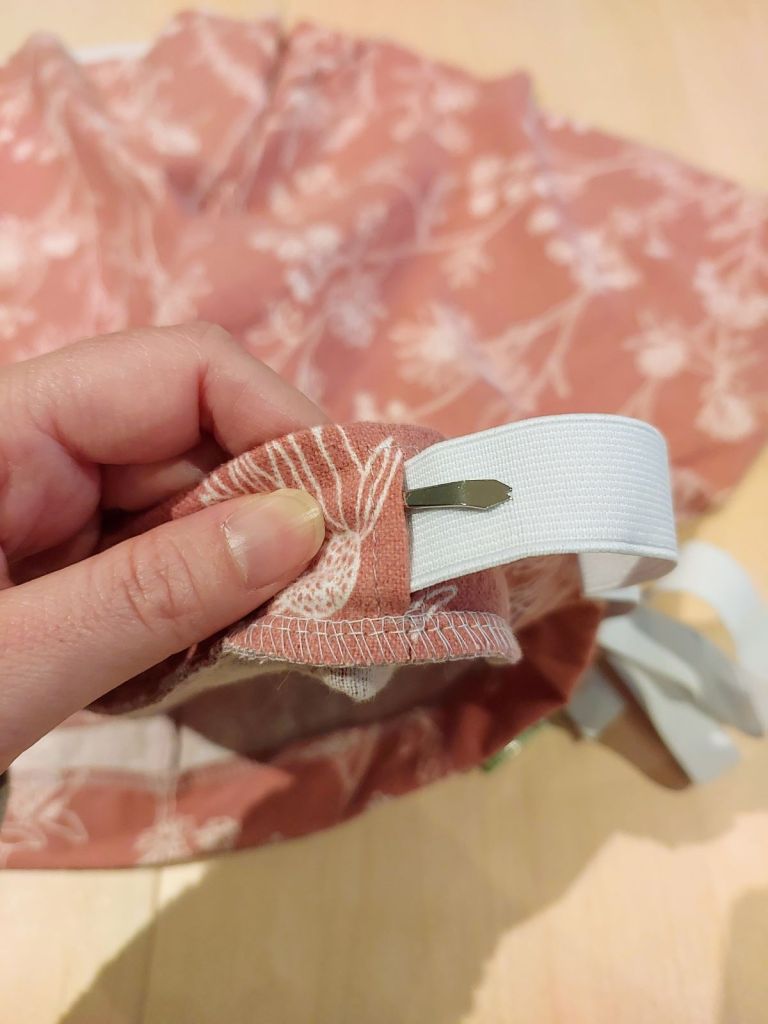
Having a permanent elastic casing opening means easy adjustment and replacement of elastic at any time 🙂



Leave a Reply