Cutting shrink art plastic with a cutting machine can speed up your creative process. Here I share how I cut shrinkies with my Cricut Maker 3 ― mostly for my own notes, but I’m happy to share!

Option #1: Using existing material settings
If you’re not keen on diving into custom settings, this works fairly well.
Quick summary
- Select the Acetate setting, with “More” pressure.
- Use the strong or standard grip mat (purple or green).
- Stick the shiny side of the plastic down onto the mat.
- Use a deep point blade.
Note: For thin clear or pre-coloured shrink plastic, don’t use “more” pressure as it can start to cut into the mat.

Detailed steps
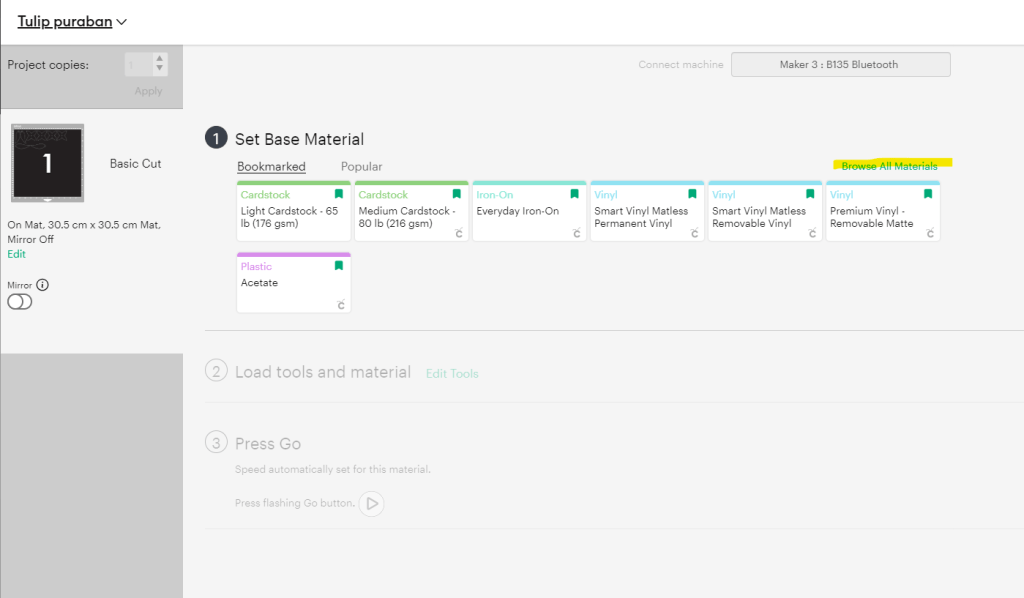
When ready to cut a design in Cricut Design Space, hit Make. Keep the Material Load Type selection to On Mat and Continue.
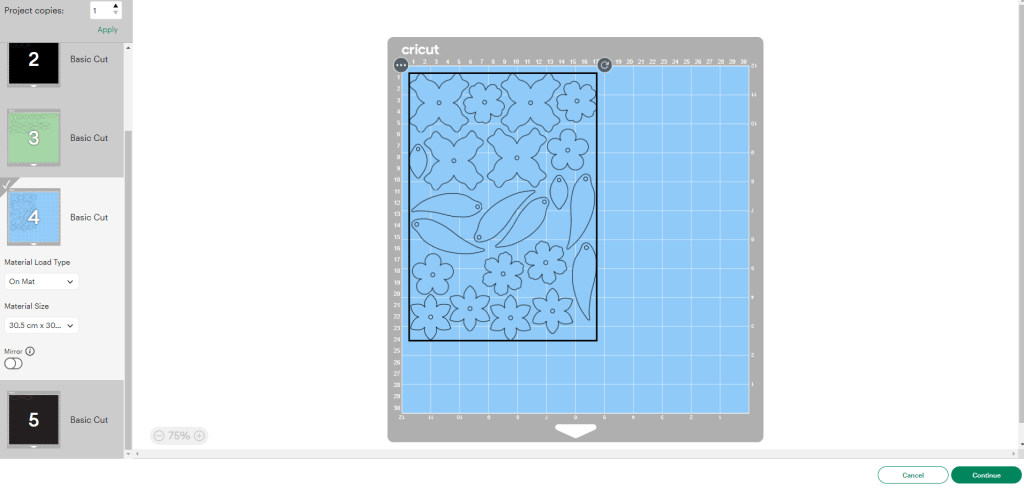
Set the Base Material to Acetate, and the Pressure to More.
It will instruct you to load the Fine Point Blade into Clamp B, but load a Deep Point Blade instead.
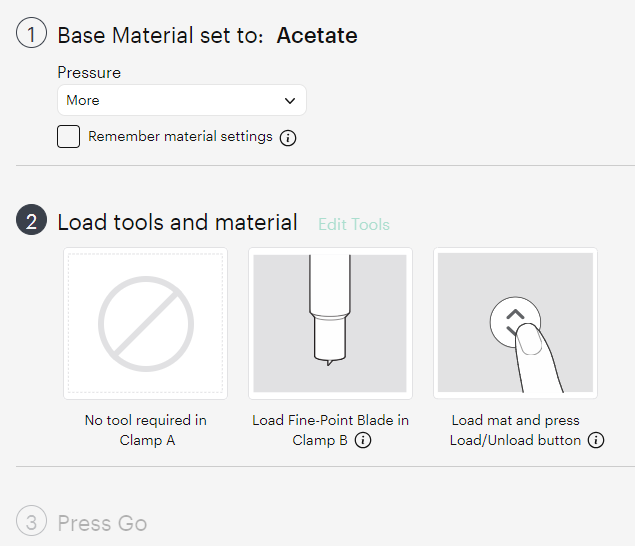
Load either a Strong Grip Mat or a Standard Grip Mat – with the shiny side of the shrink plastic down.

Start the cut.

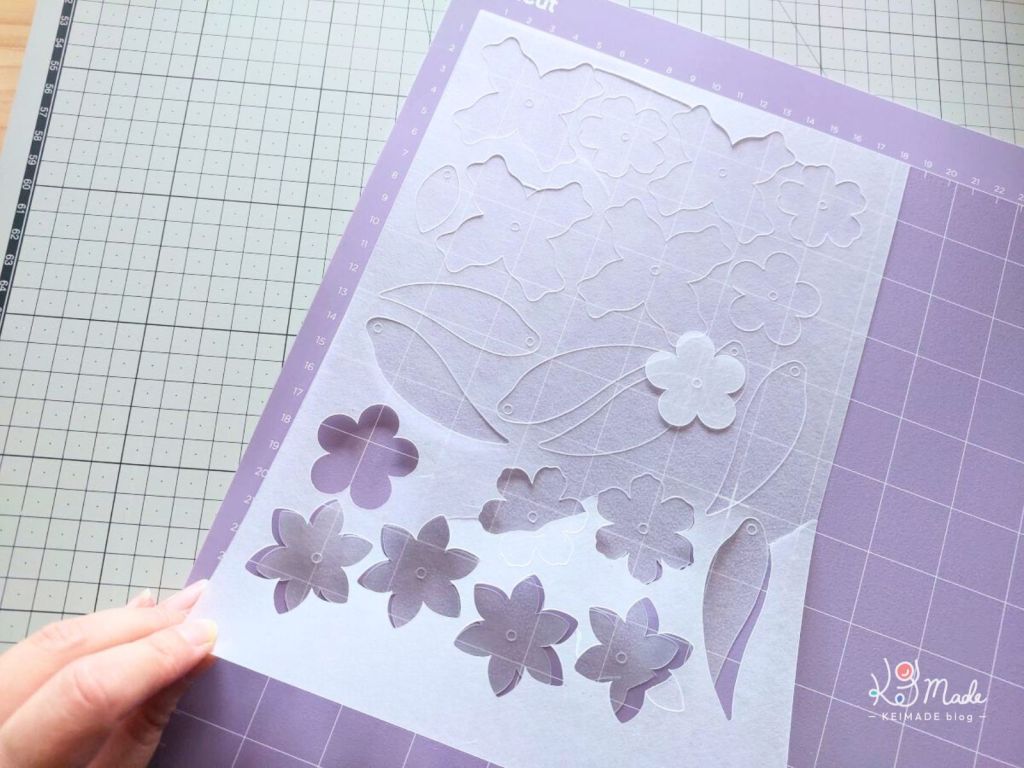
Unload and slowly peel the plastic off the mat. Some points won’t be cut all the way, so press on the shapes while you lift the excess parts up.
Be careful, because the plastic does like to snap and you might lose some cut outs.
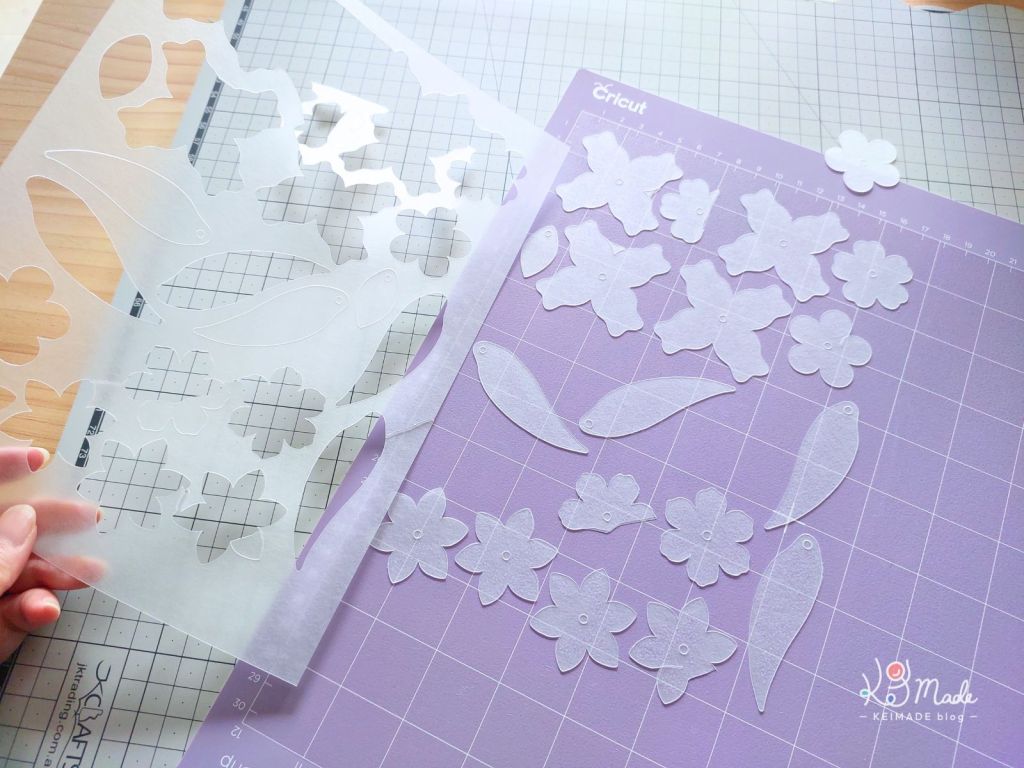
Peel the cutouts from the mat. If some are left on the weeded piece, push to snap them out too.

Use a toothpick to poke small holes out.

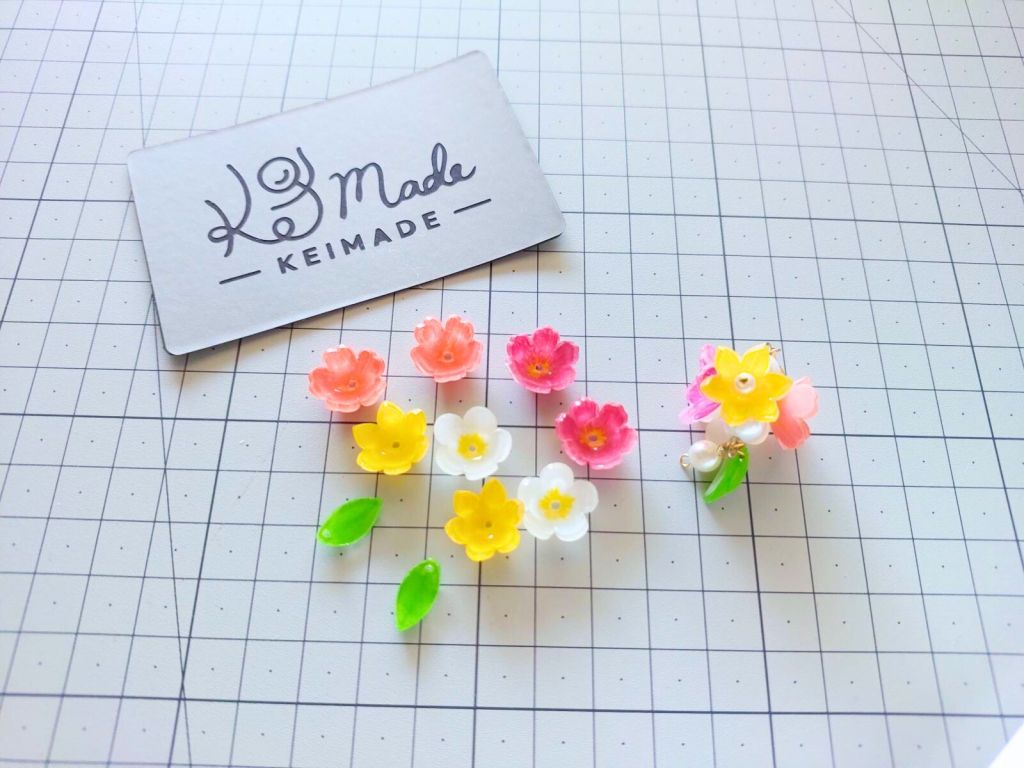
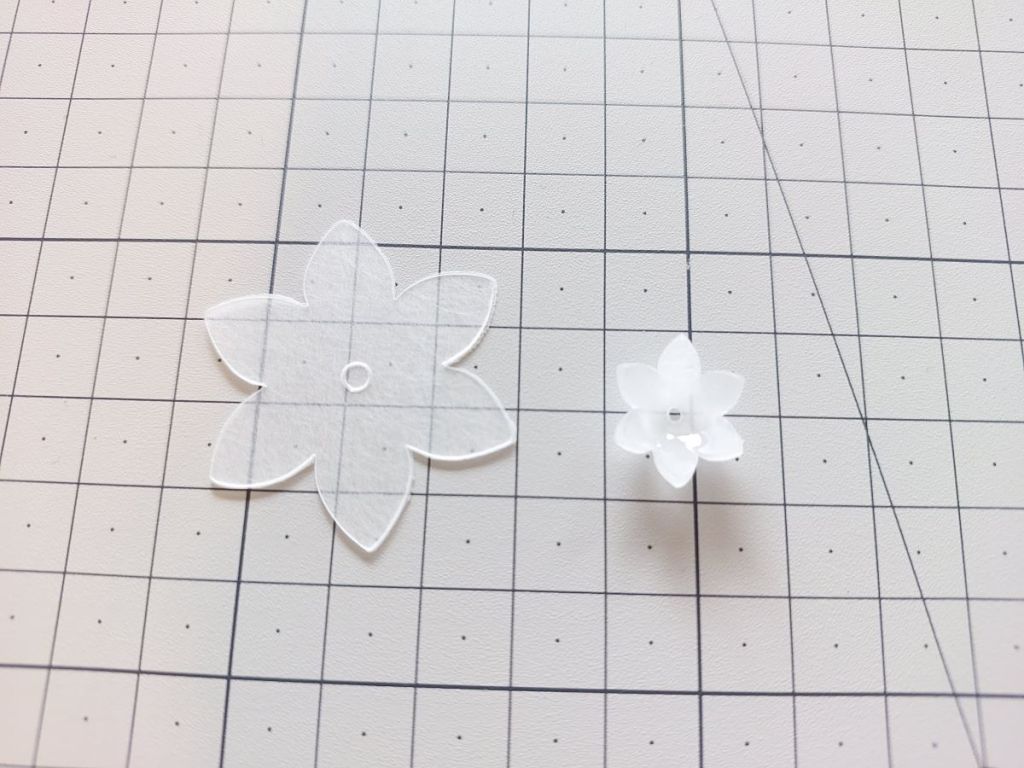
Shrinkies are ready to colour and bake.
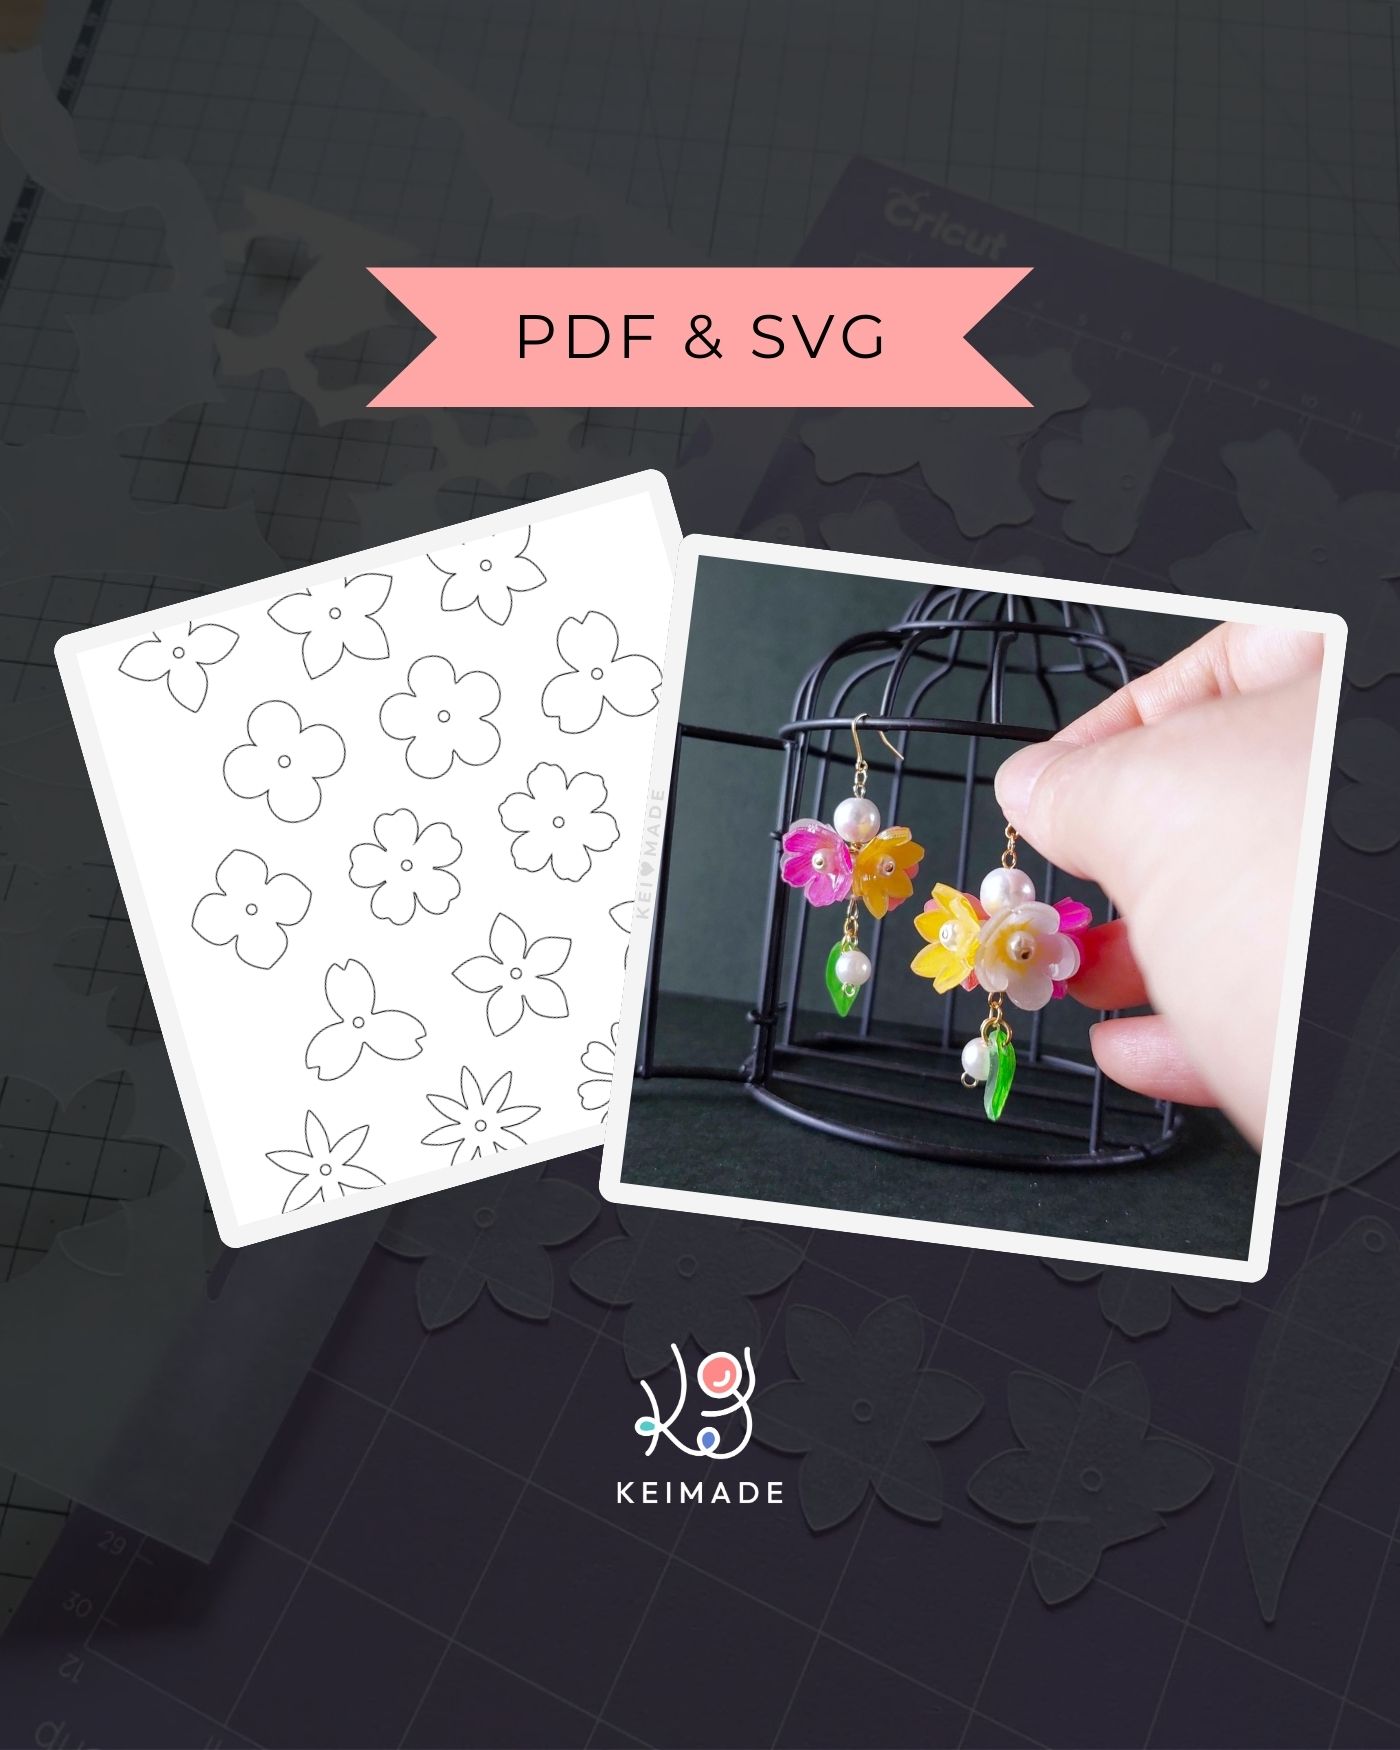
SVG Templates for download

PDF & SVG Shrink Art Sakura Templates
Make your own Sakura cherry blossom jewellery or accessory with shrink art plastic with these template files.You can use the PDF file to print, trace, and cut out with a pair of scissors and hole punc
PDF & SVG Assorted Flower Templates for Shrink Art Jewellery
Make your own Flower Jewellery with shrink art plastic with these template files.You can use the PDF file to print, trace, and cut out with a pair of scissors and hole puncher. Or you can use the SVG
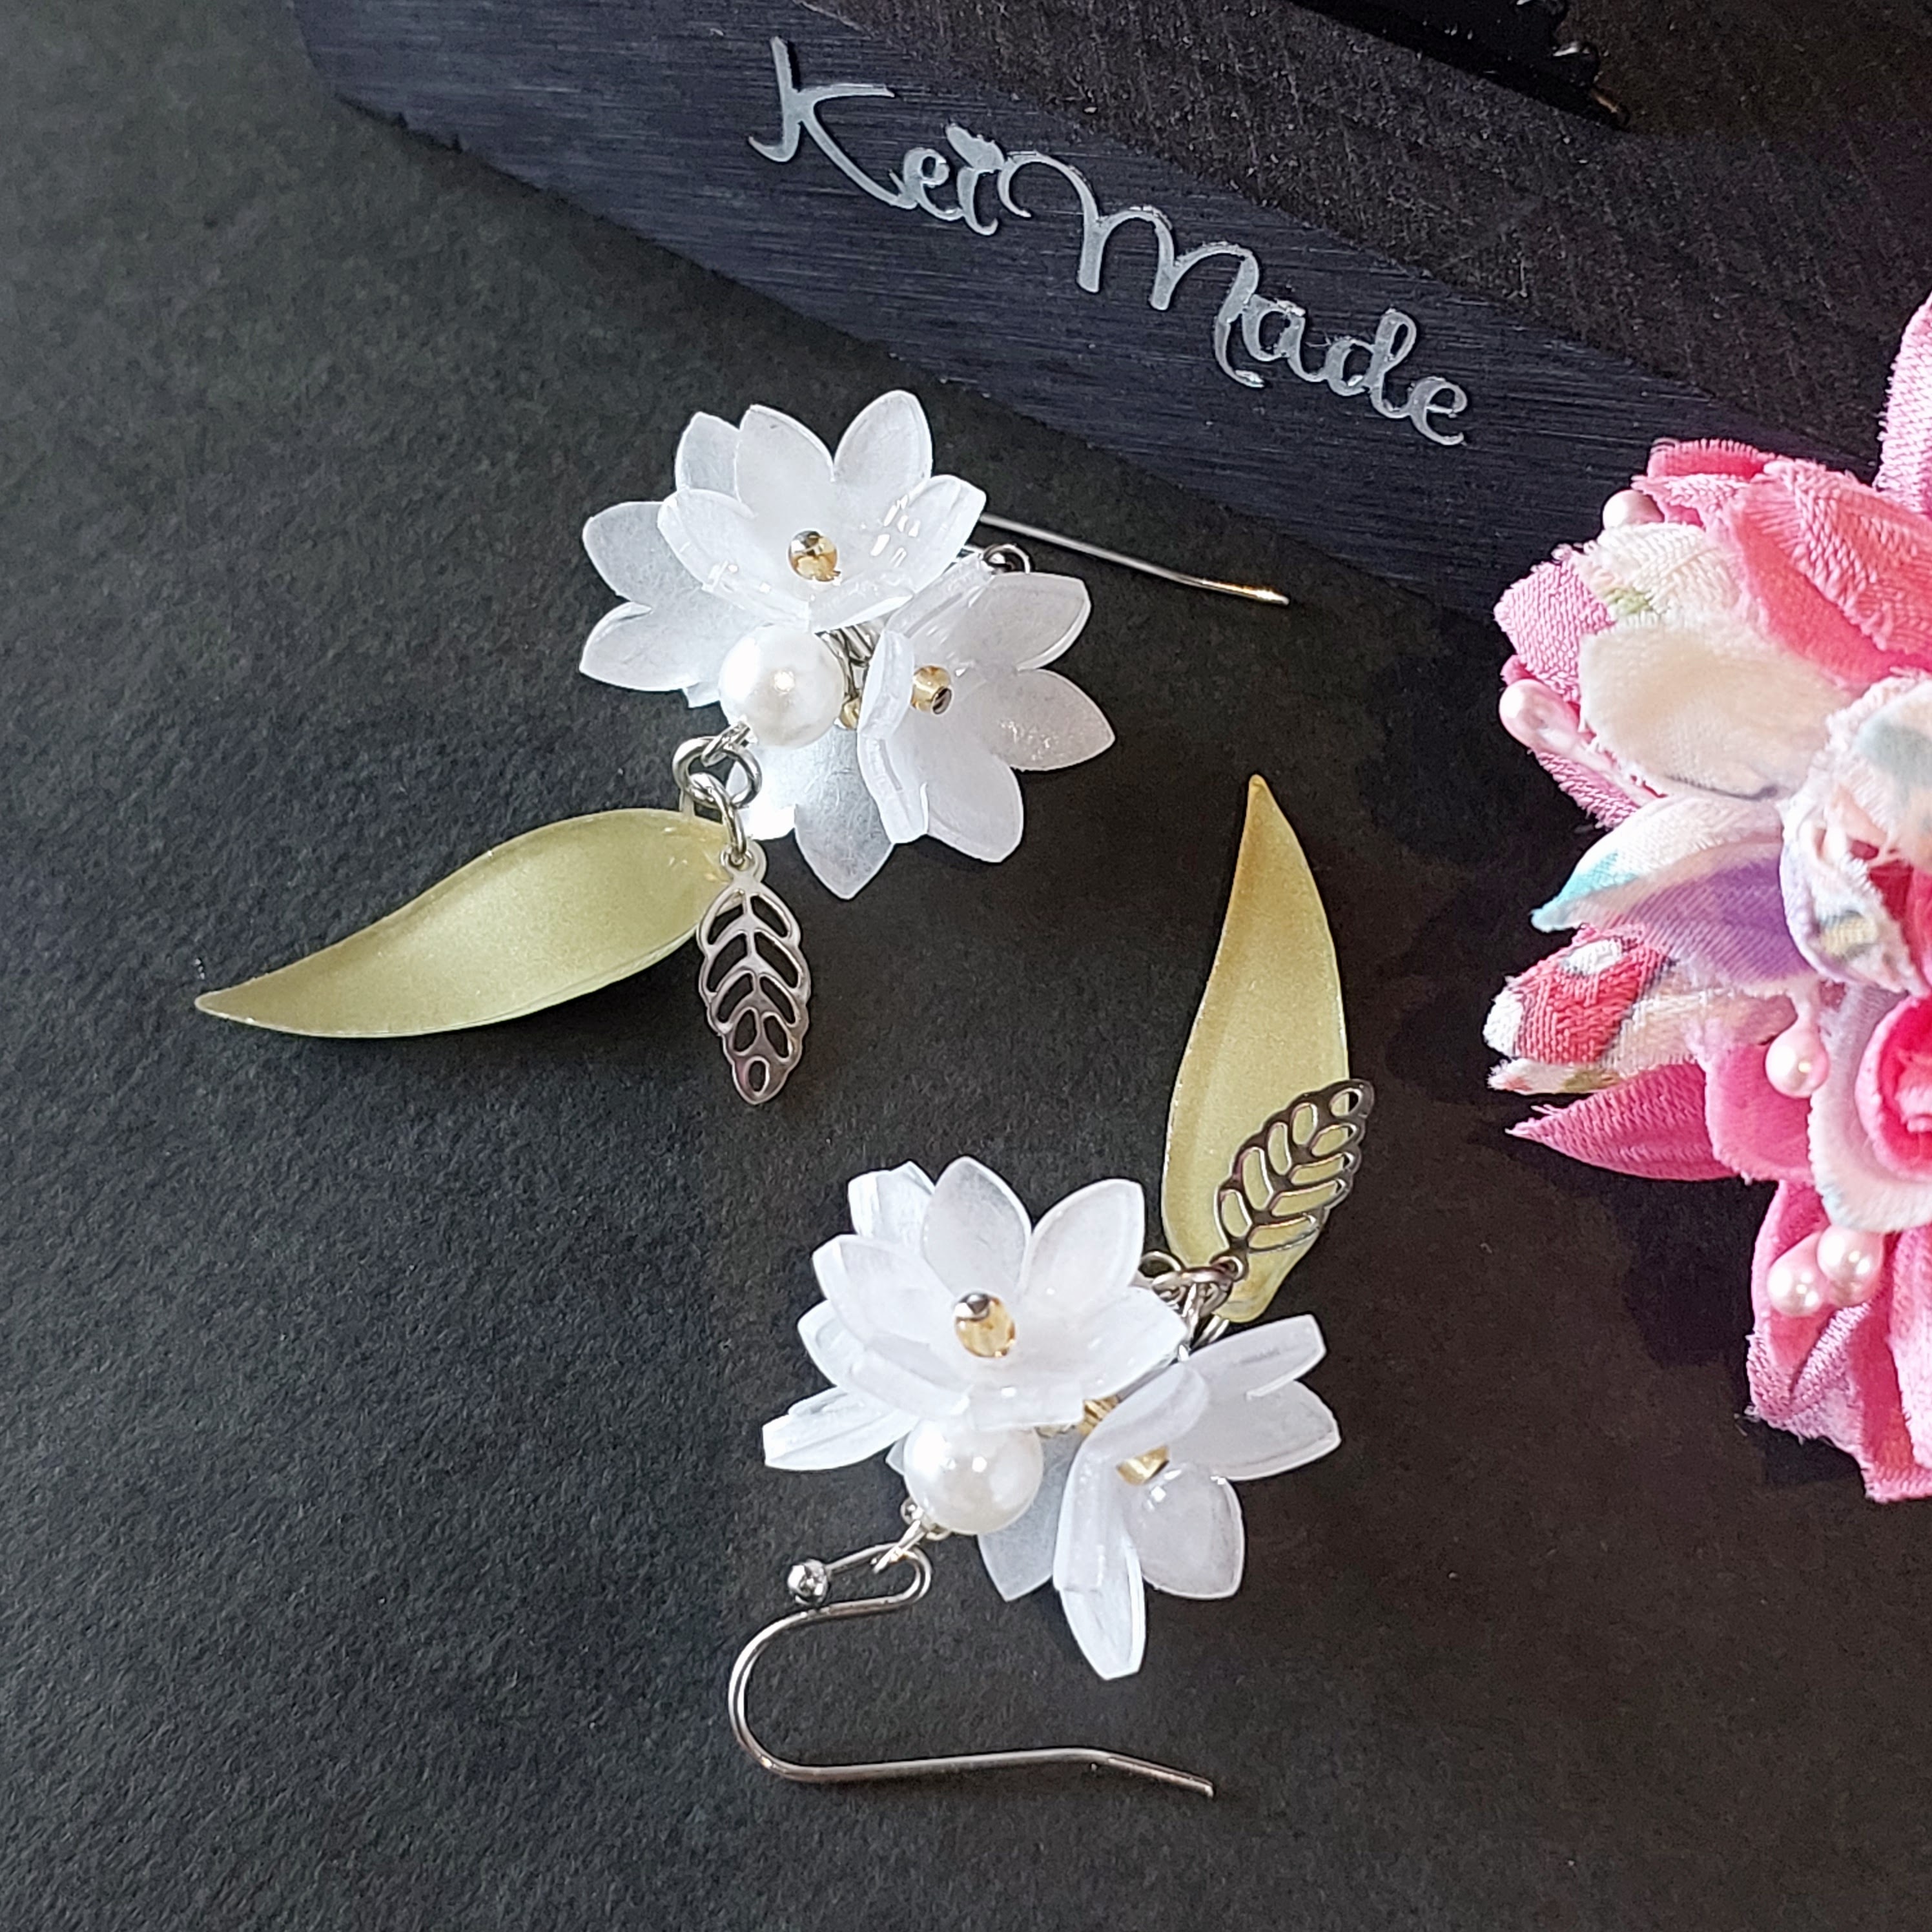
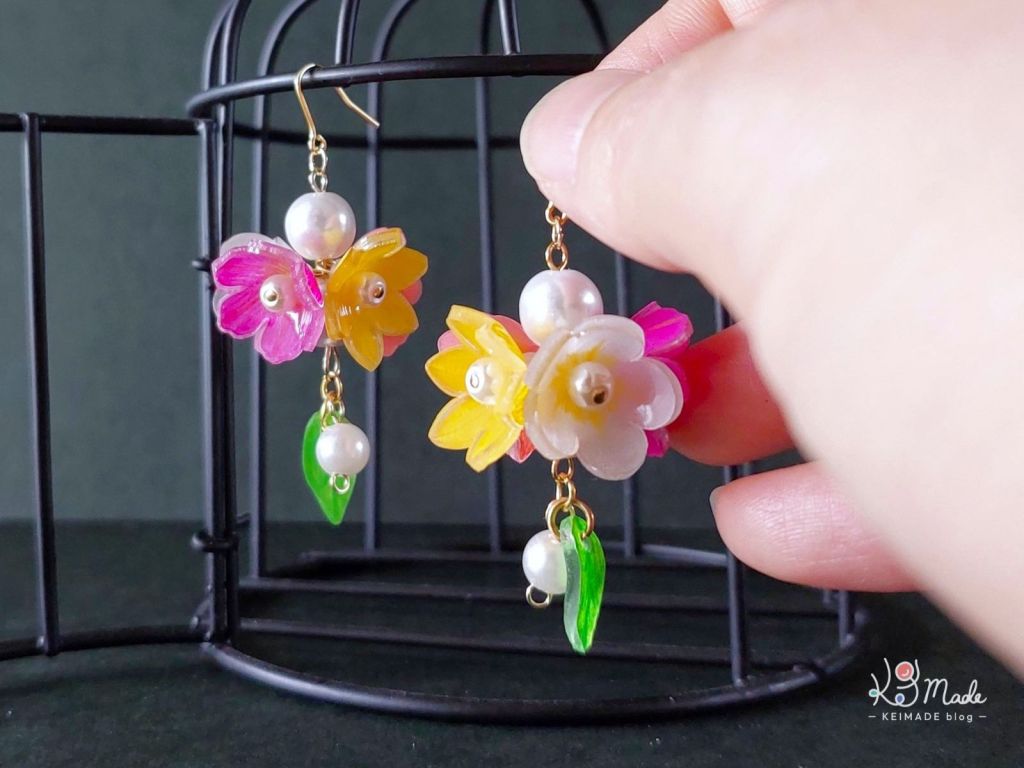
PDF & SVG Shrink Art Floral Earrings Template
Make your own Floral Earrings out of shrink plastic with these template files.This download accompanies my blog post at https://keimade.com/shinkart-white-flower-earrings/Instant download includes:- P

PDF & SVG Shrink Art Blueberry Charm Template
Make your own Blueberry Earrings out of shrink plastic with these template files.This download accompanies my Blueberry Earrings Project Notes at https://keimade.com/shrinkart-blueberry-earrings/Insta
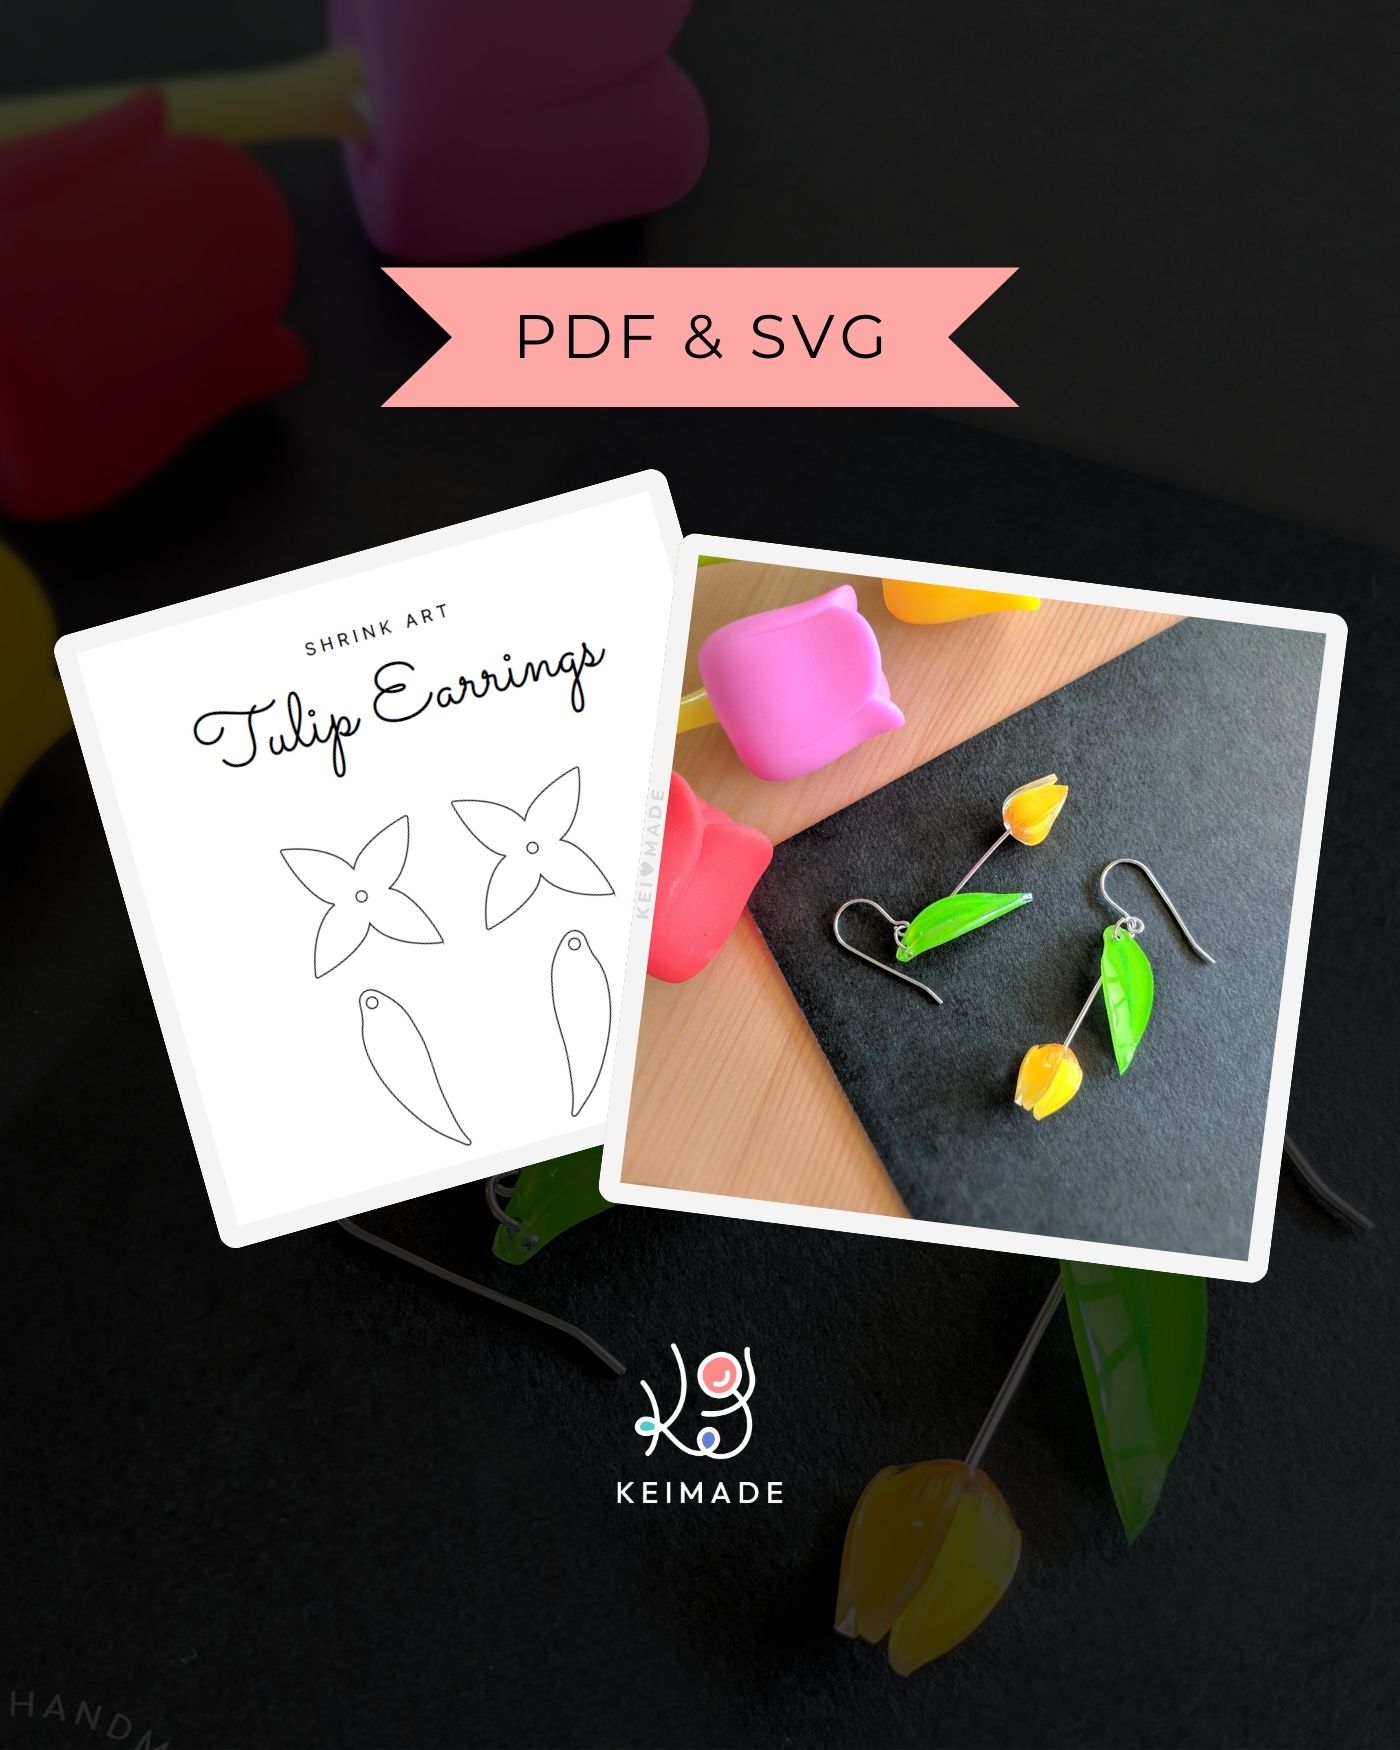
PDF & SVG Shrink Art Tulip Earrings Template
Make your own Tulip Earrings out of shrink plastic with these template files.This download accompanies my Tulip Earrings Tutorial at https://keimade.com/shrinkart-tulip-earrings/Instant download inclu
Option #2: Custom material settings
I tried a few more experiments to nut out what settings would be better for cutting 0.3mm frosted shrink plastic sheets with my Cricut Maker 3. Essentially, I wanted it to be easier to pop the shapes out, while avoiding it cutting into the mat.
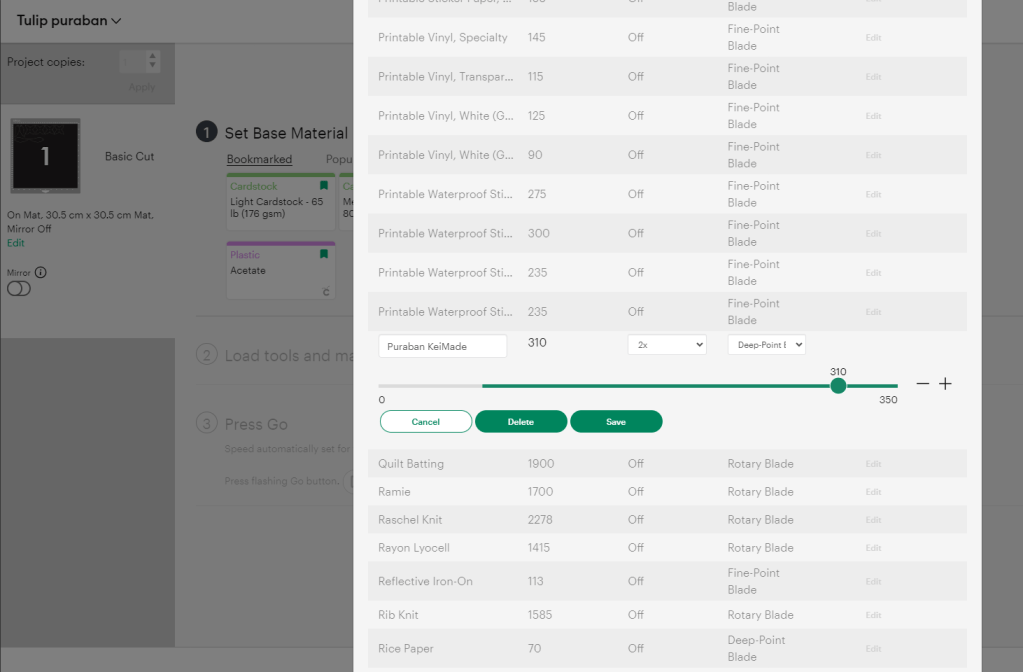
How to create custom material settings
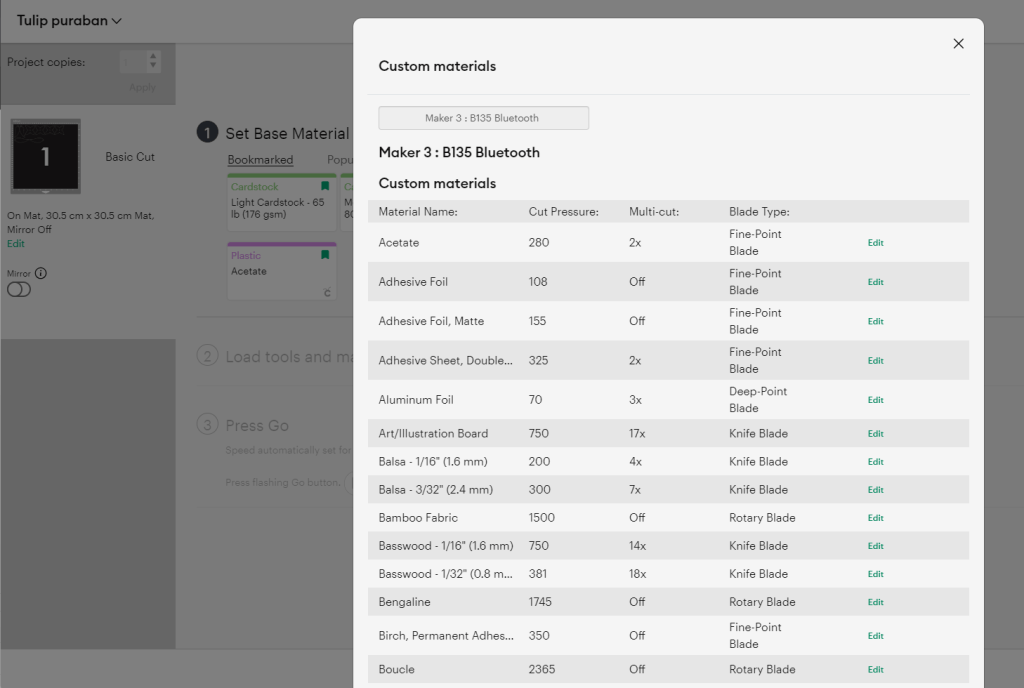
When selecting a material, you can add a custom setting. It’s a it’s a bit hidden, so check out this slide show:


My experiments
While the Acetate setting did cut OK with the “more” pressure setting, no one knows exactly how much the “more” increments the default value by. (Cricut’s official response is that it varies by material and by each machine.) When I look up Cricut’s acetate material, it’s like those transparent pillow box material; it’s definitely thinner and flimsier than frosted shrink plastic.
Looking at the default materials list, there is also something called Plastic canvas and the rather vague Plastic packaging.
| Material | Pressure | Passes | Blade |
|---|---|---|---|
| Acetate | 280 | x2 | Fine Point |
| Plastic canvas | 345 | x3 | Deep point |
| Plastic packaging | 345 | x6 | Deep point |
Cricut also says:
“Thicker or denser materials may not always require more pressure, but may require a multi-cut in order to cut through completely”
So the experiment values I started with were:
| Pressure | Multi-cut | Blade | |
|---|---|---|---|
| Puraban Test 1 | 310 | x2 | Deep point |
| Puraban Test 2 | 280 | x3 | Deep point |

I added more experiment values as I cut and saw the results.
Results & Best manual settings for shrink plastic
Here are the results of 5 test settings and which one worked best.
| Pressure | Multi-cut | Blade | Result | |
|---|---|---|---|---|
| Puraban Test 1 | 310 | x2 | Deep point | OK |
| Puraban Test 2 | 280 | x3 | Deep point | Not as good |
| Puraban Test 3 | 350 | x2 | Deep point | OK |
| Puraban Test 4 | 350 | x3 | Deep point | Great – mat got scored |
| Puraban Test 5 | 330 | x3 | Deep point | Great |
With Test 5 settings, the pieces popped out easily, and the blade didn’t score the mat.

The winner
| Pressure | Multi-cut | Blade | |
|---|---|---|---|
| Puraban Test 5 | 330 | x3 | Deep point |


Leave a Reply