


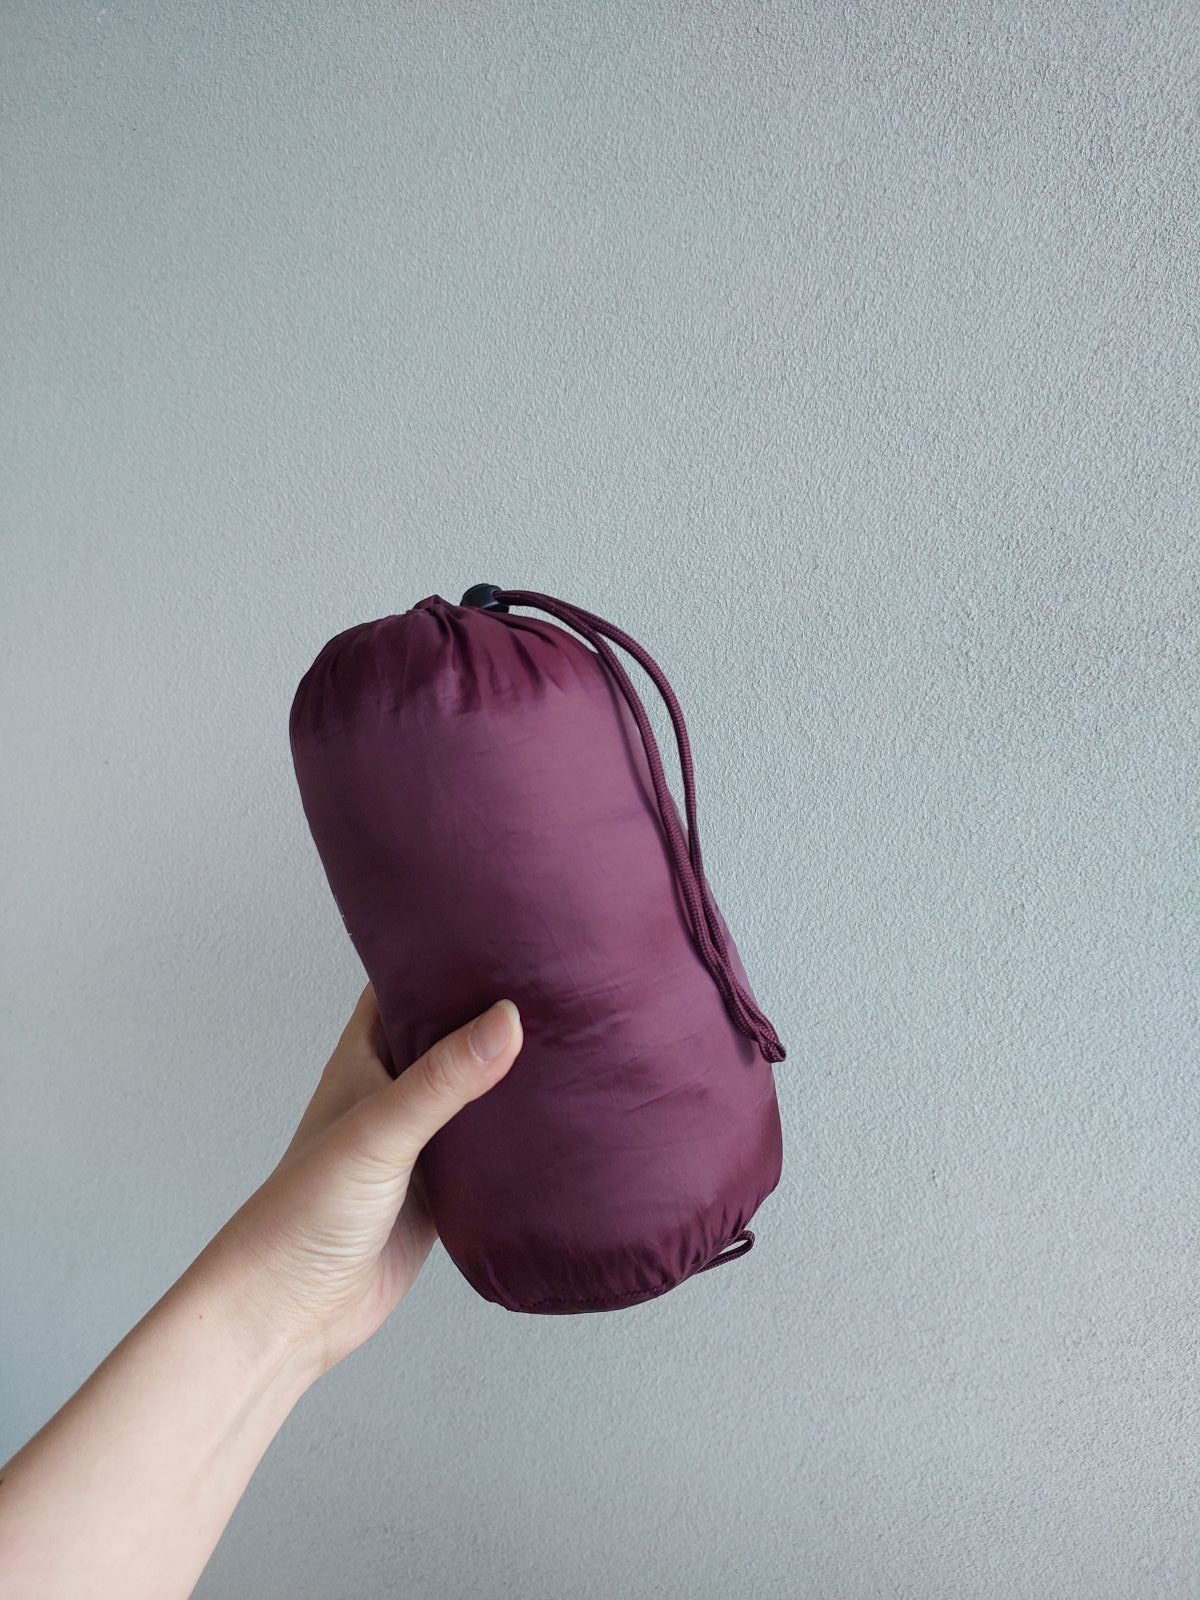
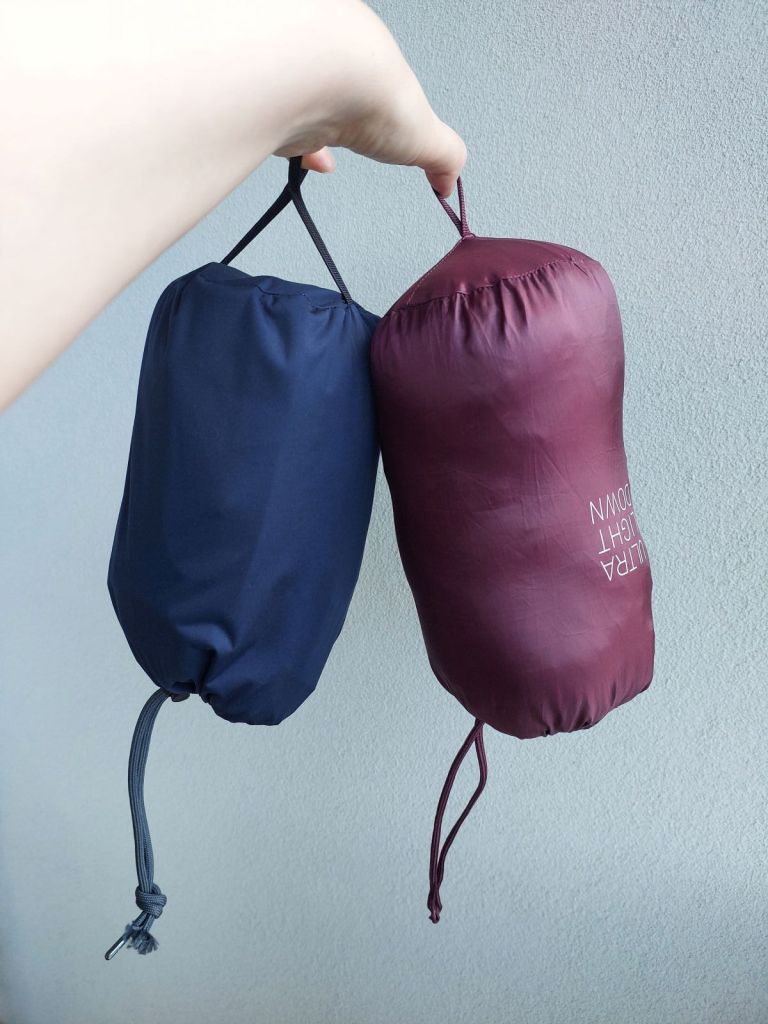
I recently bought a rain jacket, but it didn’t come with a stuff sack. Since it fit perfectly inside the pouch from my Uniqlo ultralight down jacket, I decided to make a similar one so I could pack my jacket away easily.

Pattern & Fabric

I used some leftover lightweight waterproof fabric and cut:
- 1x rectangle: 43 × 27 cm
- 1x circle: 13 cm diameter
From my scrap pile, I also gathered:
- 22 cm flat cord (for the pull tab)
- 40 cm round drawcord (for the drawstring)
- 1x cord lock hardware
How to Make a Stuff Sack
This is how I made my stuff sack. (My serger wasn’t happy with the fabric, so I ended up switching to my regular sewing machine halfway through XD)
1. Fold the flat cord in half, then stitch across both layers about 1 inch from the fold to create a pull tab.
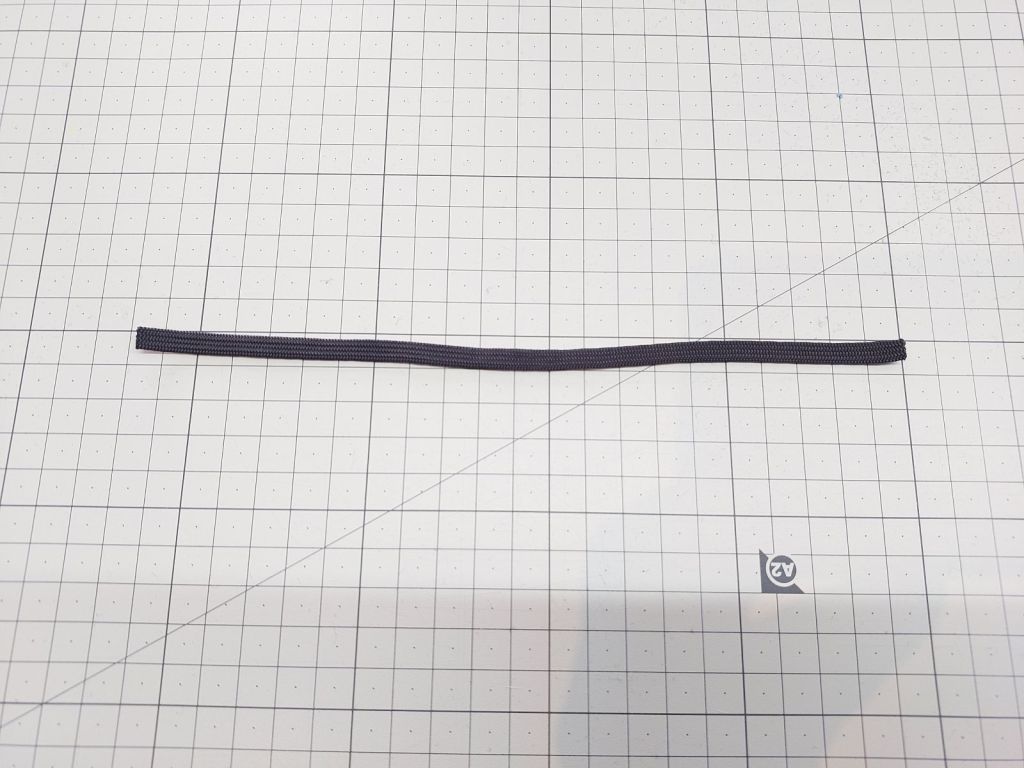

2. Baste stitch the pull tab onto the circular base piece.
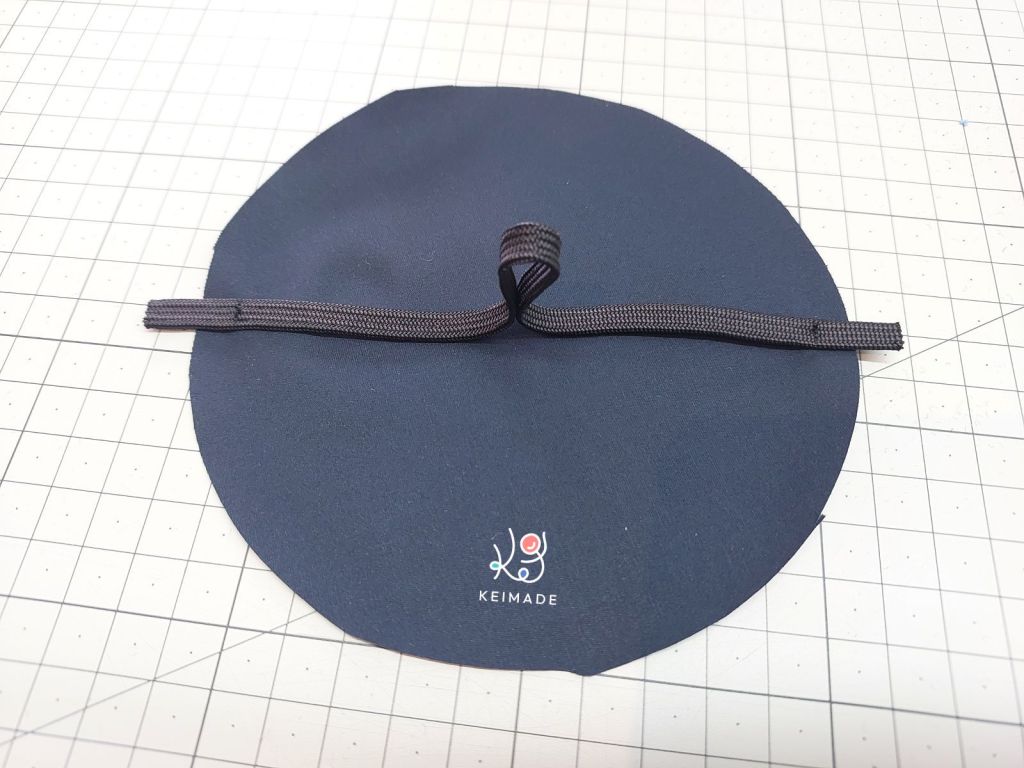
3. Fold the rectangle in half (right sides together) so the short edges meet, then serge or sew the edges to form a tube—leaving about 7 cm unsewn at the top. This gap will become the opening for the drawstring.
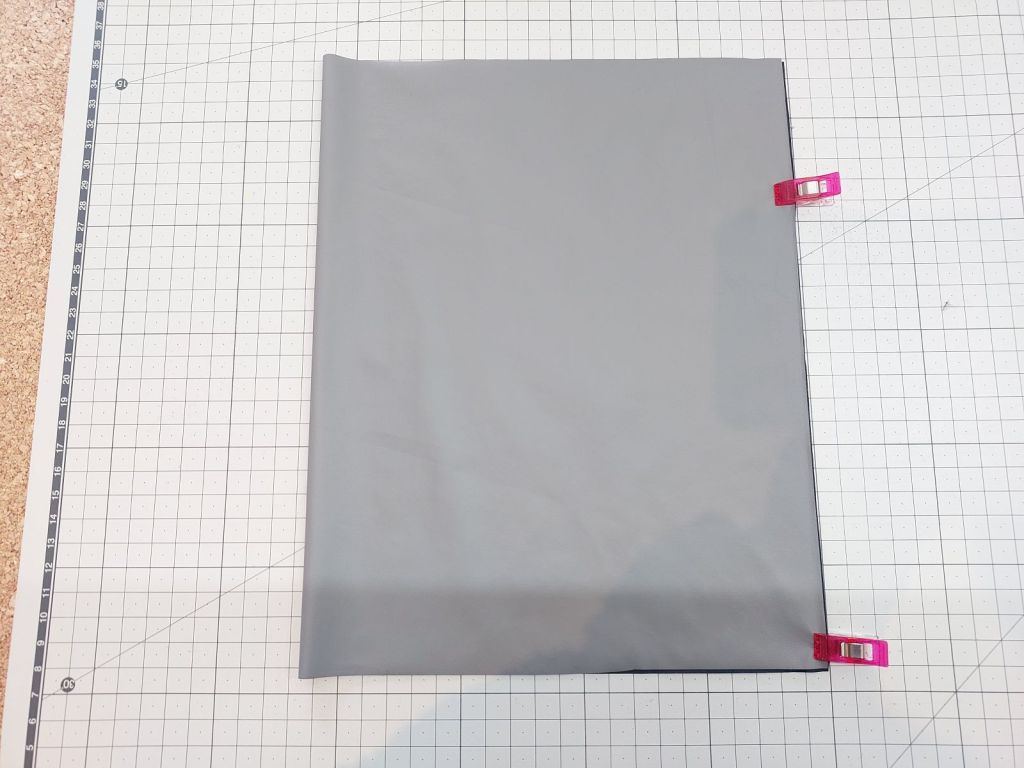
4. Attach the tube to the circular base, right sides together.
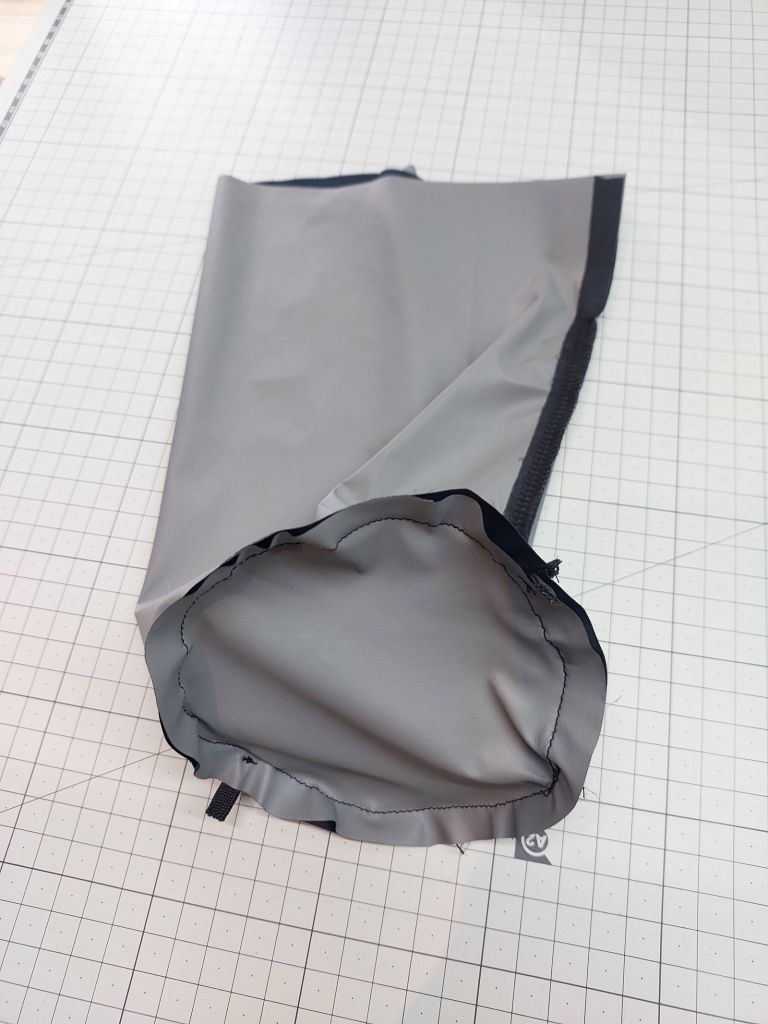
5. Fold the 7 cm opening inward twice and stitch it down to enclose the raw edges.
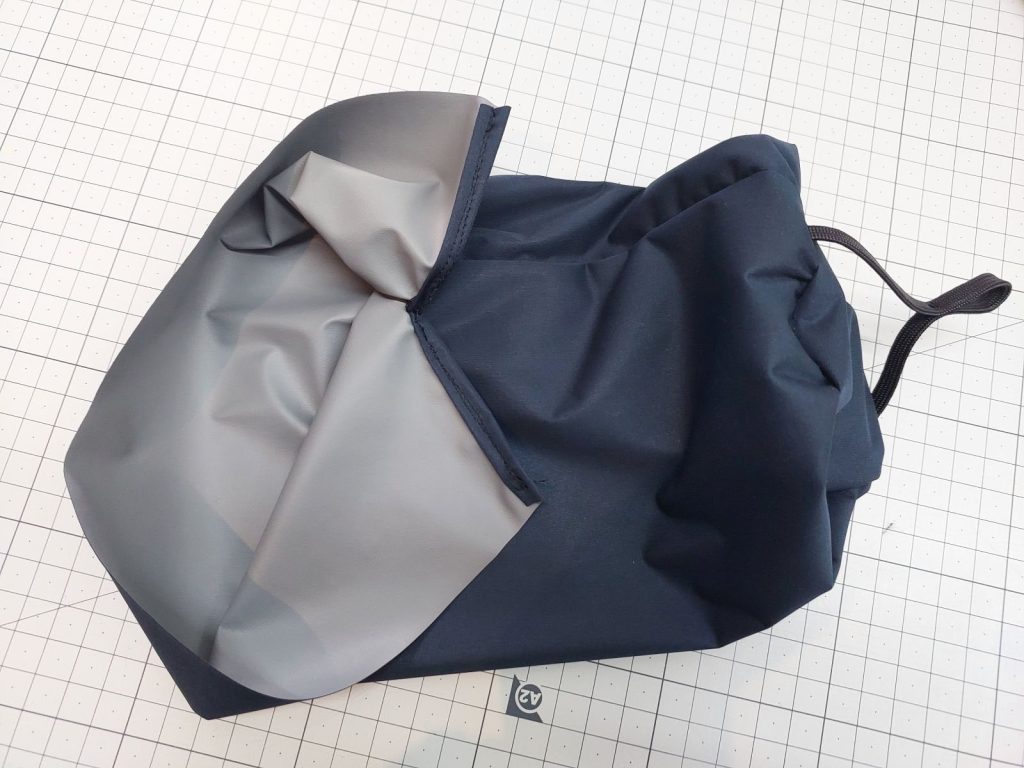
6. To create the drawstring casing, fold the top edge over by 1 cm and stitch around, then fold it again by 1.5 cm and stitch once more.
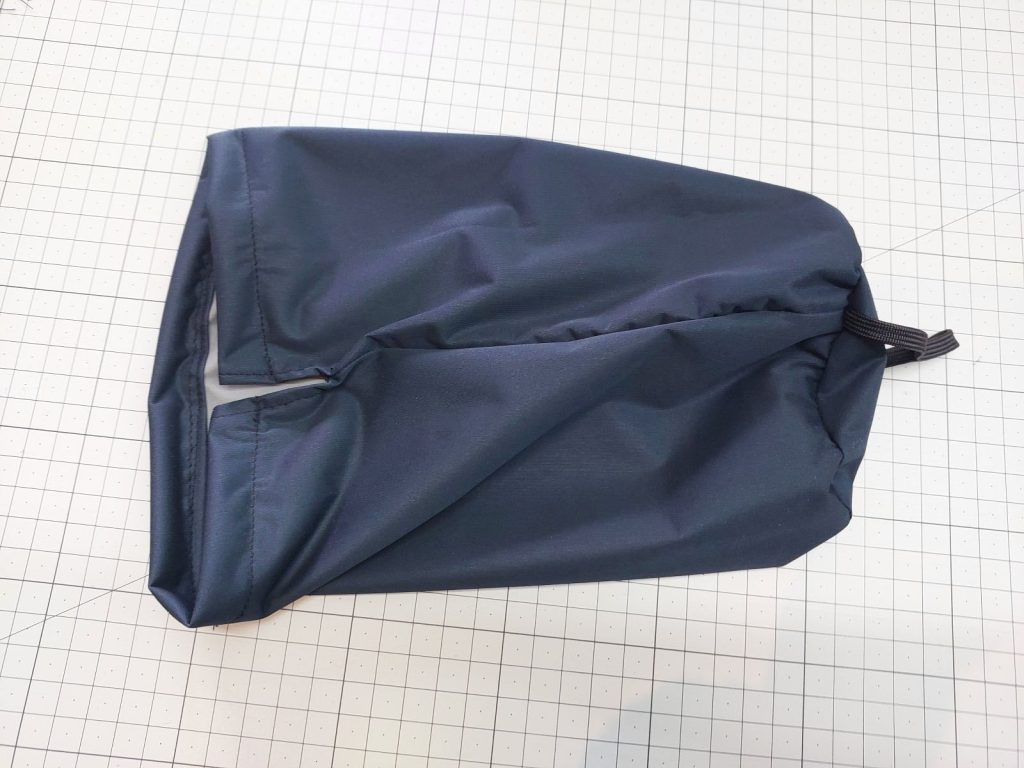
7. Thread the drawcord through the casing and secure it with the cord lock and knot.
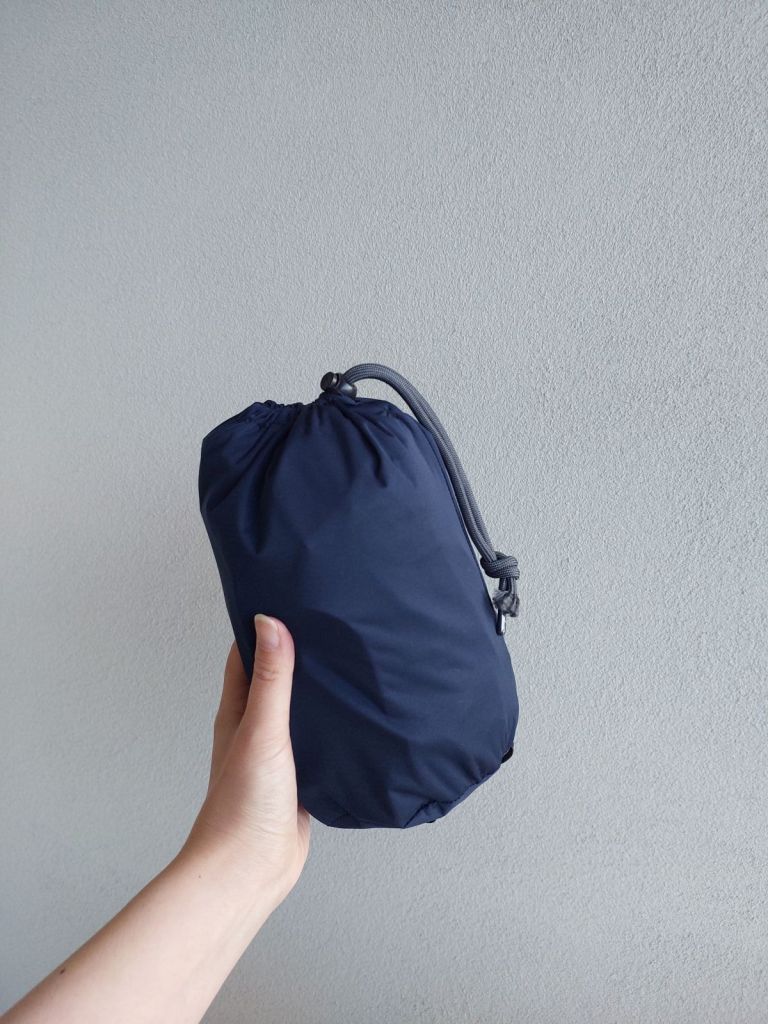
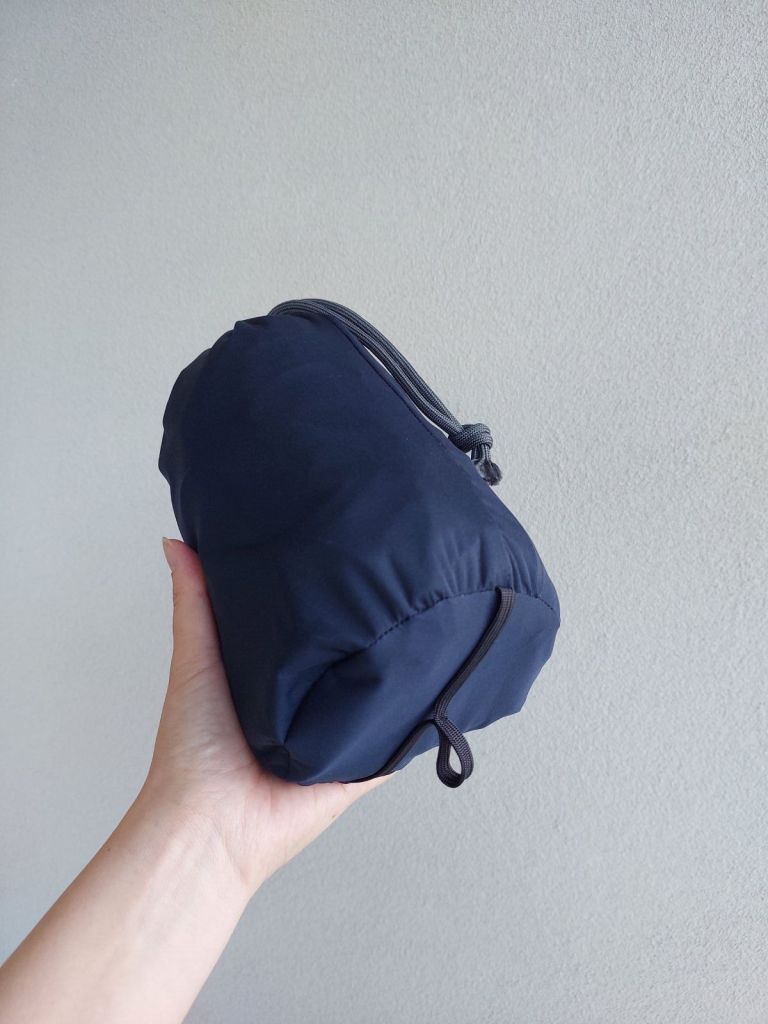
Results





Leave a Reply