There are quite a lot of ways to make a cute small flex frame pouch on Youtube. I tried out a few of them to find what works for me.
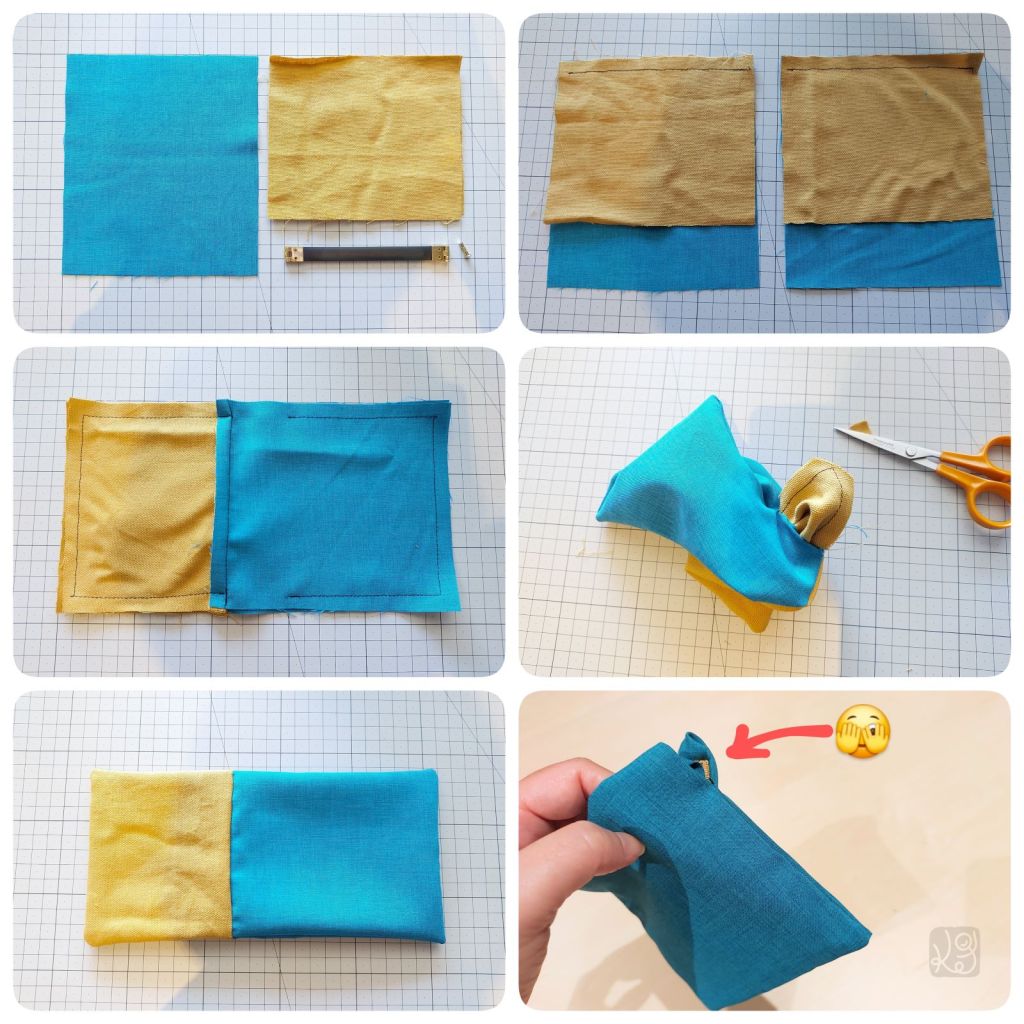
Connected casing method 🫣
This appears to be the simplest and cleanest method. The frame casing area is used as the opening to turn the pouch right way out towards the end, so there is no (potentially ugly) stitches on the inside of the pouch that closes the flipping opening.

I first tried this simple method looking method, but it didn’t work out when inverting the fabric just before inserting the frame as the raw edges didn’t want to stay folded inside. It might be alright if you’re using stiff fabric that stays down when folded or ironed.
Insertion method 🤔
This version creates the outer fabric pouch and lining pouch separately, then insert one into the other to connect at the frame casing.
This method might help with the problem above, but it has a couple of tricky bits and still has a raw corner at the end.
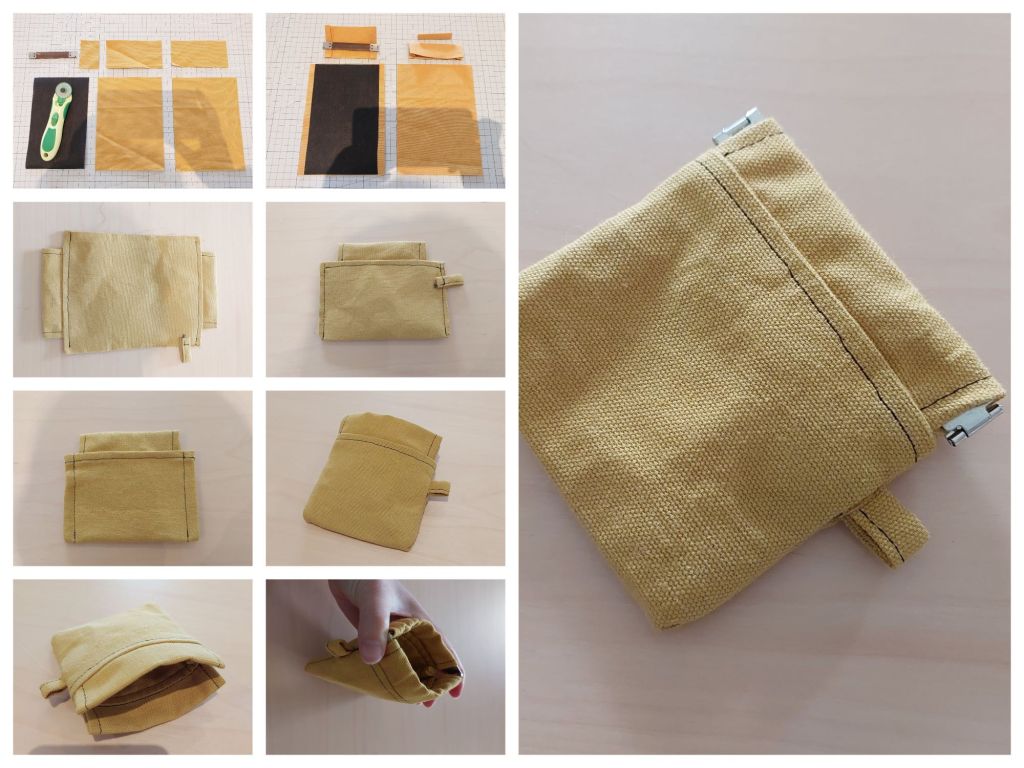
Separate casing method 😊
This method uses a separate piece of fabric for the frame casing, and all seams are clean.

This method of sewing the opening separately worked better for me.
For a 12cm frame, the dimensions cut were:
- 14cm x 6cm (x2 for the frame casing)
- 14cm x 12cm (x4 for the outer fabric and lining)

I was using the toothpick to temporarily keep the flex frame in place while testing. Later I swapped the toothpick out with an eye pin just for the prototyping. (I was just saving my only flex frame I had so I can use it with my pretty fabrics.)
I was thinking of ways to attach bag straps to the frame (from screw-in D-ring shackles to split pins). Then I found this video below and thought, “I was already so close with the eye pins – why didn’t I think of that” 🤣
This video sews using a similar method, but replaces the pins with 1.5mm aluminum wires to make loops in lieu of a flex frame that come with split pins for attaching straps.
All-in-one method 😲
This quick method looks interesting; the outer and lining fabrics are sewn together then flipped right way out all at once.
But it does result in a raw edge at the edge of the casing…
French seam method 🤗
In this method, the outer fabric and lining are sewed together with a french seam.
My third prototype was based on this french seam method. It worked great, but the seam is quite bulky compared to the small pouch size.
Conclusion
I compared 5 methods of making flex frame pouches. Which one was the winner?
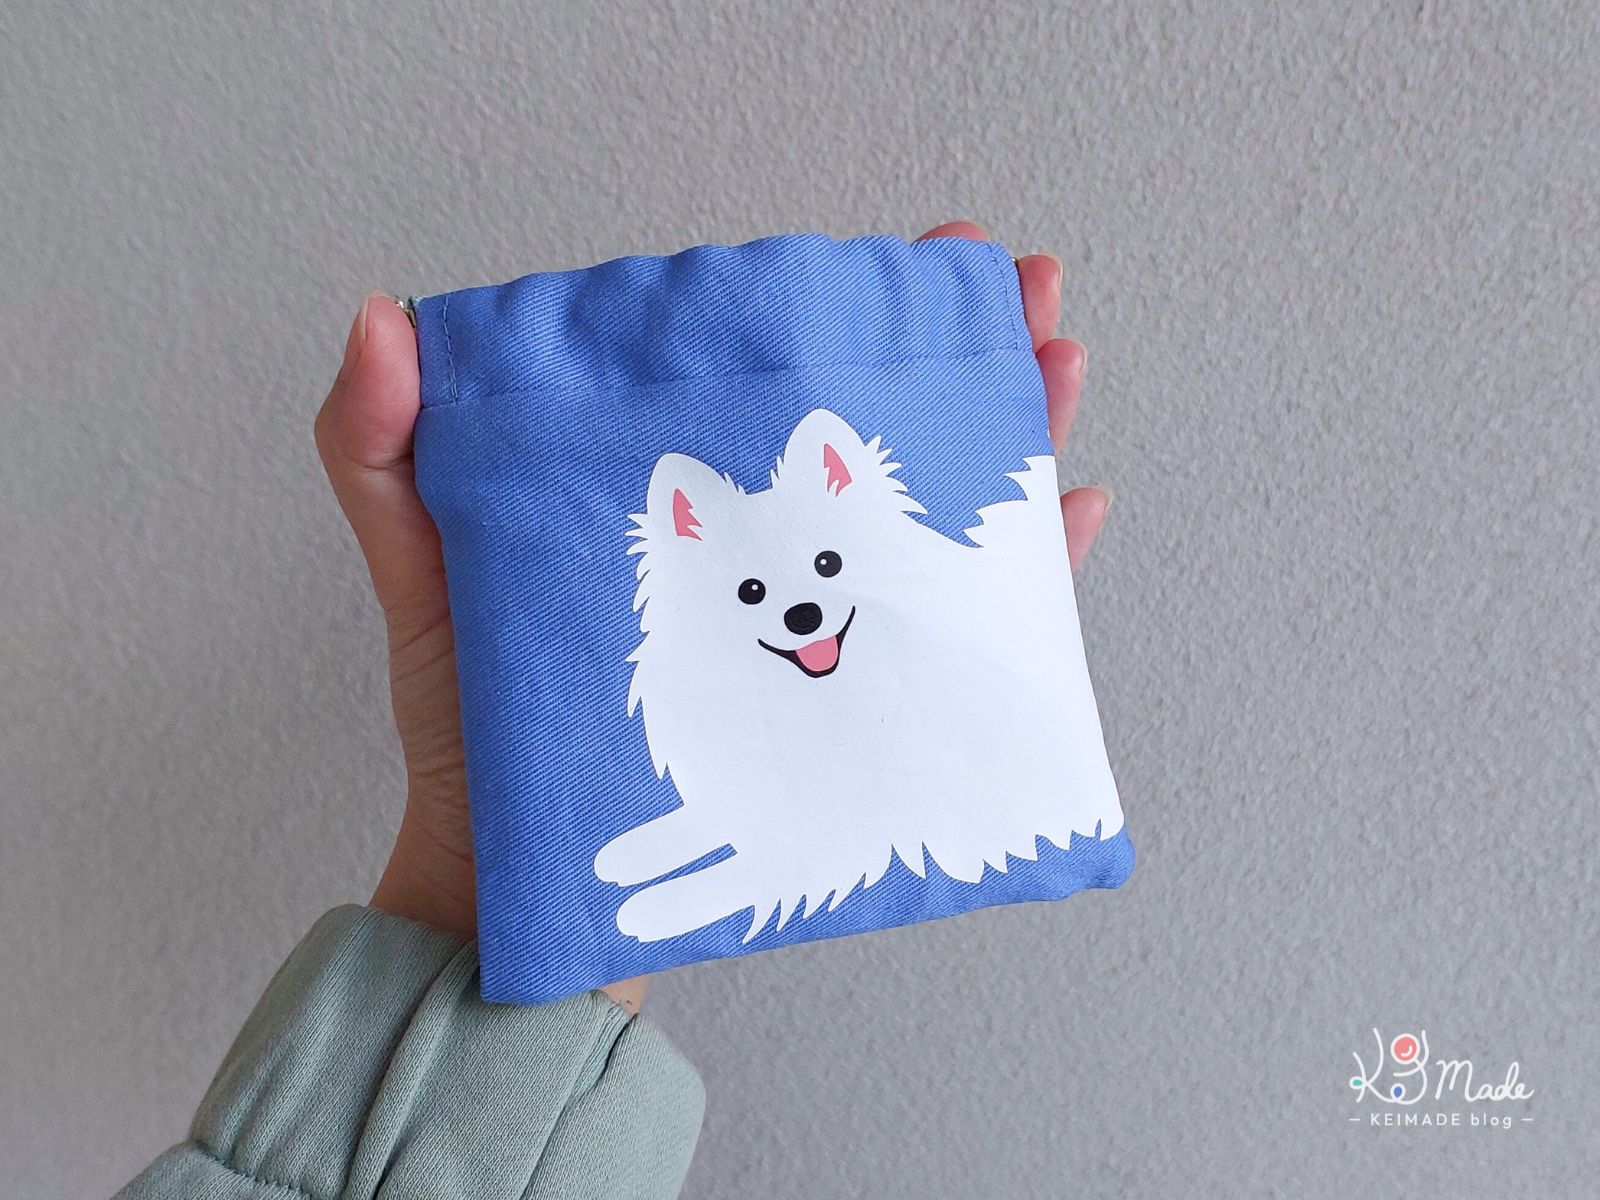
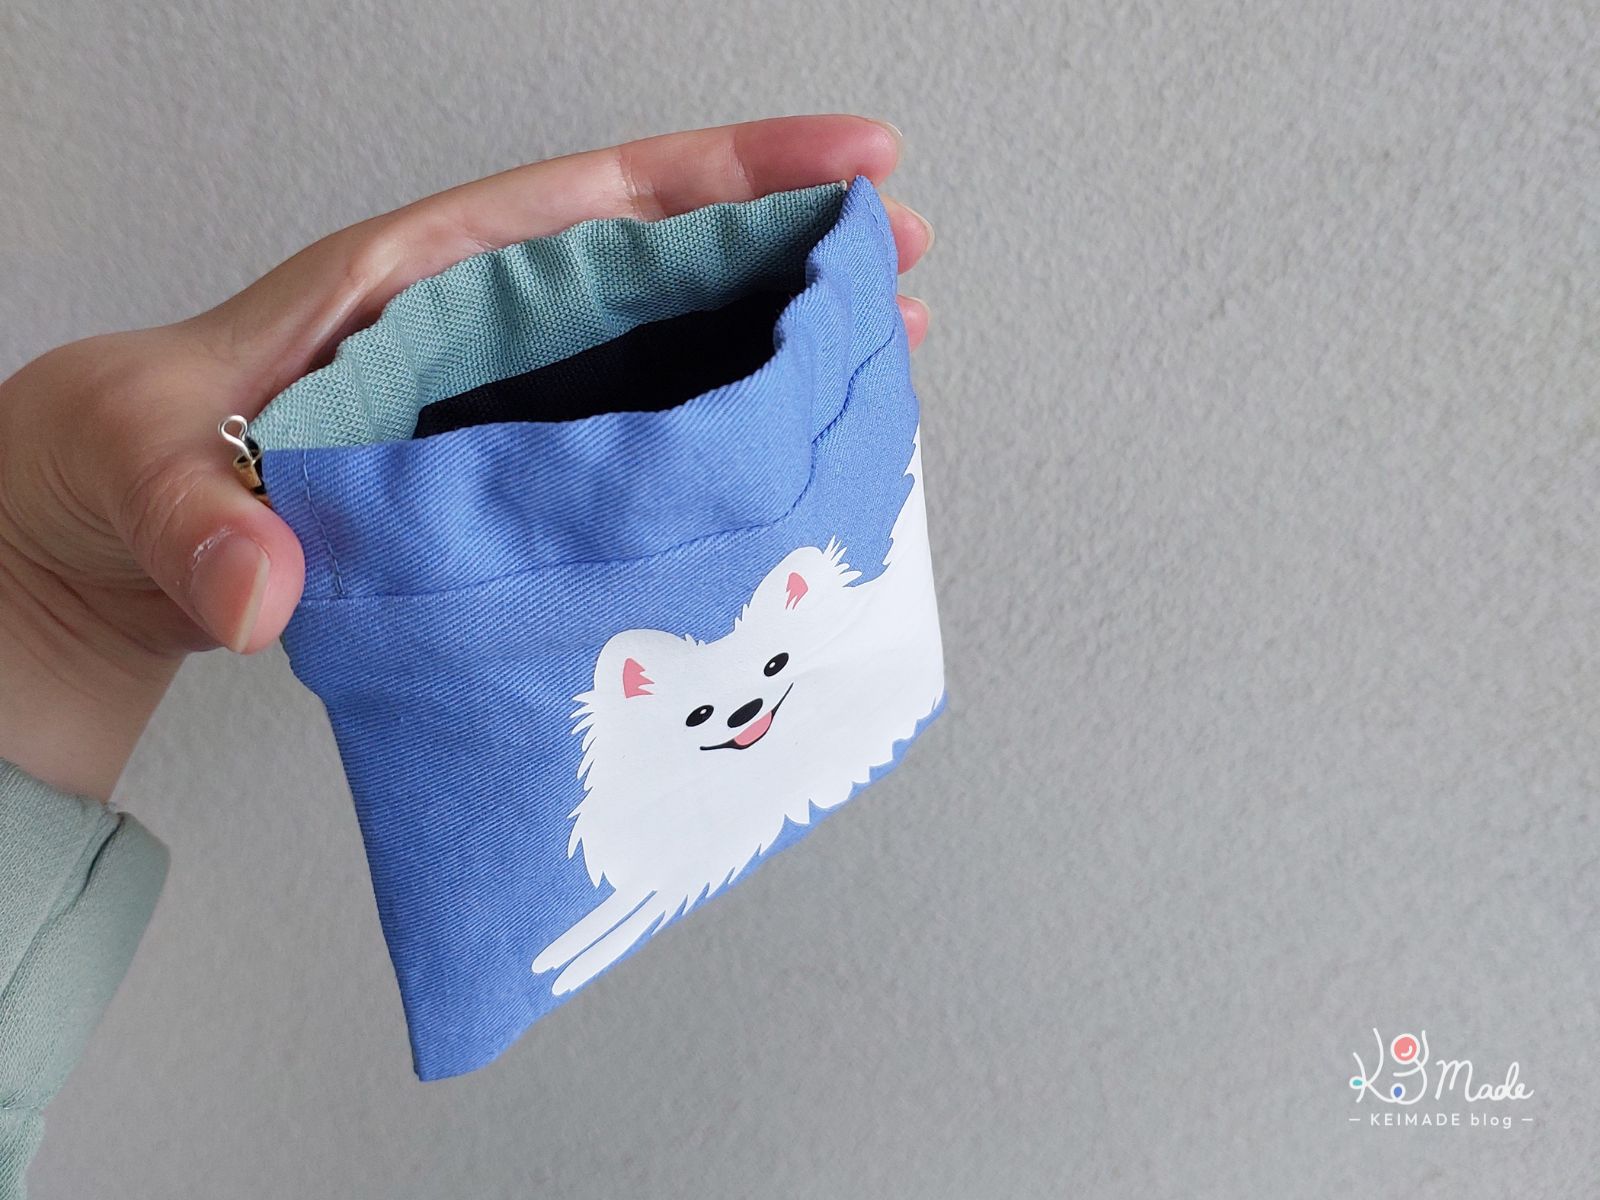
The method I chose to make my first flex-frame-to-keep was #3 – separate casing method. It’s simple to make and all seams are cleanly hidden away.
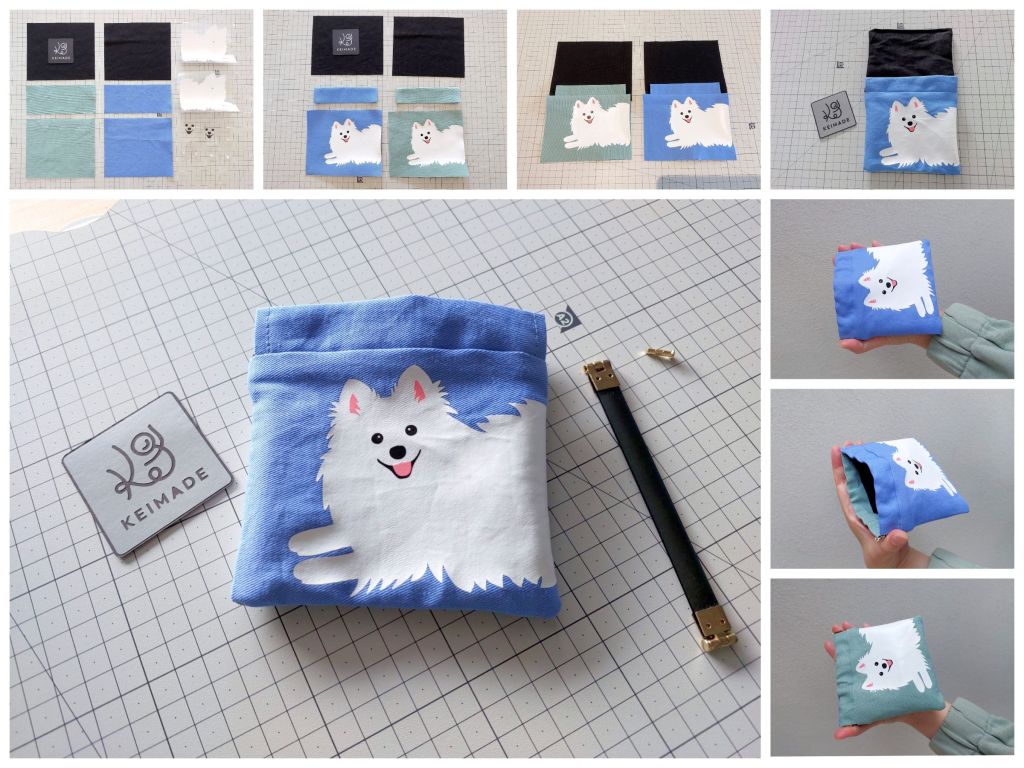
Using a 12cm flex frame, the fabric rectangles cut were:
| Blue (drill cotton “periwinkle”) | 14cm x 12cm 14cm x 6cm* |
| Green (duck cotton “light blue”) | 14cm x 12cm 14cm x 6cm* |
| Black (duck cotton “black”) | 14cm x 12cm (x2) |
*Next time I would use 5.5cm instead of 6cm to make it a tighter fit.
The heat transfer vinyl colours used were Siser’s white, black, and coral.
It took longer to prepare the heat transfer vinyl than it did to make the pouch!
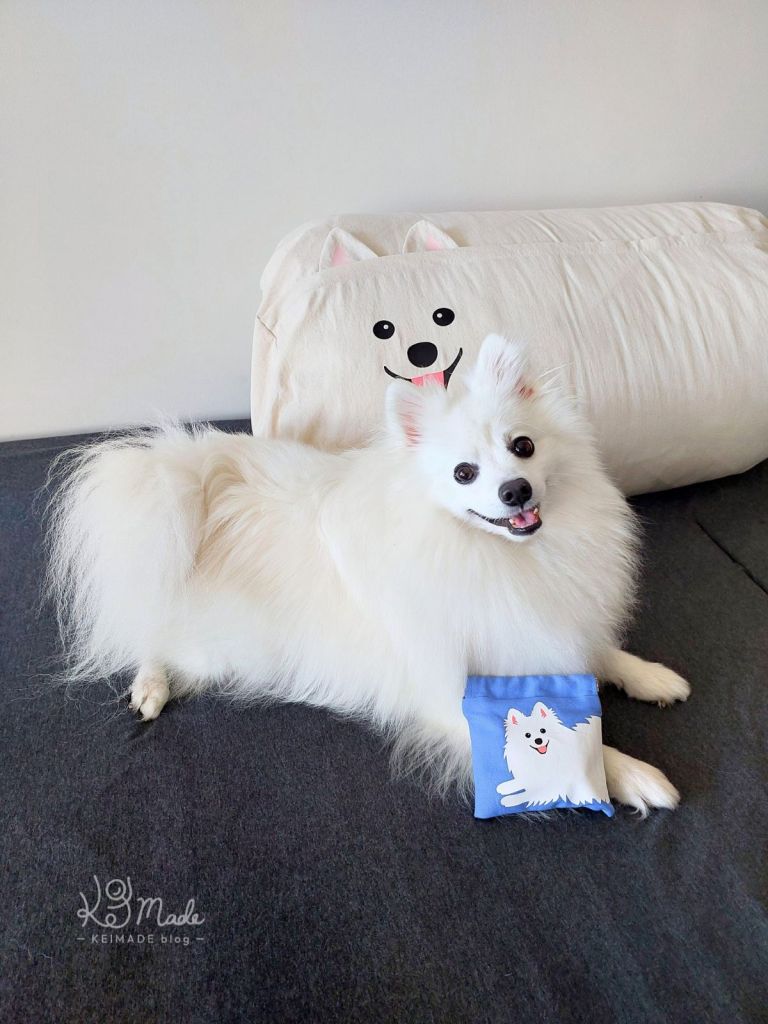
Now there are 3 of me!

Make sure to buy quality flex frames – cheapo ones don’t open when you pinch them.


Comments (2)
Neetasays:
April 14, 2026 at 8:47 amWhere did you buy your flex frames? Any particular brand?
Kei Madesays:
April 26, 2026 at 5:08 pmHi there! I picked mine up at Yuzawaya. I wish I could share a brand, but the packaging didn’t list one (> <)