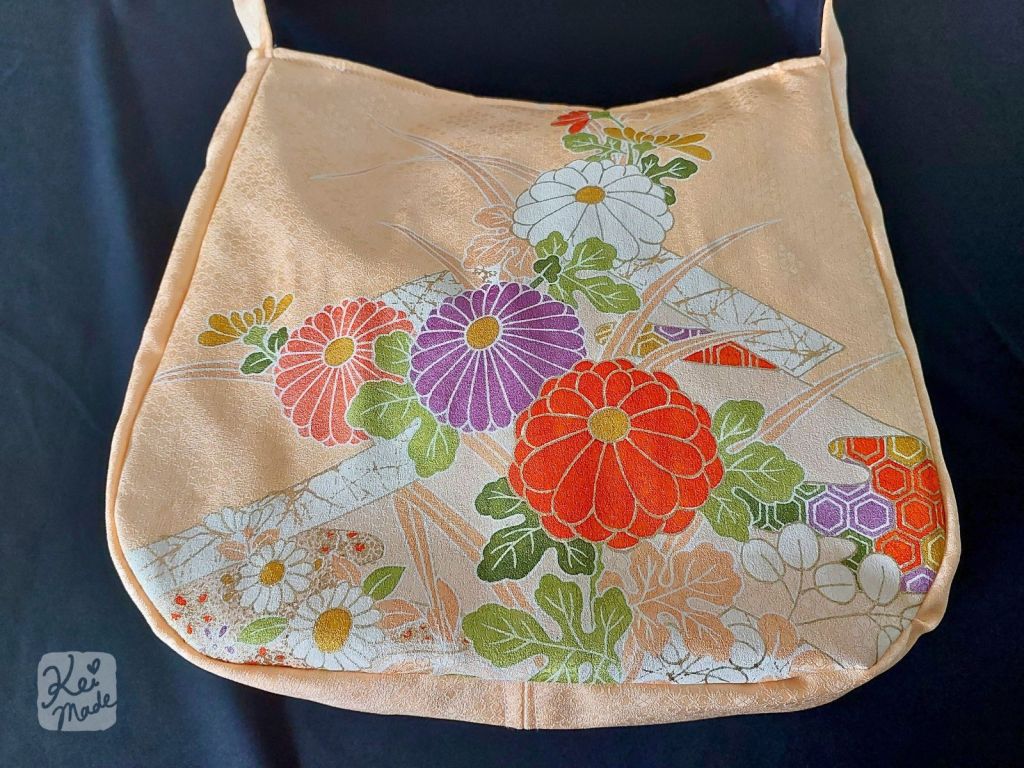
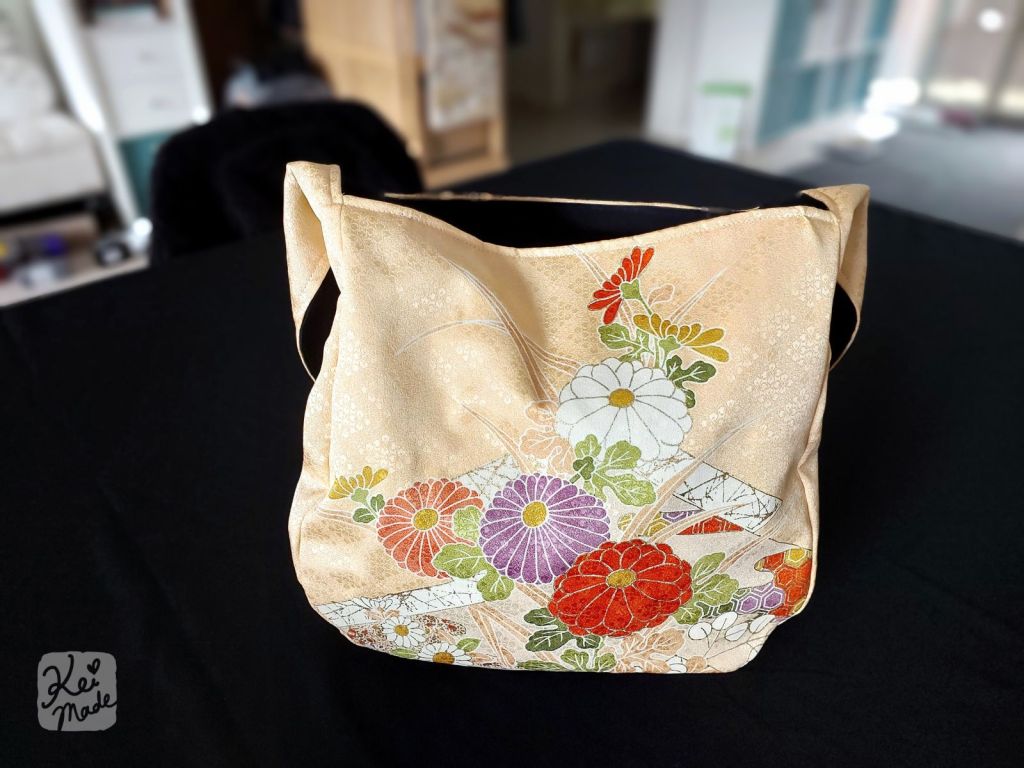
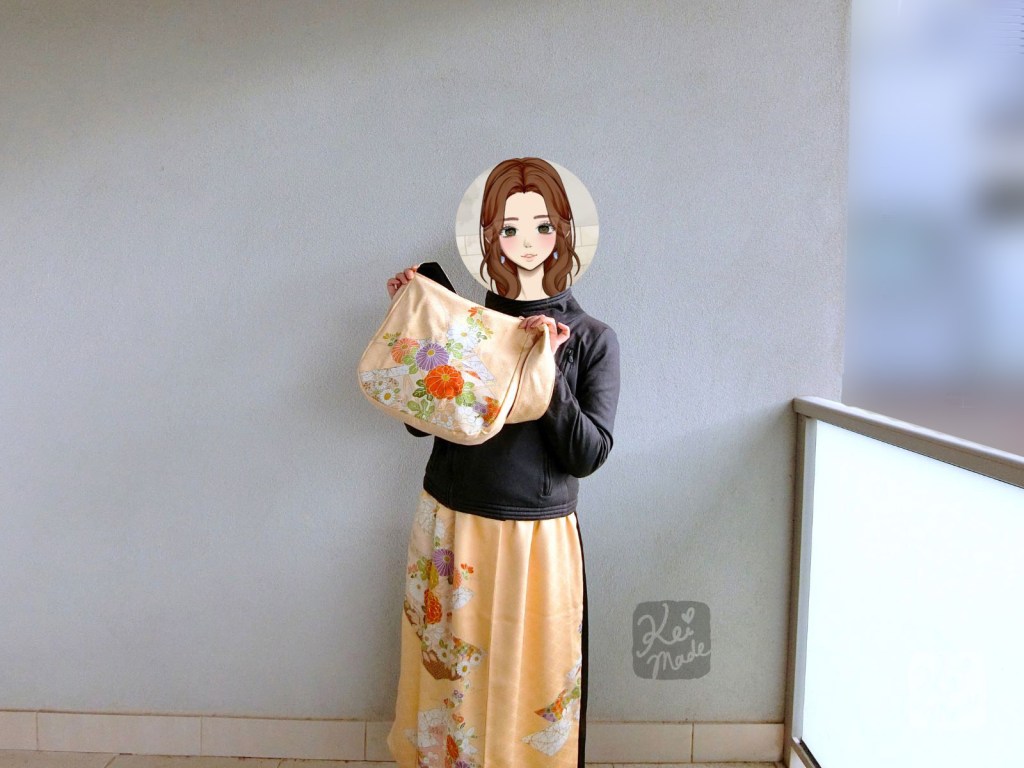
After turning the hem of a coffee-stained silk kimono into a skirt, I decided to upcycle the leftover sleeve into a shoulder bag. Here’s the pattern, materials used, and steps followed.


Sewing pattern
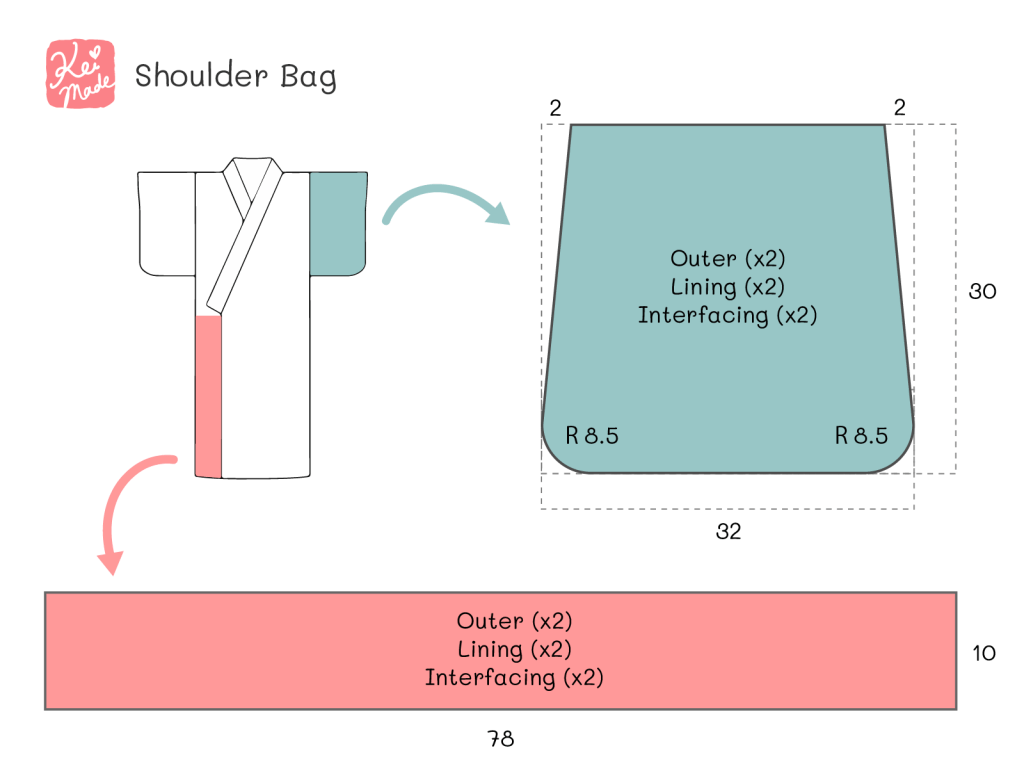
I wanted to utilise the beautiful vertical design on the sleeve. I found this bag style from Kokka Fabrics and used it as inspiration. I adjusted the sizing so it can be made from a sleeve of an unwanted kimono, and simplified it to have no inner pocket. The handle will be ~35cm (x2) long above the top of the bag.
Materials used
Amount of fabric used to make this shoulder bag are:
- Outer fabric: 1 Kimono sleeve + 78 x 20cm
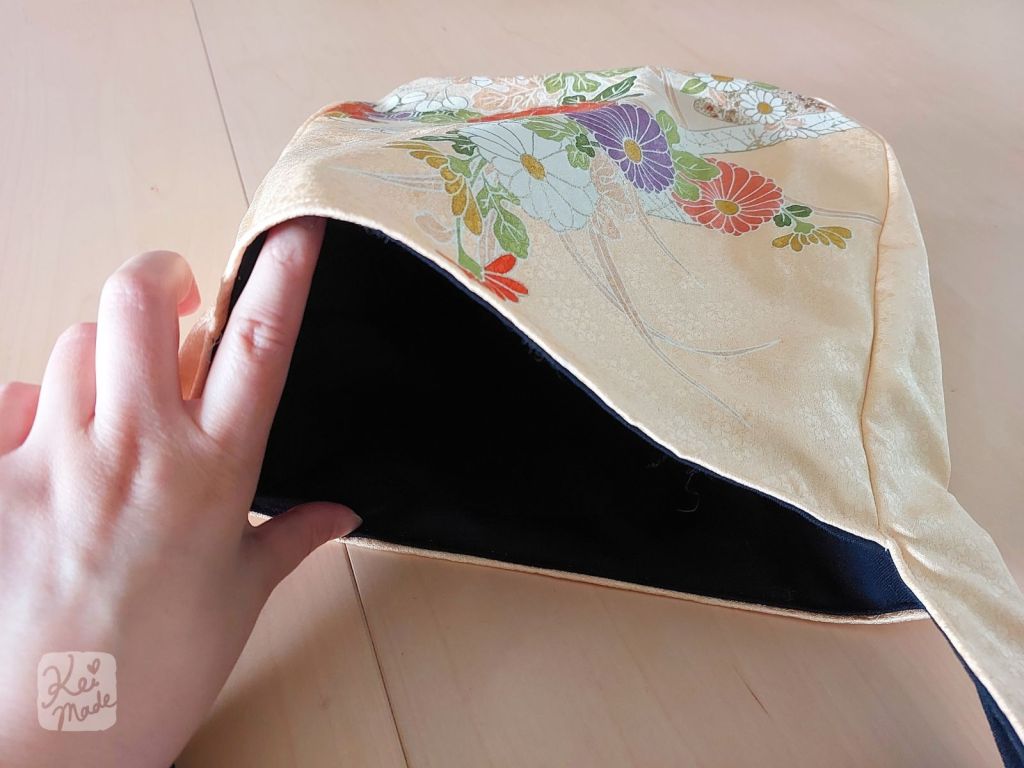
- Lining fabric: 78 x 50cm (black drill fabric)
- Interfacing: 78 x 50cm (white medium weight)
Interfacing
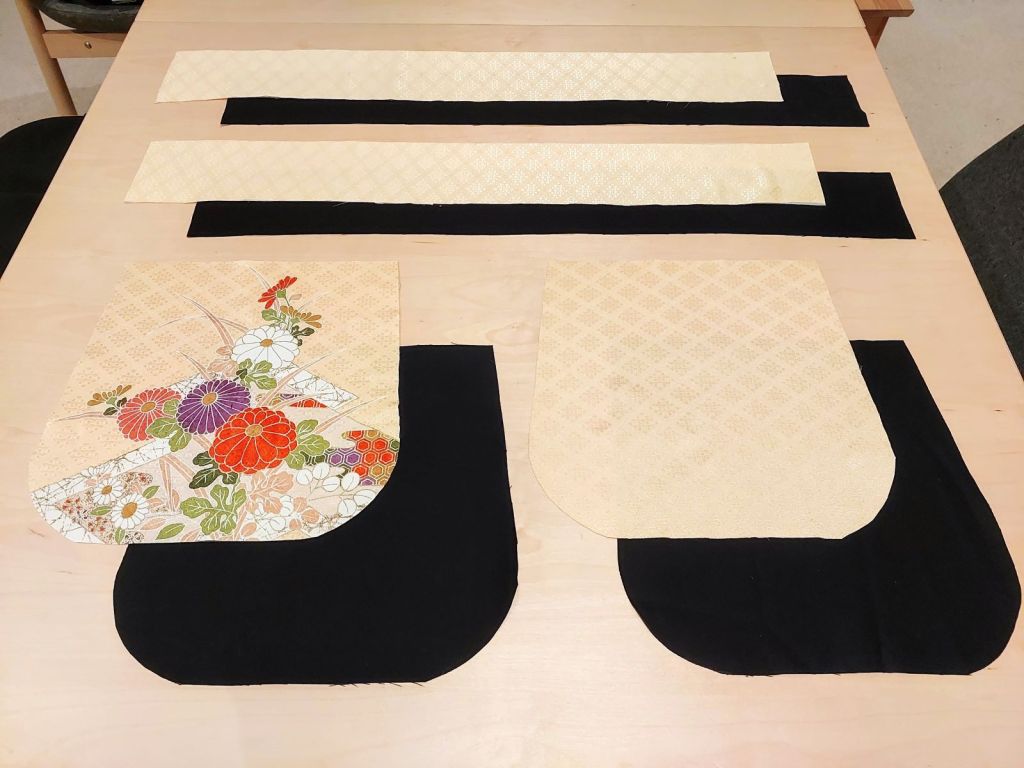
The pattern was first drawn onto medium weight white iron-on interfacing fabric, and cut out. This was used to trace and cut the outer kimono fabric and lining.


Lining
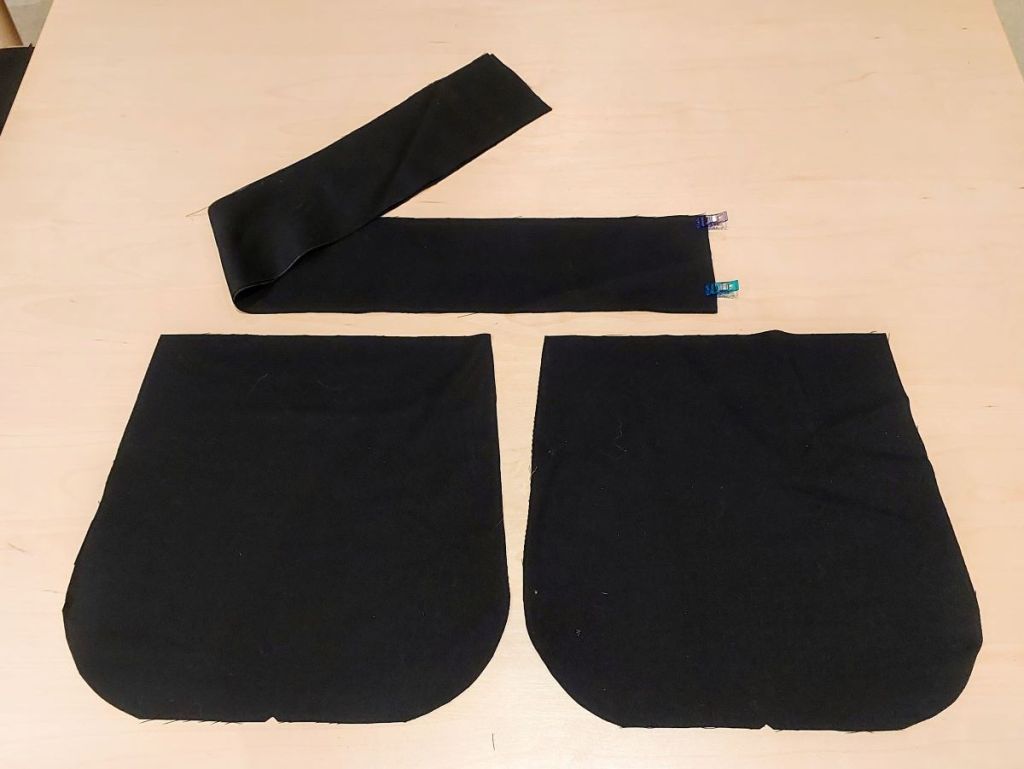
I wanted black lining, and I used left over poly-wool drill from my wrap skirt hakama project. The interfacing fabric cut above used as the pattern to trace around the black fabric with a chalk pencil.
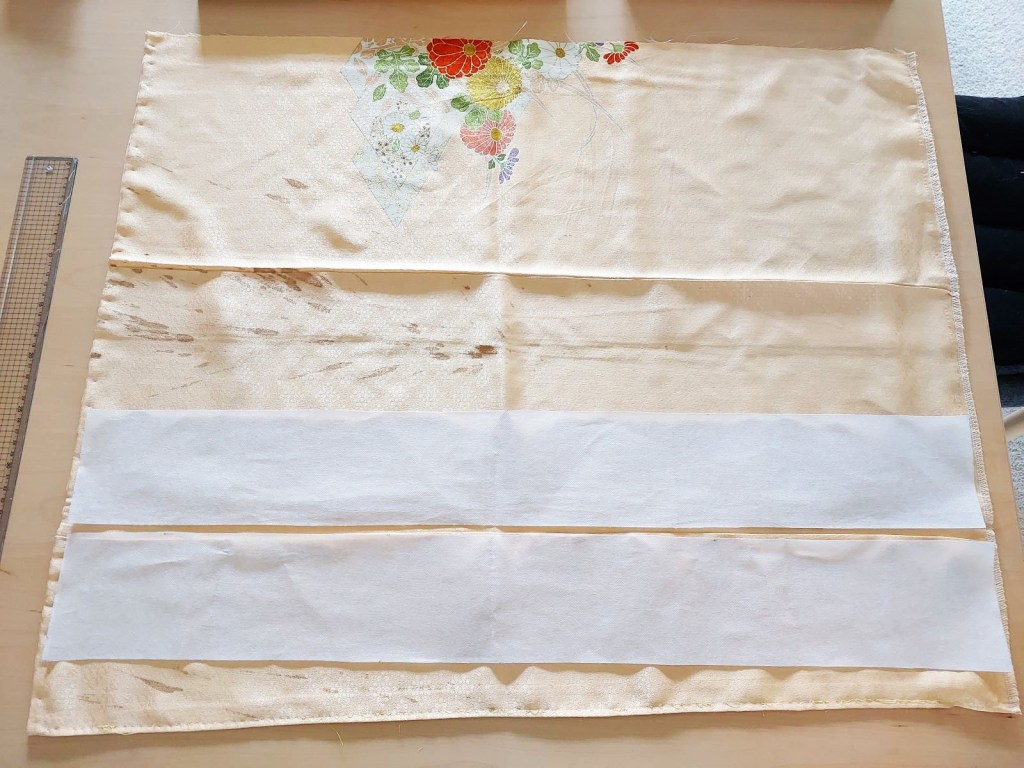
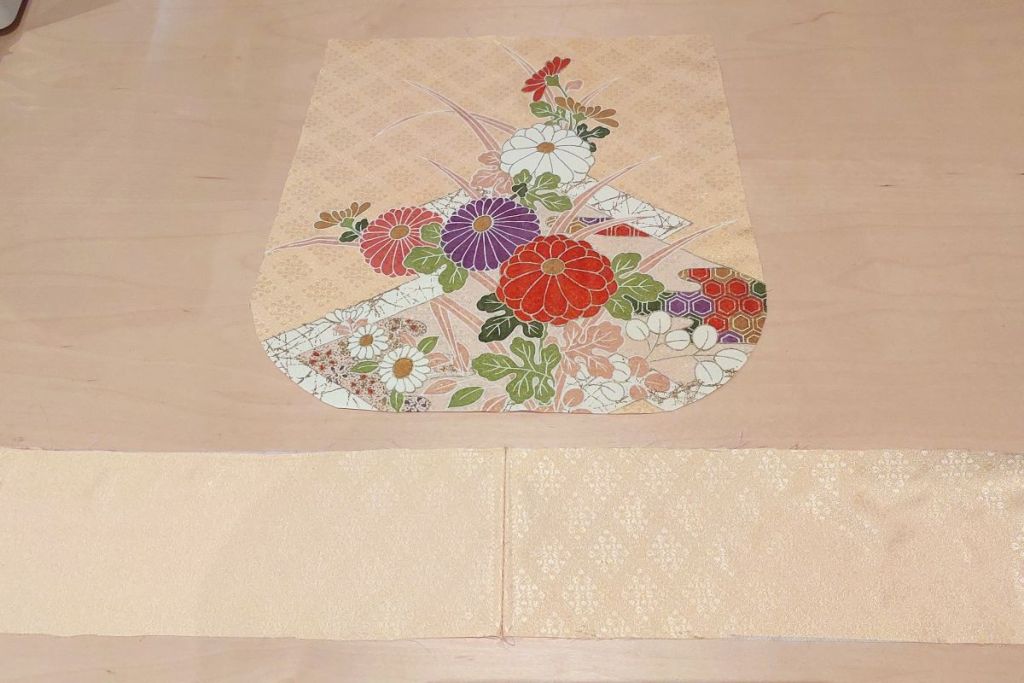
Outer fabric
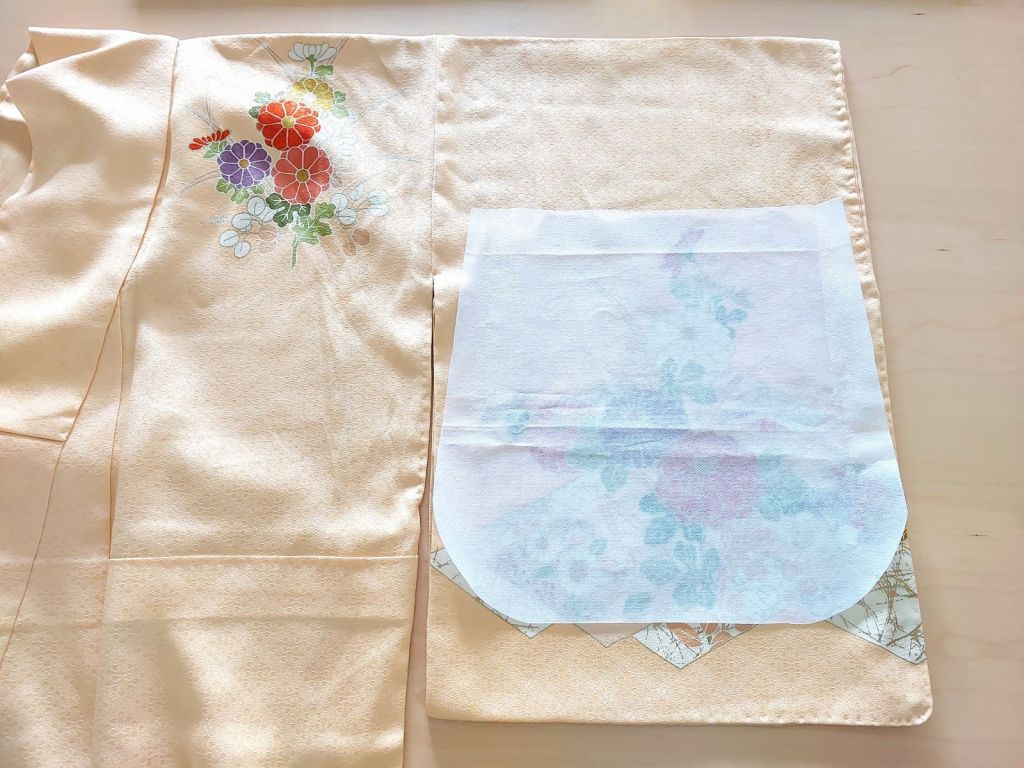
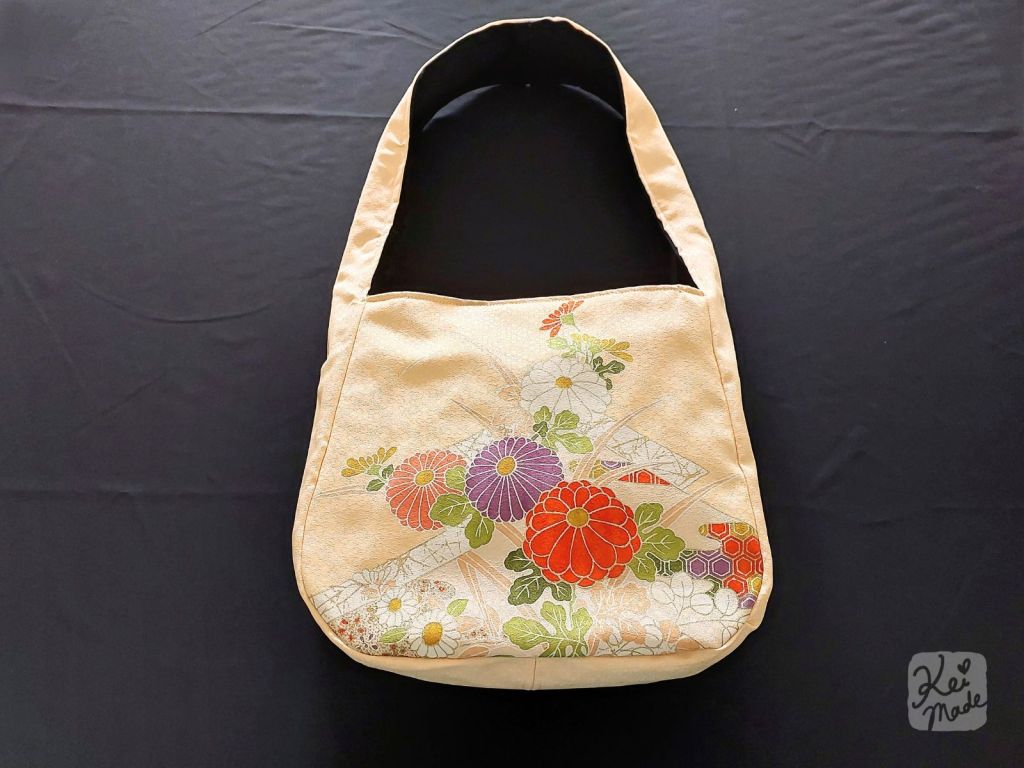
This kimono sleeve was 32cm from edge to edge. I wanted to utilise its whole width, so I undid all the stitching to isolate the sleeve’s outer fabric. The interfacing fabric was ironed the back of where I wanted the pattern to appear (bottom heavy with a bit of space above the top red flower), then cut. One sleeve made both front and back bag panels.
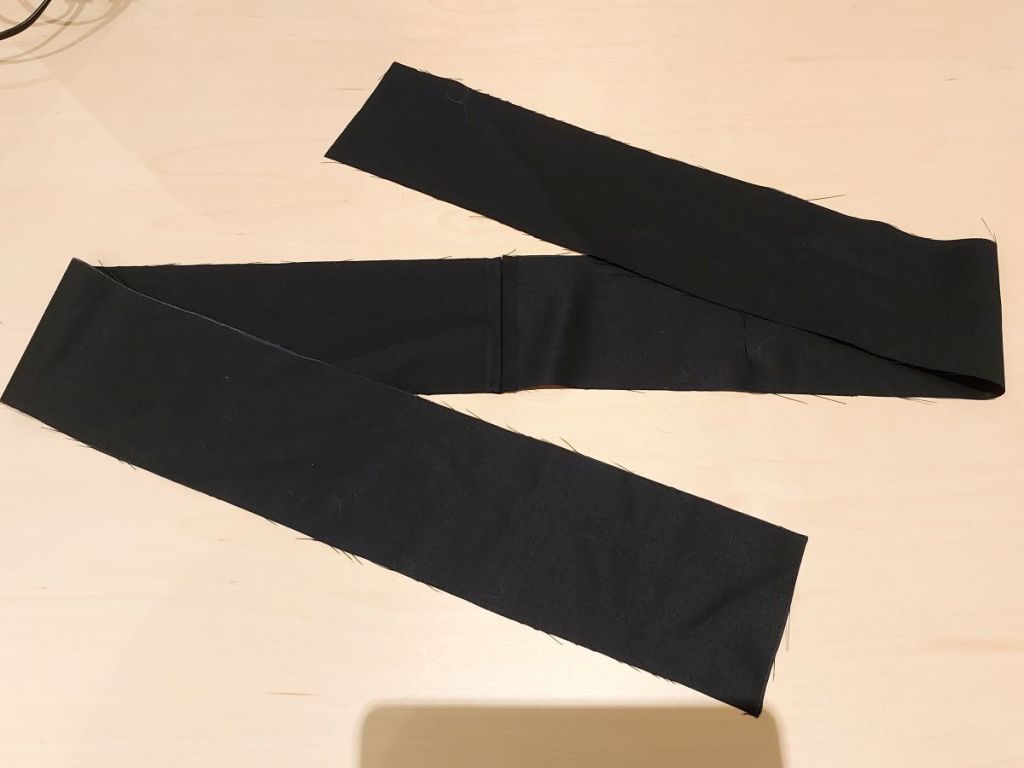
The handle pieces were cut from the leftover hem of the kimono from my panel skirt project. Avoiding all the coffee stains, I just had enough width to cut out the two rectangles. Using the cut interfacing fabric as the pattern template made it easier to find the spot to cut from.
Sewing steps
To sew the bag together, I used my very basic Singer ‘Simple’ sewing machine.
Firstly, the two long handle panels were sewn together, inside out along the short edge to make a long rectangular piece. The seams were flattened outwards, then sewn along them on each side to secure them.
The centre-join of the handle fabric was aligned to the centre-bottom of the bag face panel, and sewn upwards along all four quarters of the bag, leaving 1cm space at the top. Once sewn, slits were cut along the curves so it’s easier to turn right way out later.
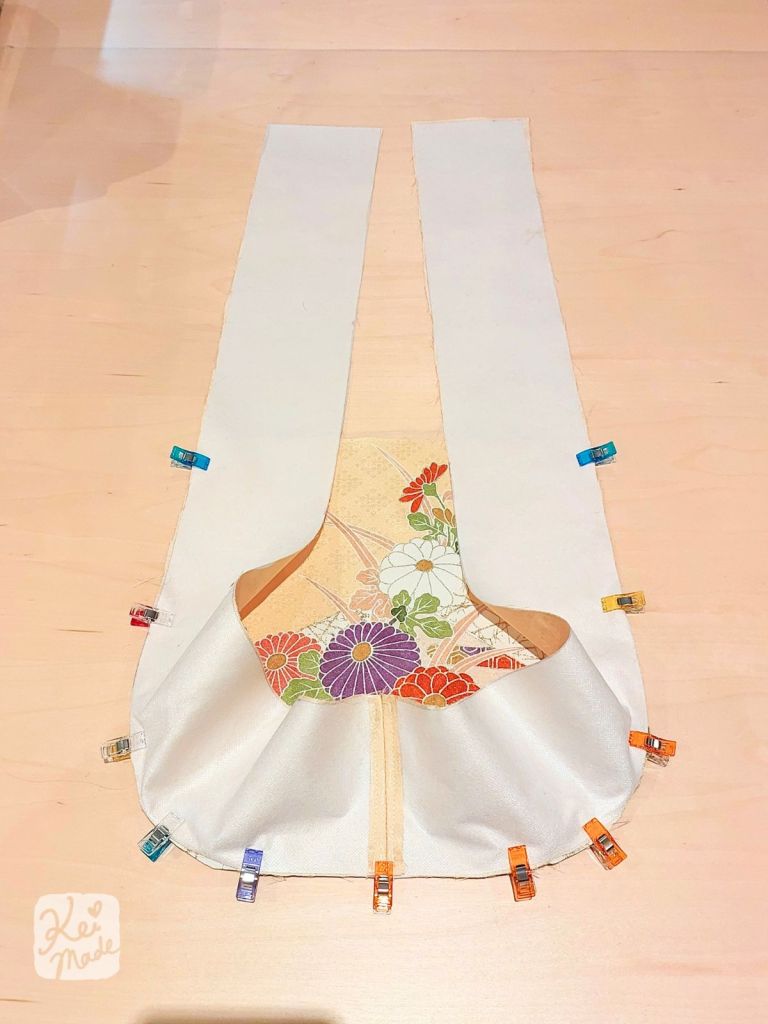
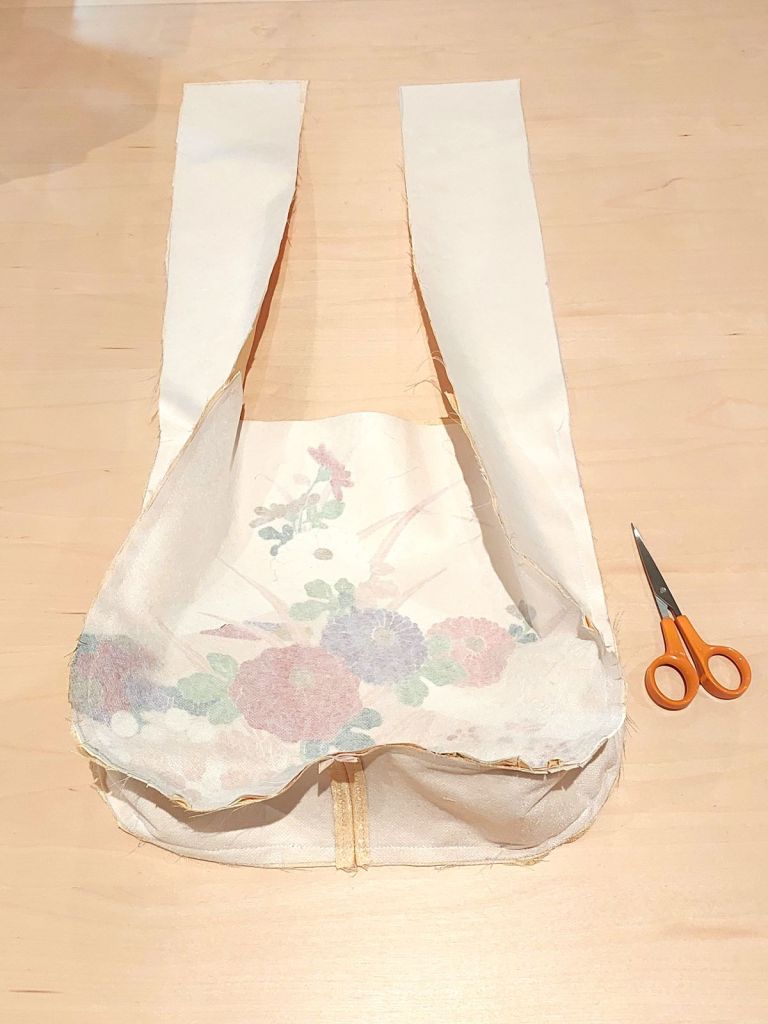

This was the trickiest point of this project; You need to make sure the handle lengths end up being even after sewing a straight edge onto a curved edge 8 times (outer fabric x4 + lining x4).
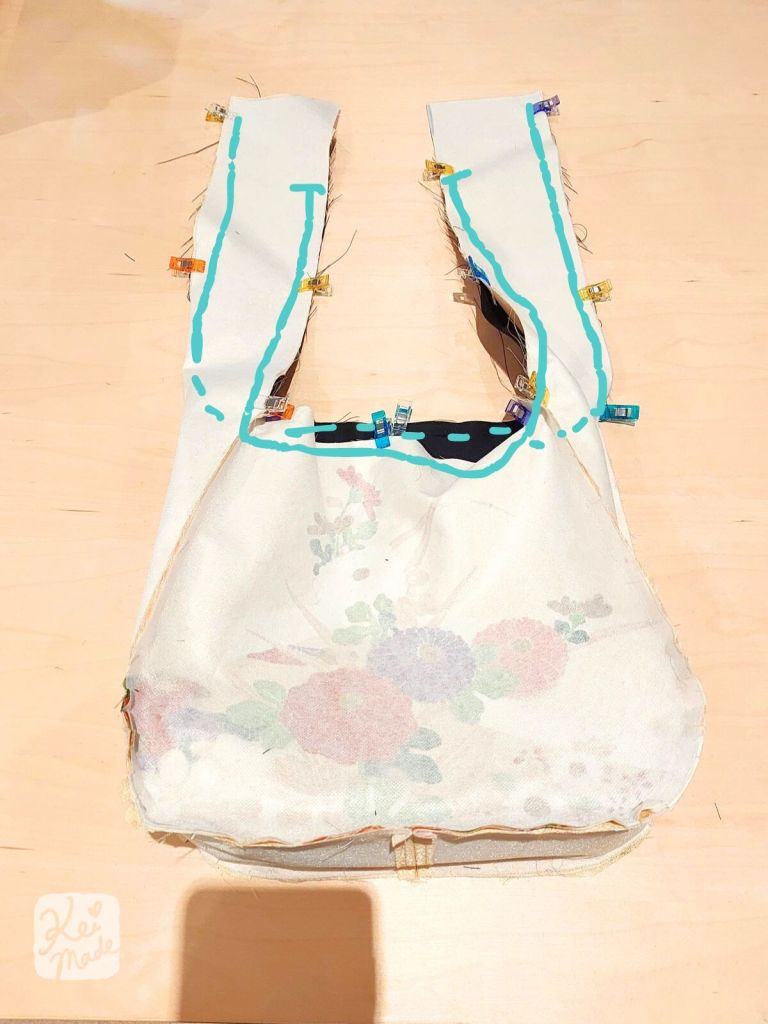
Sewing outwards from the bottom-centre upwards helps to be more even. It would’ve also helped to cut 5mm slits along the long fabric where it’ll meet the curved edges.
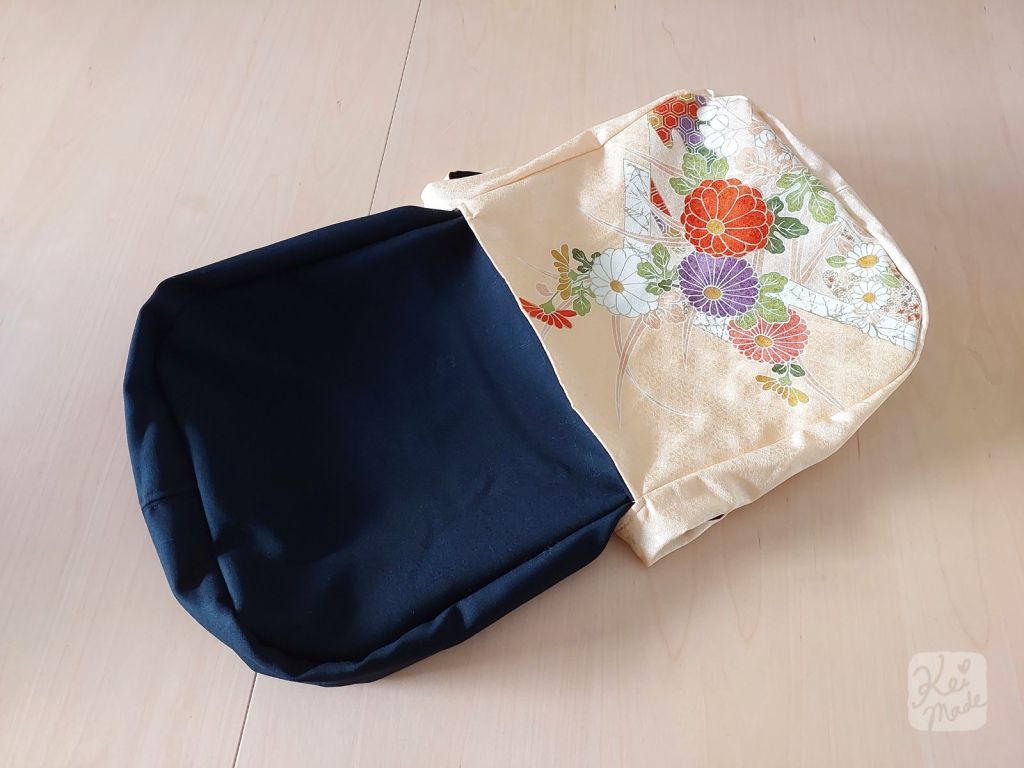
Do the same for the lining, but leave a gap ~12cm so the bag can be turned right way out later.

The lining was turned right way out and inserted into the outer fabric. The bag handle and mouth was stitched together, again from the middle towards the tip – stopping 10cm before the ends of the tip on one side. Then the bag was turned right way out, and the handle was joined together (sewn along the clips) by inverting it inside out using the gaps from prior.

Every part was turned right way out and ironed so it’ll be easier to sew a top stitch all the way around the handle and opening along both edges. The top stitch will also close off the gap used to sew the handle together (where the clip is).
The lining gap inside the bag was sewn closed, then finally, a top stitch was applied all around the bag’s top and handle; white thread and black bobbin was used so the threads don’t stand out.

Details
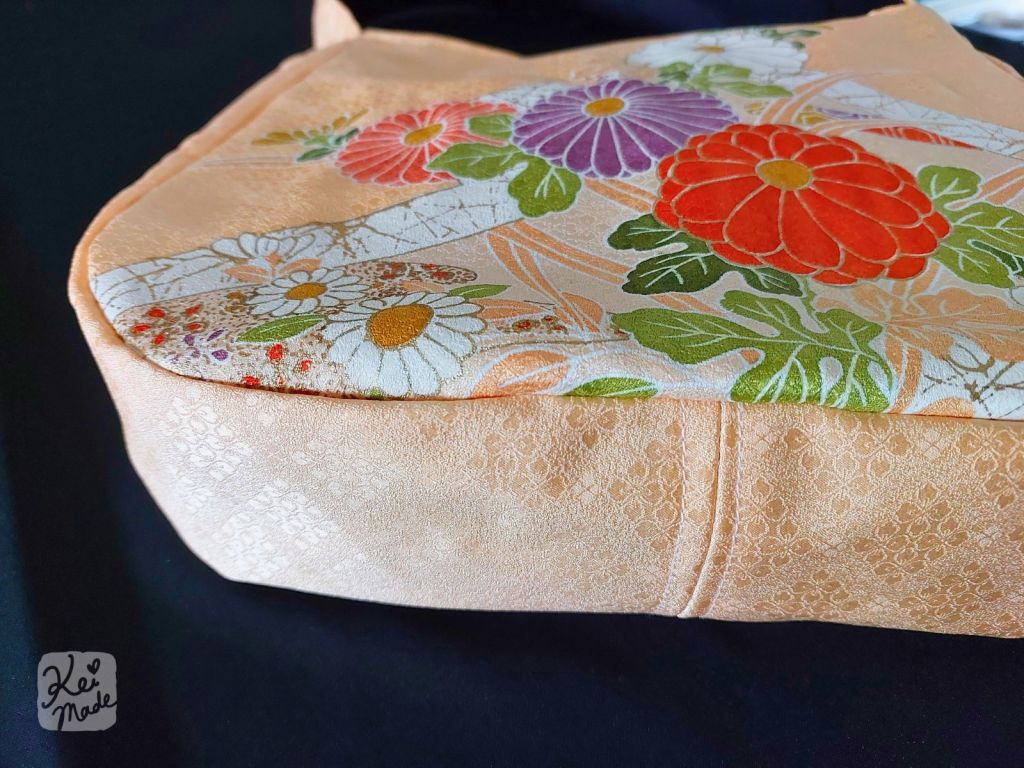

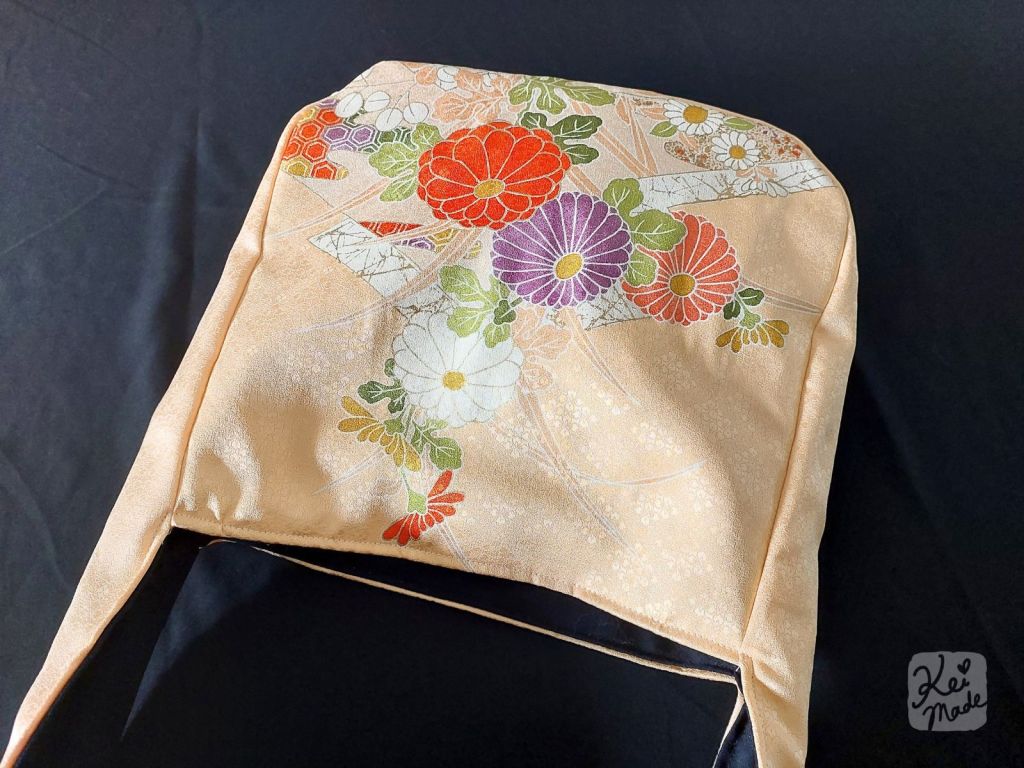
Gallery & Conclusion

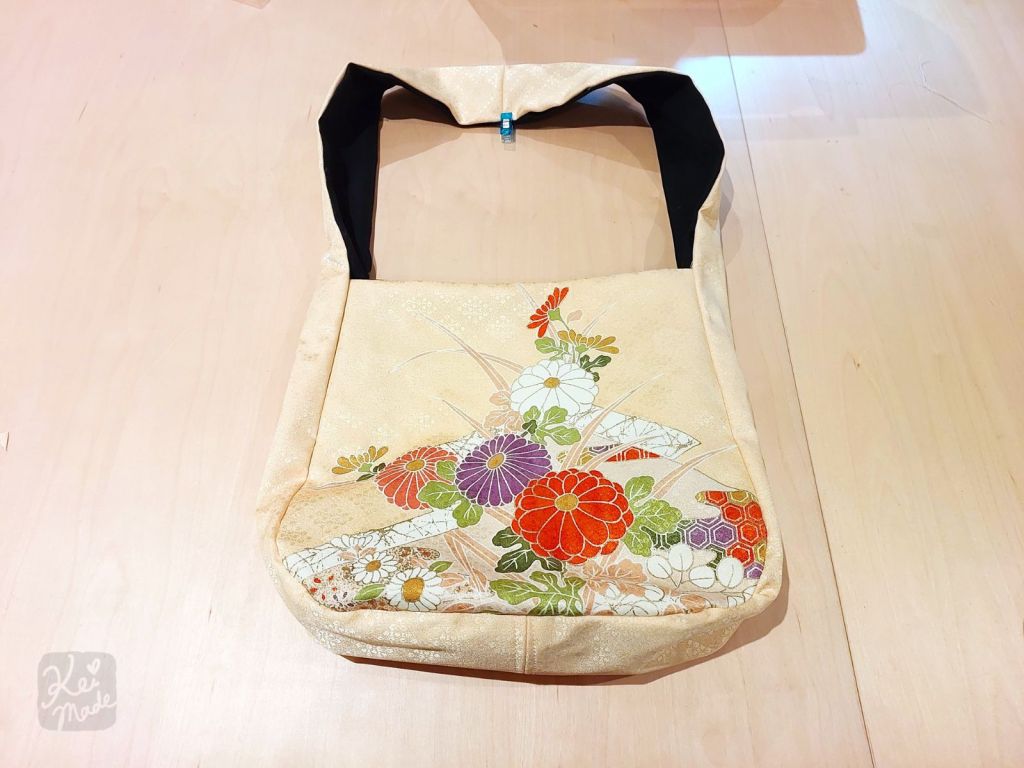
It actually looks really beautiful. And the handle length is perfect.


This bag was trickier to make than other bags I’ve made; It miraculously turned out really well, but I can think of easier patterns that would give a similar result. Like making the gusset and handle with separate fabric, and making the gusset via darts or box cut instead – like this one.
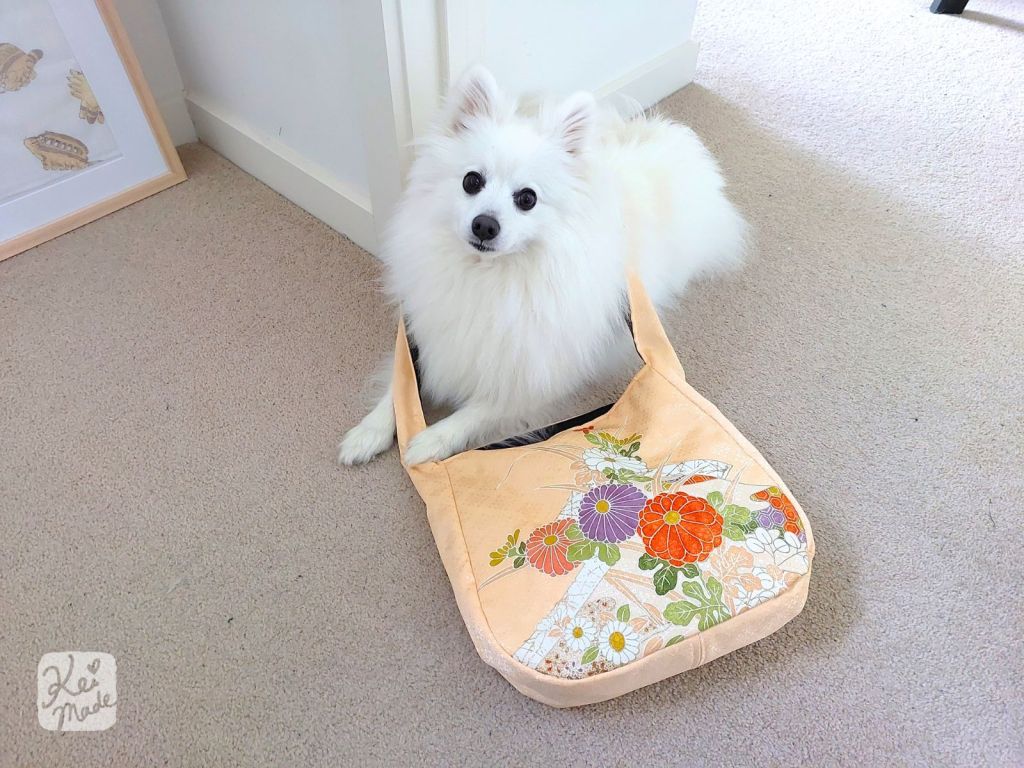
So here ends my upcycling projects with this kimono, that my mother once lent to her friend only to come back with coffee stains 30 years ago. I’m planning to gift it back to my mother on her upcoming birthday (hence a lot of photos before I let it go).


Comments (1)
Marziasays:
May 19, 2025 at 3:24 pmThank you for your tutorial. In comparison to some others I’ve been seeing recently is the most complete in terms of instructions; it makes it easier to execute it even tho the pattern might not be the most beginner friendly I saw online.