I like my kimonos and yukatas (summer cotton kimonos), but they can take up to an hour to put on. I’ve made some kimono alterations to make them easy to wear in the past, but here’s a summer kimono style popover dress that can simply be pulled on.


The pattern

This pattern was inspired by Nukumore’s cachecoeur dress and Sou Sou’s Yukata Mitate. I wanted something that is kimono-esque, easy to pop on, without sleeves getting in the way of eating and washing.
(I decided to leave the gathered frill hem out this time, and keep it as a knee length dress. )
Fabric & Serger Settings
I used poplin fabric for the first time; about 2m of 1.5m wide fabric was needed.
My BabyLock overlocker settings that worked well were:
- Length: 7
- Width: 3
- Differential feed: N
- Tension dial: Slightly +

The sewing
Bodice
The bodice’s diagonal cross-over edges were folded twice and sewn to make a double-folded seam.


To make it a lil’ easier to make a double-folded seam, the edge was first serged with an overlocker. Using the overlock stitch as a guide, the edge was folded and ironed along the serge, then folded and ironed again before sewing.
The bodice panels were placed on top of each other with an overlap that makes the total width 60cm, and sewn together (between the red clips) to keep in place.
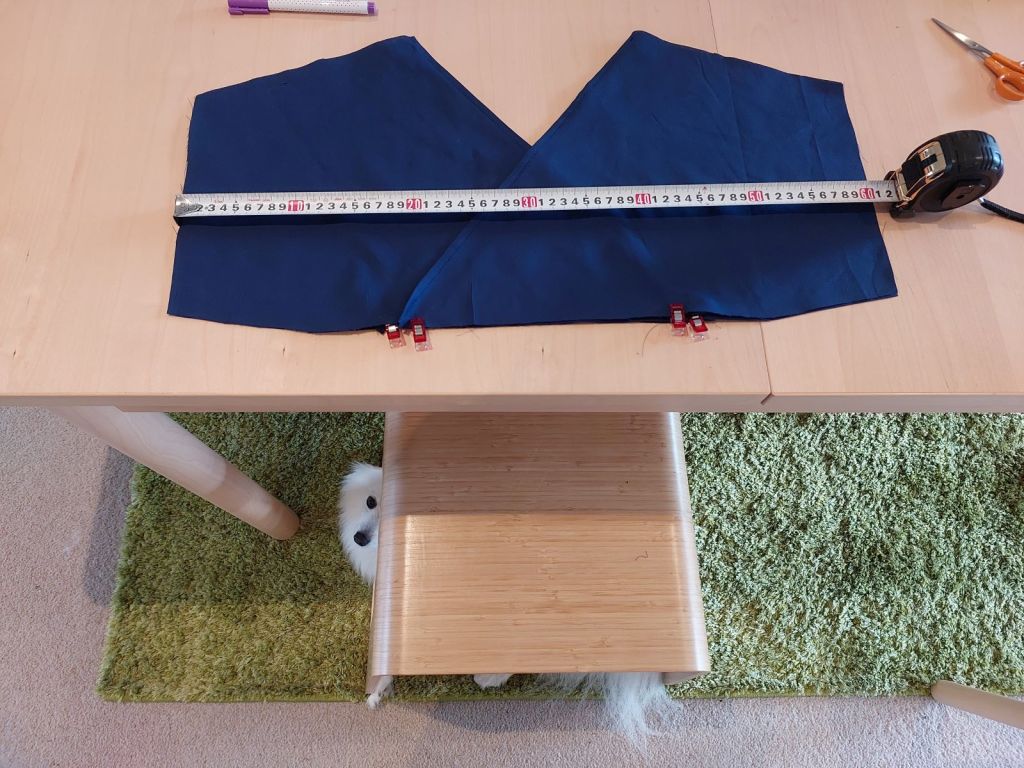
The front and back pieces were serged together along the shoulder line, inside out (between the red clips).

Sleeves
This is the direction I wanted to sew the sleeves on.
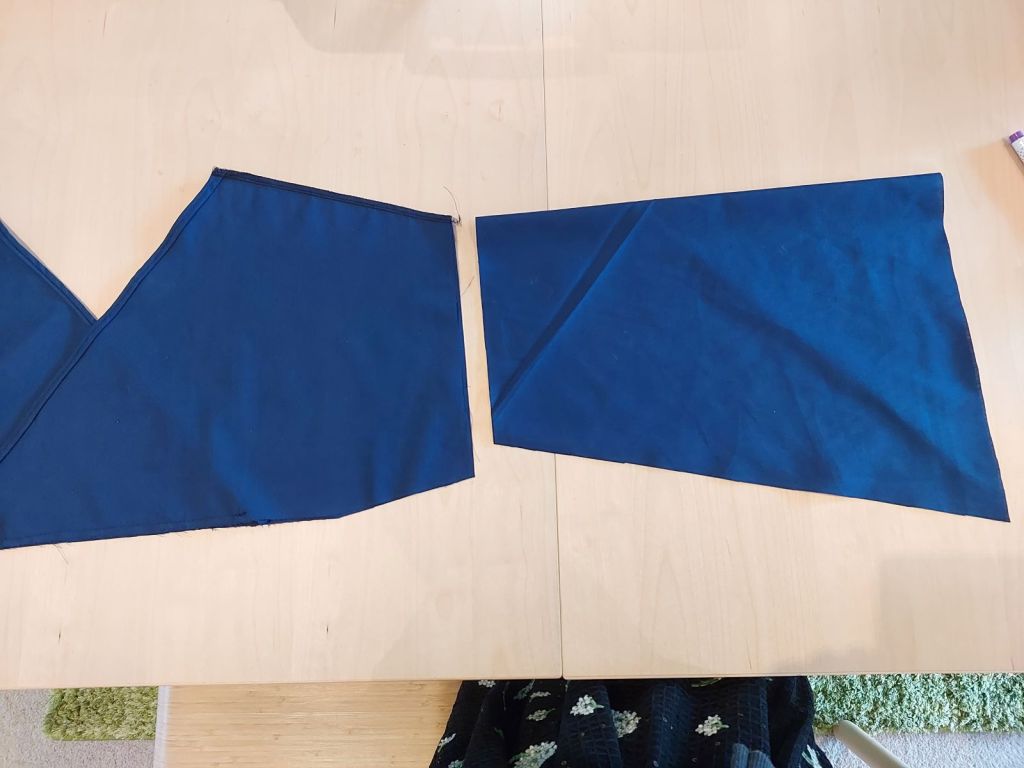
So the fabrics were opened up and clipped on inside out, and serged together (along the red clips).
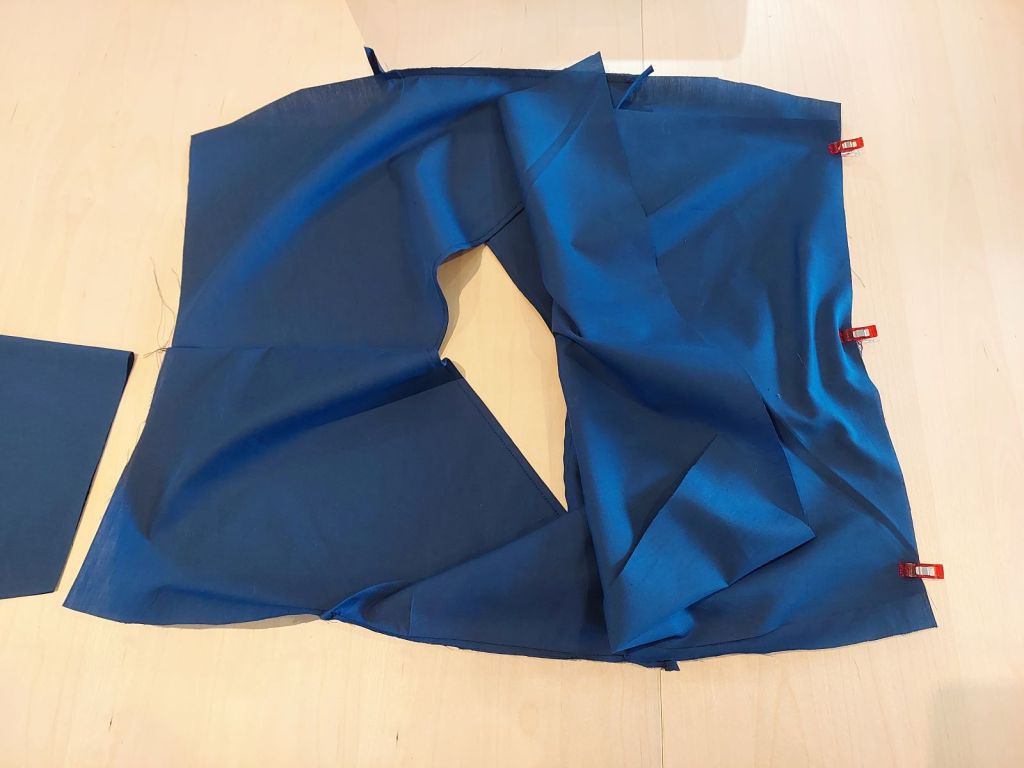
Then, inside out, the arms holes were sewn closed; from the cuffs to the armpits, to the end of the bodice (along the red clips).

A curve was made below the armpit while serging (purple pen mark above).

Same was done to attach the other sleeve.
Waistband
The waistband material was cut out to match the width of the completed bodice x2 + 2cm long, by 12cm tall.
The waistband material was turned into a double elastic casing. (See how to make elastic casing)

The waistband was serged together with the bodice, inside out (along the red clips).

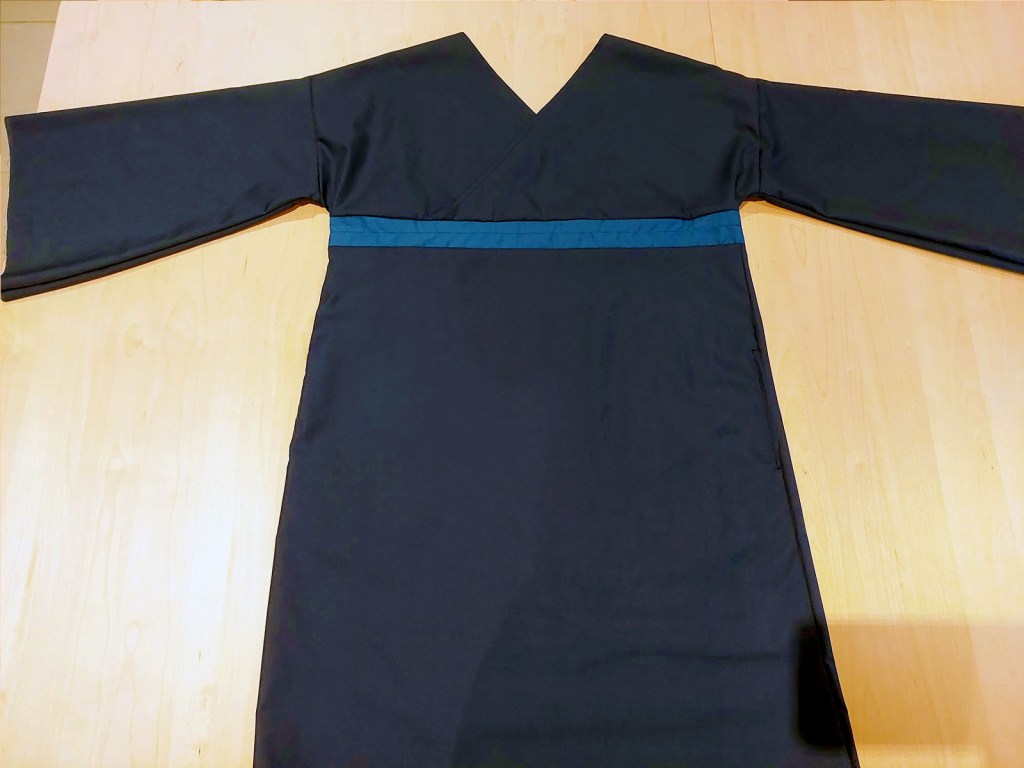
And the top of the dress was done!

Skirt
The top/waistband width was measured to match up the top width of the skirt fabric.

The top’s width was about 52cm, so the skirt fabric was cut so the top measures 54cm.

The pockets were sewn onto the skirt. (See how to sew side in-seam pockets)
Then, the top and skirt were serged together, inside out (along the red clips).


Pulling the top out of the skirt, right way out, the dress was coming into shape.
Elastic
8mm wide elastic (85cm in length) was inserted into the waistband casing and knotted.

The second casing was left without elastic for now – until the fit was confirmed.
Turning the dress right way out, it was almost complete.

Hem & Cuffs
The cuff of the sleeves were overlocked with the vision to fold and sew it in by 5cm tbc.
The hem was overlcoked with a narrow them (stitch width 3mm, length 2mm) to try it on first and ponder about adding the frilled bottom tier.

After trying it on, I decided to keep the length as is without adding a bottom skirt tier, and to fold and sew the sleeves in by 5cm.

Heat transfer vinyl
To make it look a little more like a kimono, I’m thinking of decorating the dress a little with heat transfer vinyl. My ideas at the moment are adding some camellia or wisteria flowers.

We’ll see where my HTV project goes!


Leave a Reply