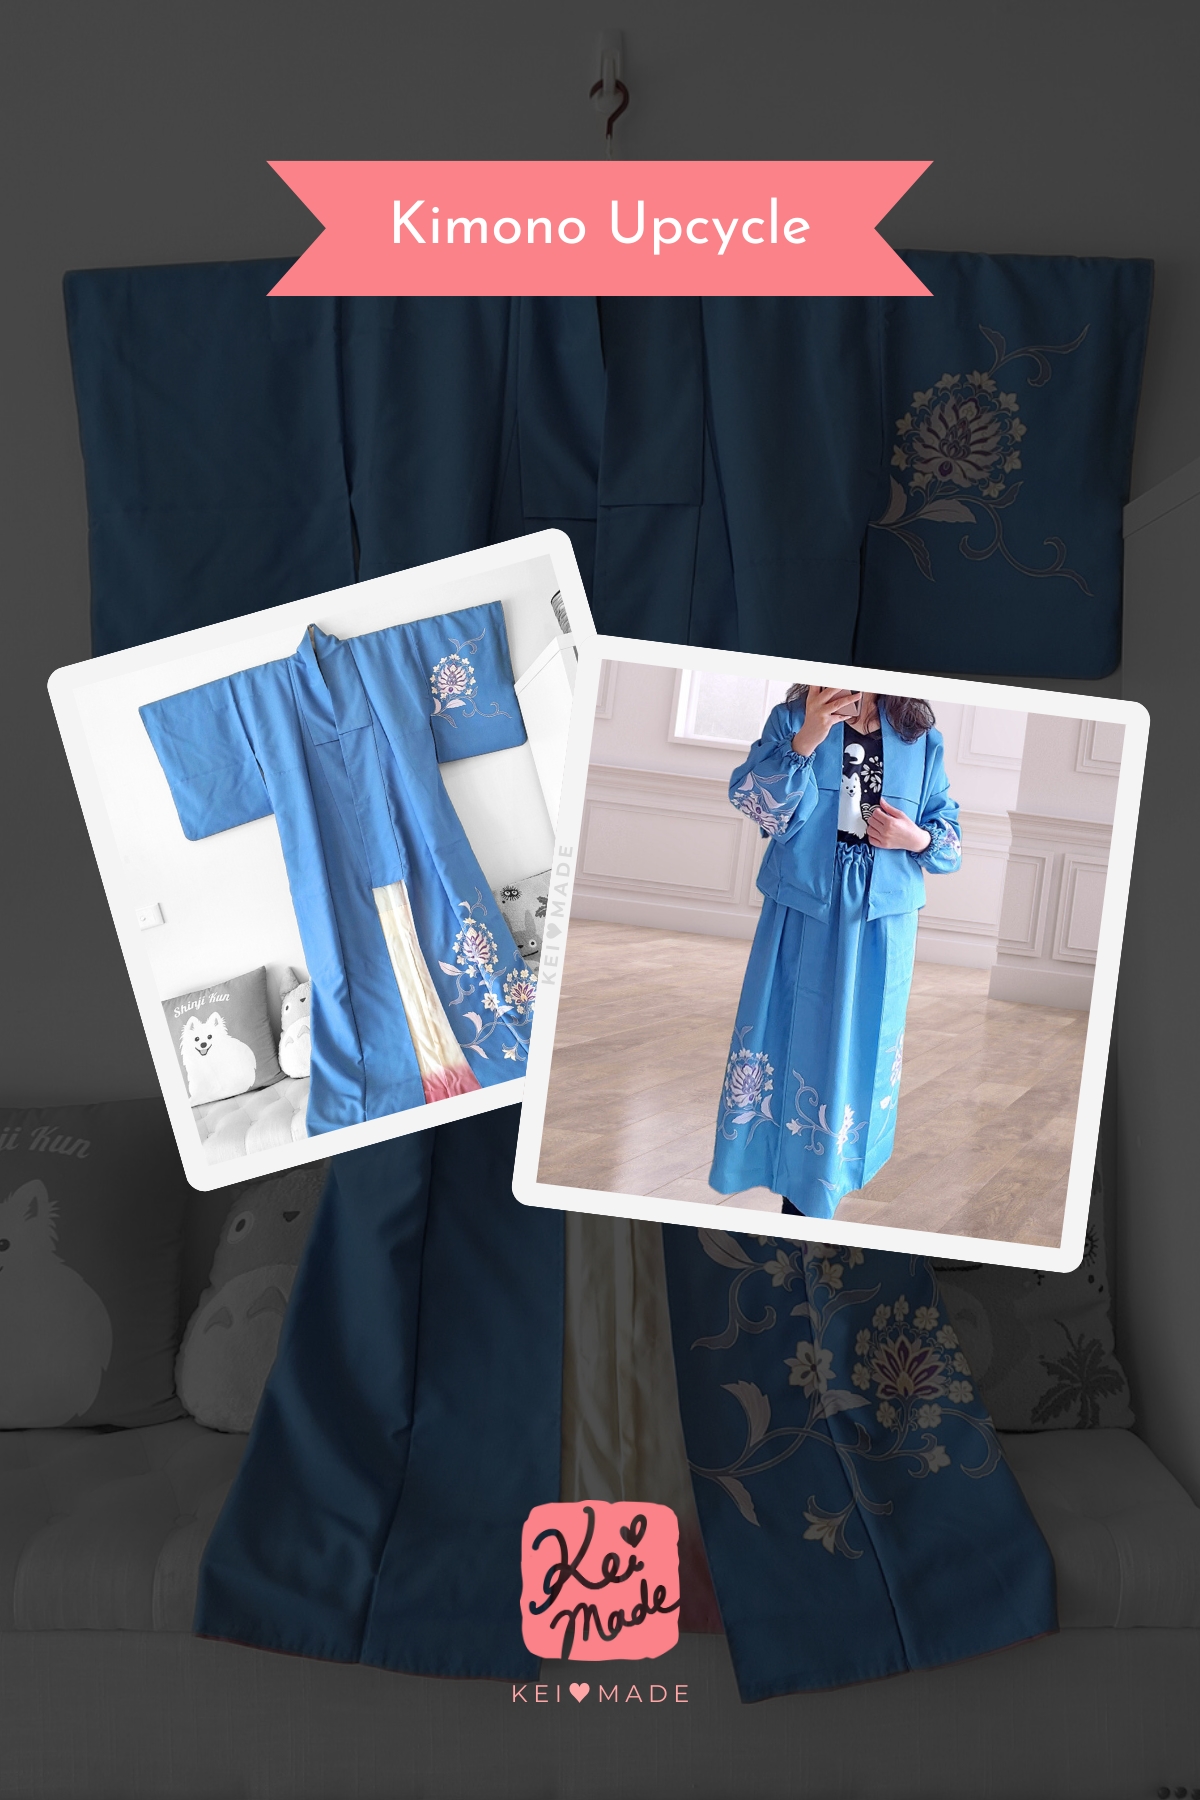

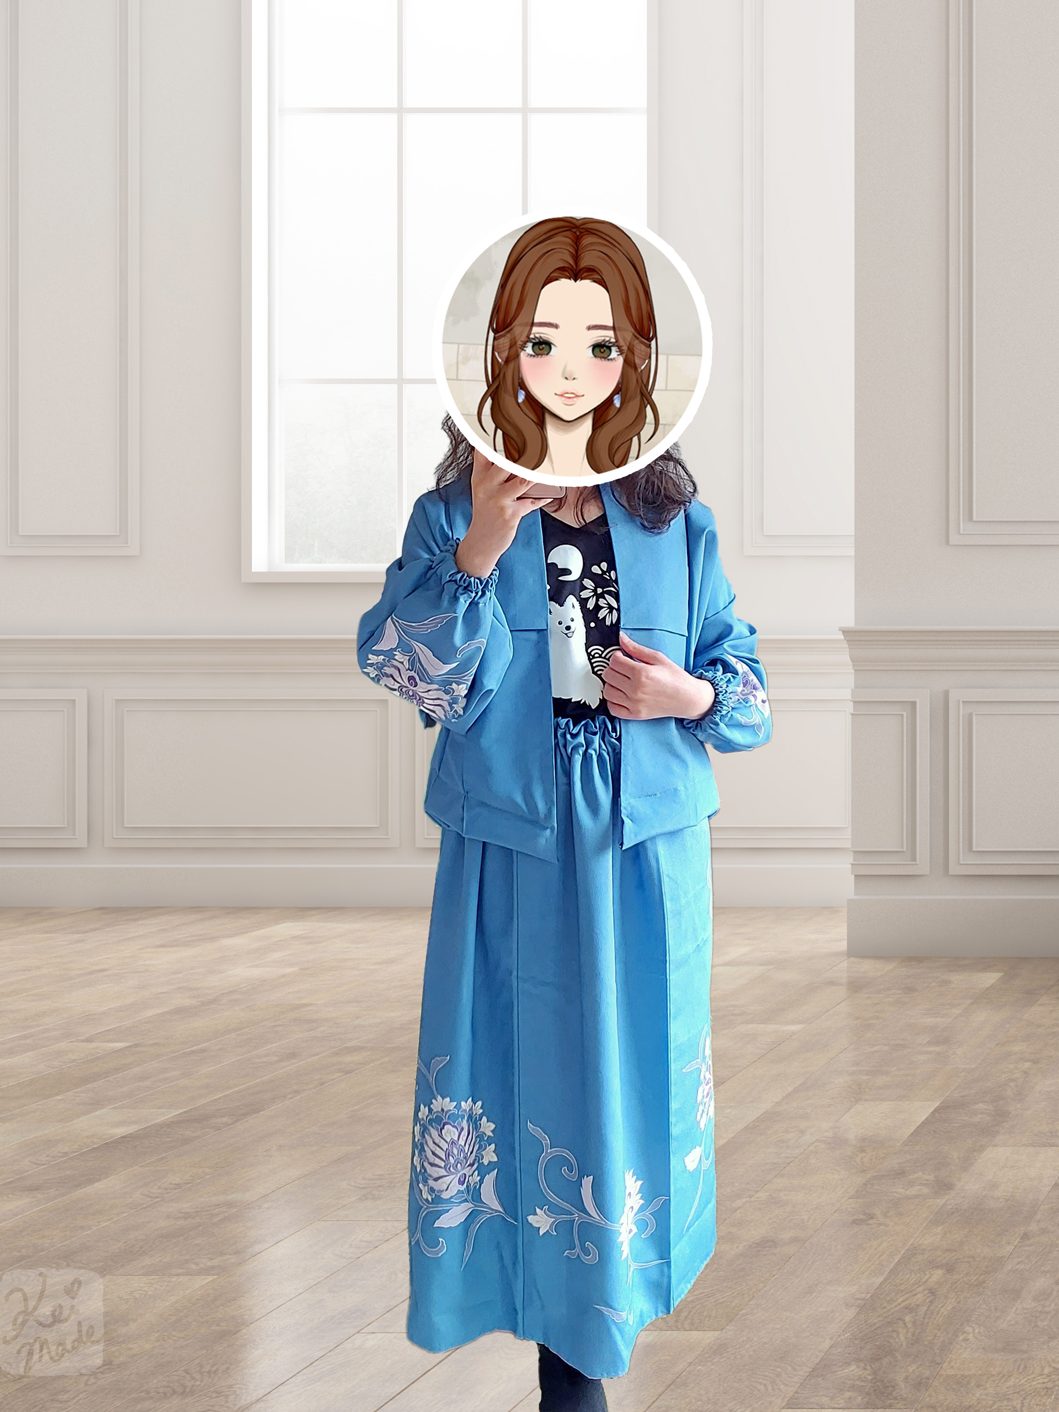
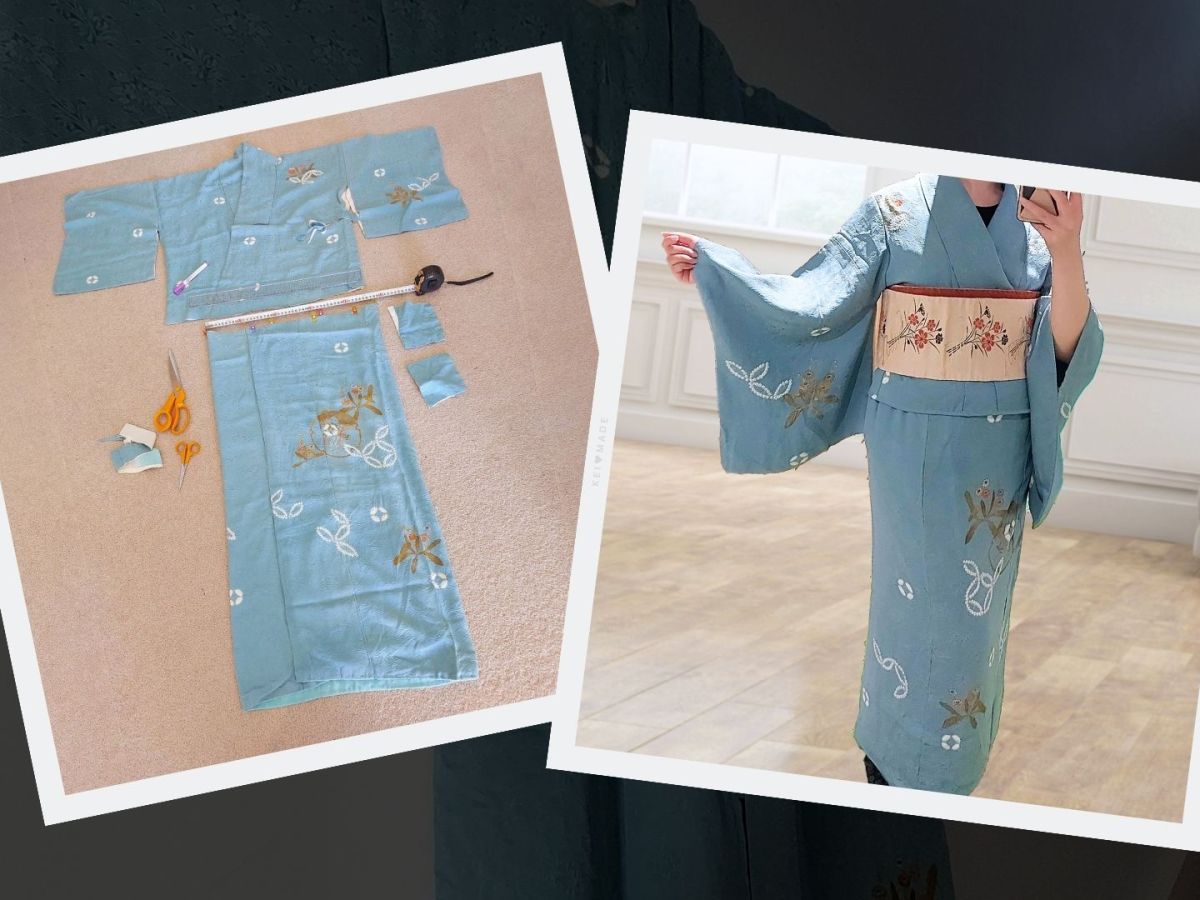
I was going to transform this kimono into a two-piece “nibushiki” kimono for easy wearing, but along the way I decided to turn it into a two-piece suit.
On this page:
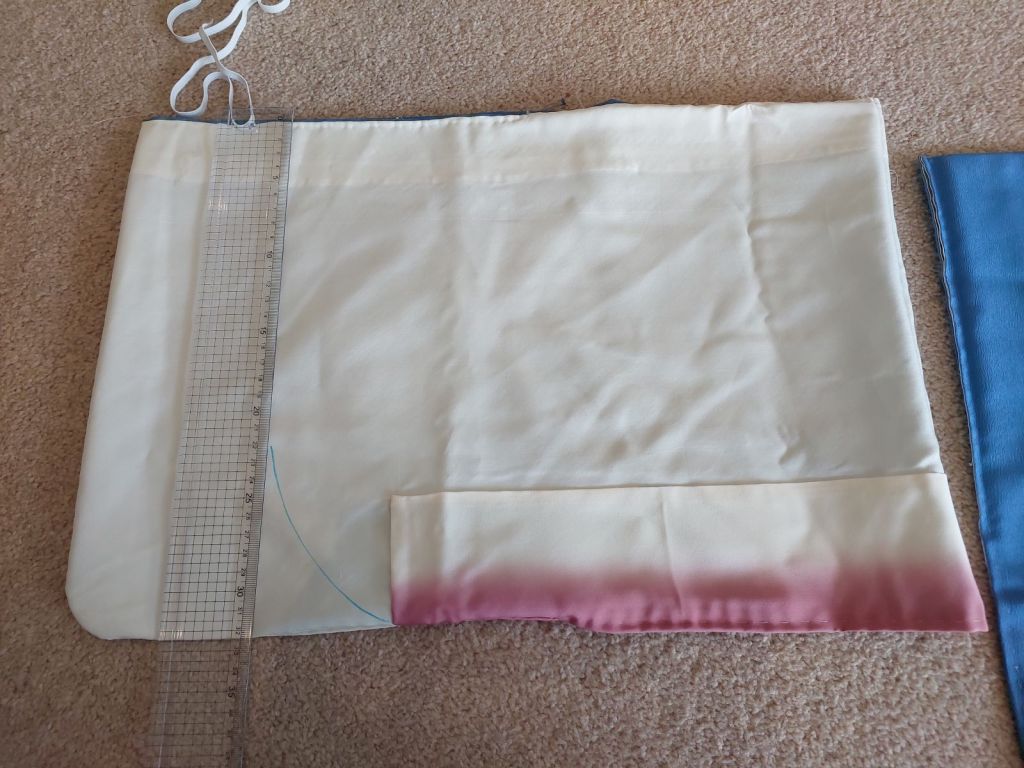
Making the skirt
I wanted the skirt’s final length to be about 83cm.
To keep things simple, I:
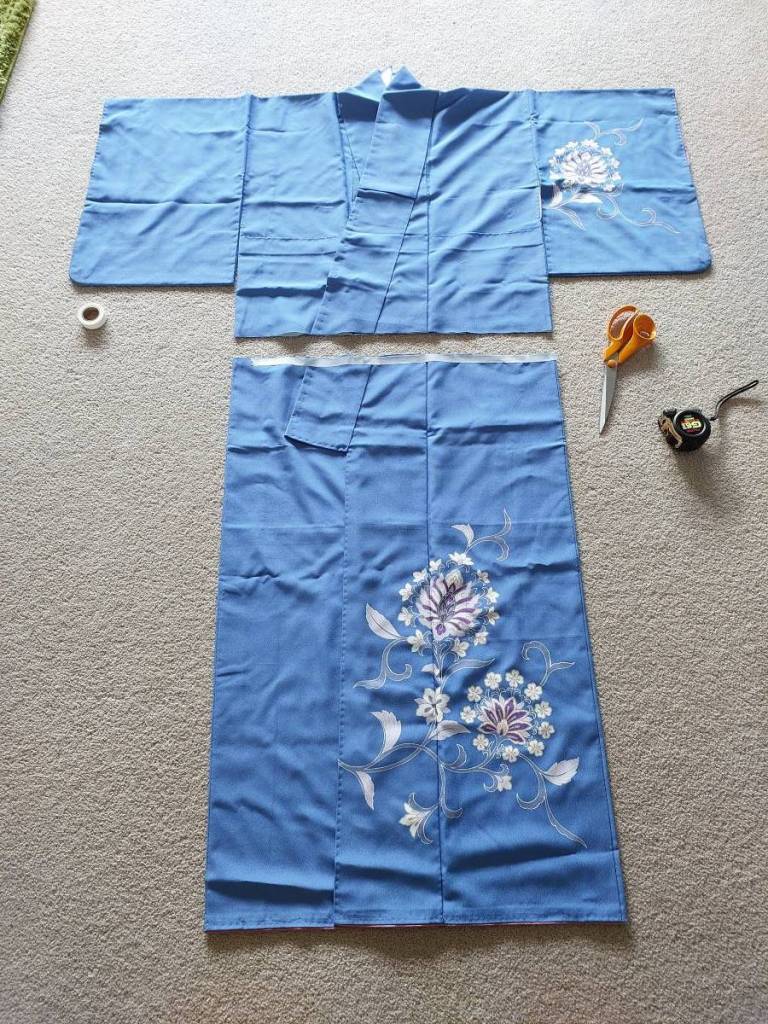
- Cut the kimono, while it’s folded, 90cm from the hem.
- Took out the extended collar by undoing the existing stitches.
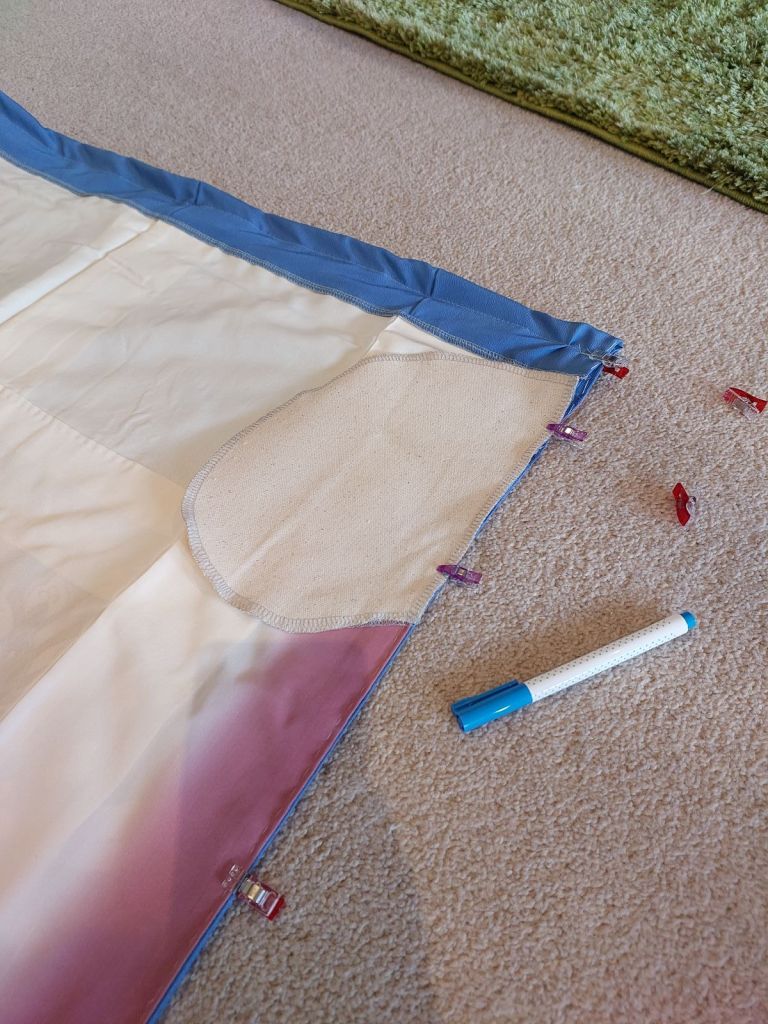
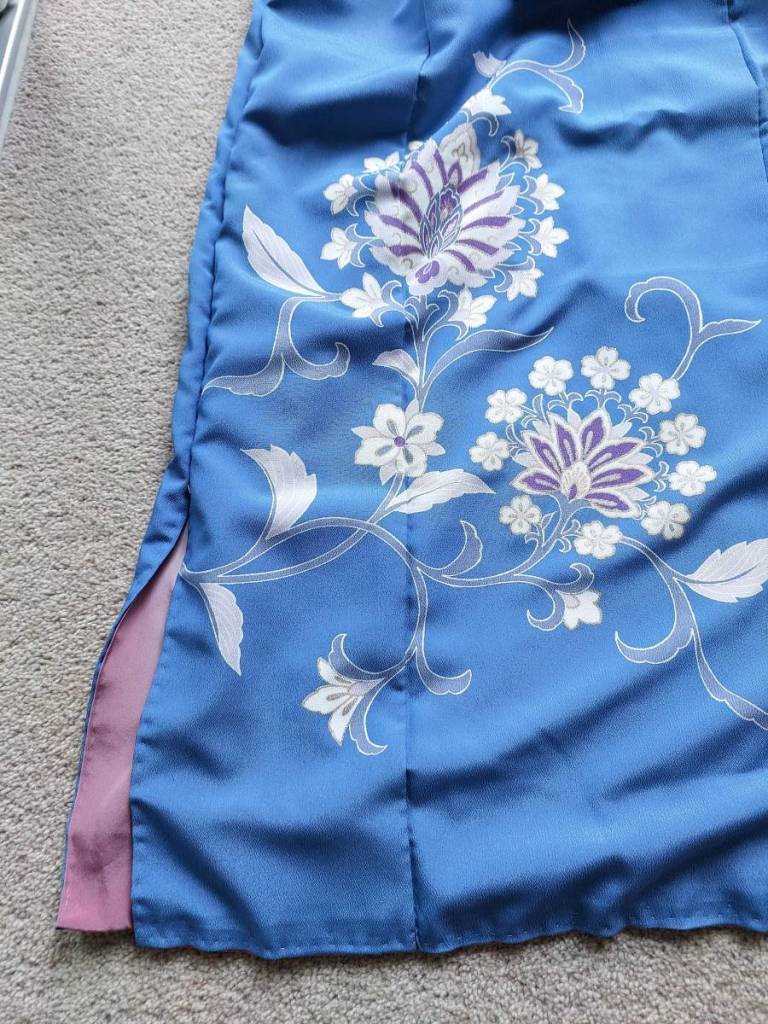
- Added a pocket, just on the open side of the skirt. (See how to sew in-seam pockets)
- Sewed down from top to bottom of the open end to close the skirt.
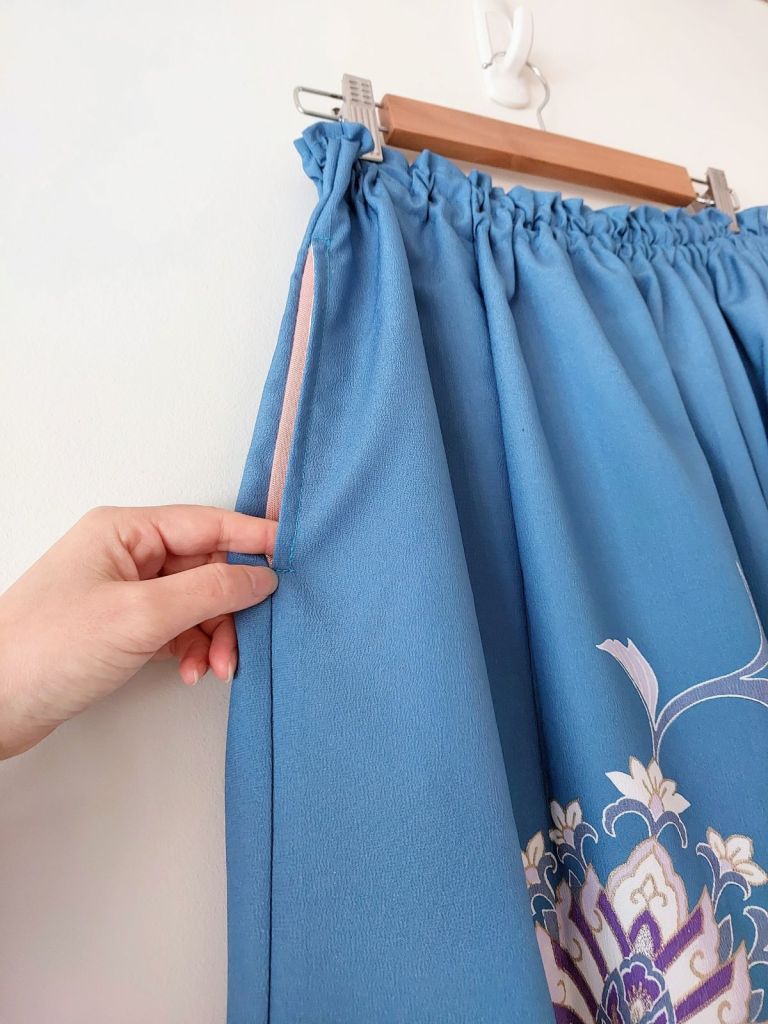
I left 30cm open as a slit for ease of walking. - Folded the top over so the skirt will be 83cm long, sewed around the top twice, and inserted 70cm elastic in between the stitches.


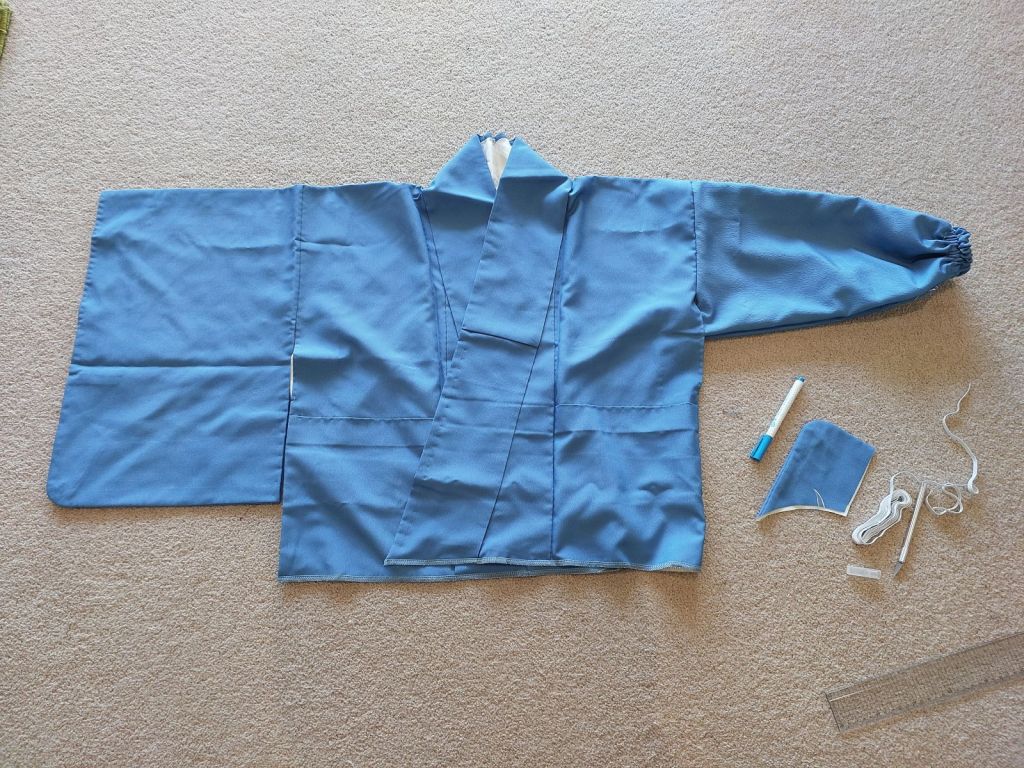
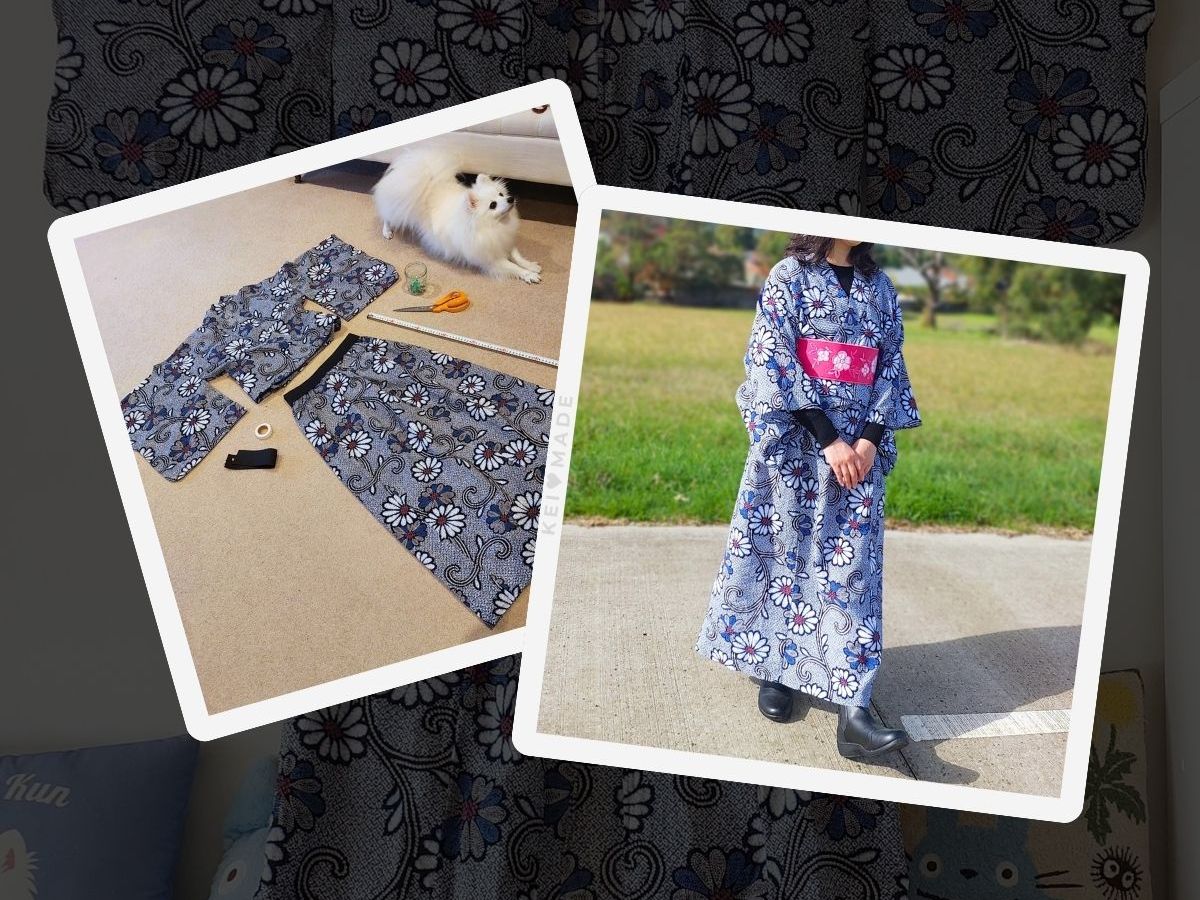
Making the jacket
I wanted the sleeves to be full length, so I ended up rotating the sleeves.
I undid the stitches that connects the sleeves to the bodice, turned the sleeve around 90degrees, and cut a boat shape so the sleeve would be tapered. I added elastic at the cuffs to make them extra practical.
I hemmed the jacket, then made a dart at the hem on both sides to give it a fitted shape.
After the wash

The lining shrunk more than the outer fabric, forming pouches everywhere… :'(
I wasn’t expecting this because this kimono is made of synthetic fabric.
The lining of kimonos are sewed with the outer fabric all the way down and around. So when the lining shrunk more than the outer fabric, it pulled in the outer fabric everywhere, making ‘fukuro’ or pouches.
The jacket still looked alright, but the skirt needed to be remade.
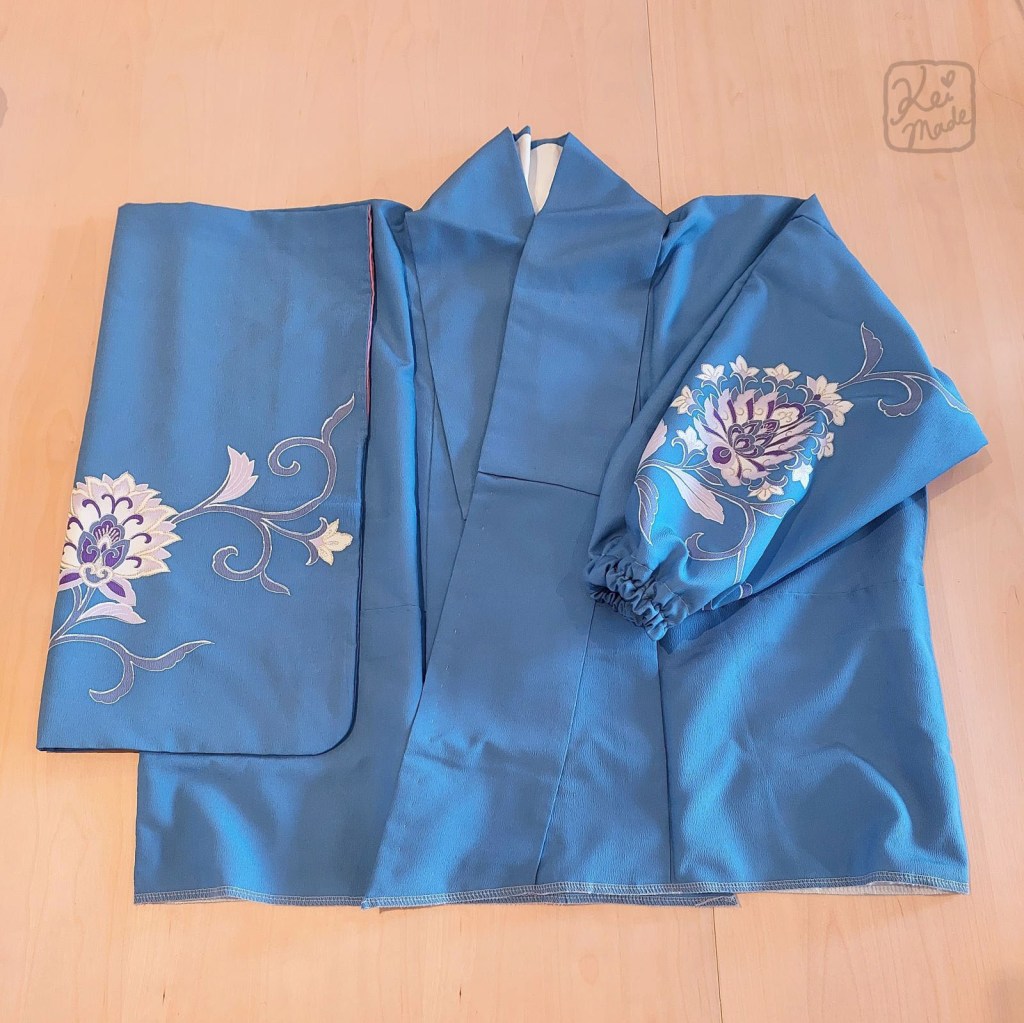
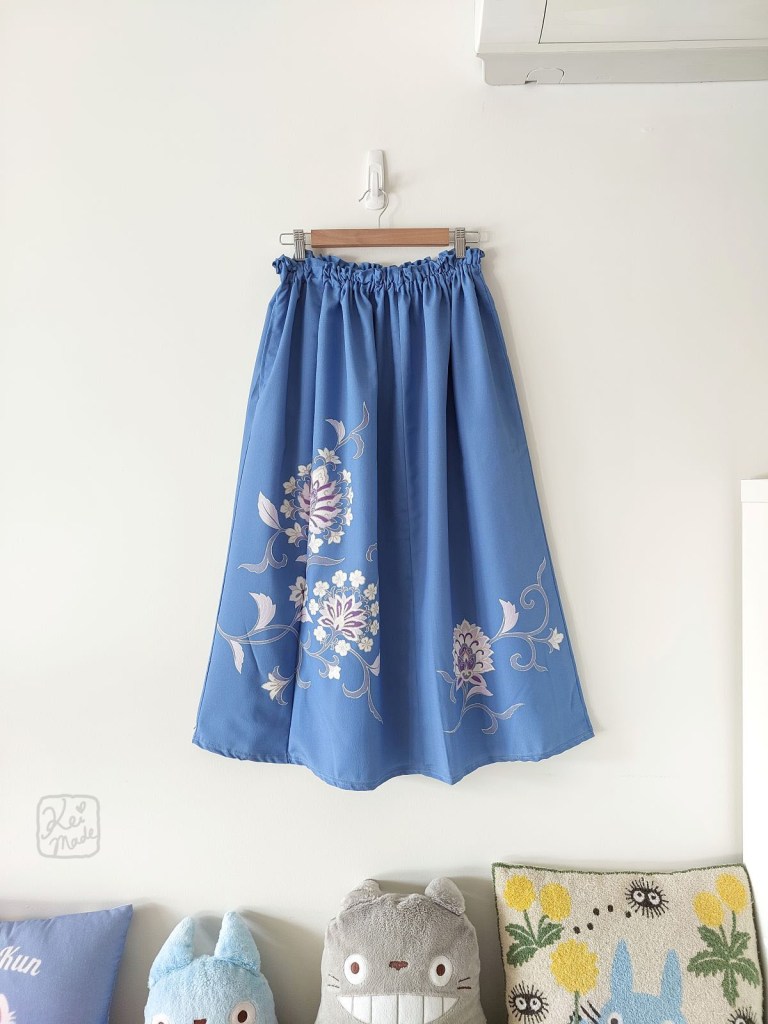
Remaking the skirt
At least I wore it out a few times before this happened. I still gave myself a few weeks before I undid all the stitches, including the original kimono maker’s stitches.
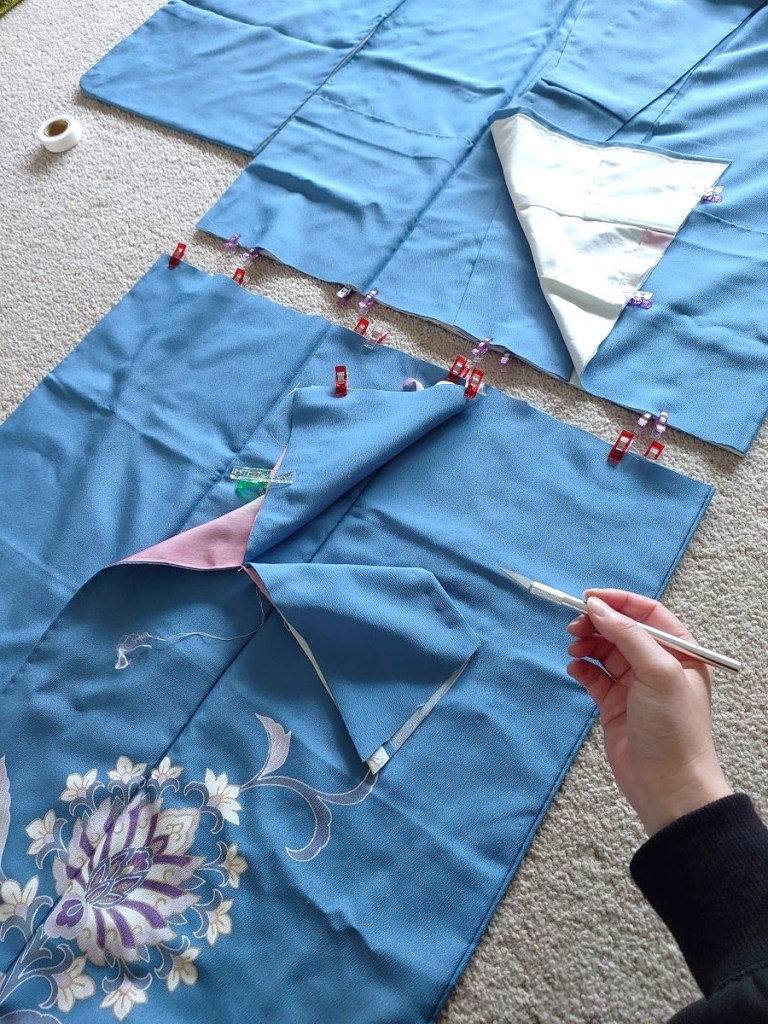
I took all stitches out of the kimono skirt, except for one vertical stitch that aligned the kimono pattern between two panels (the one you can see above).
I wanted to keep the lining and sew it as a separate skirt before attaching it to the outer skirt (around the top only so avoid the ‘fukuro’), but the lining fabric was not one piece along each panel.
Each separated outer skirt panel was reattached again; since I undid all the wide overlaps of the original kimono, I gained 20cm of width, no longer requiring a slit for ease of walking.
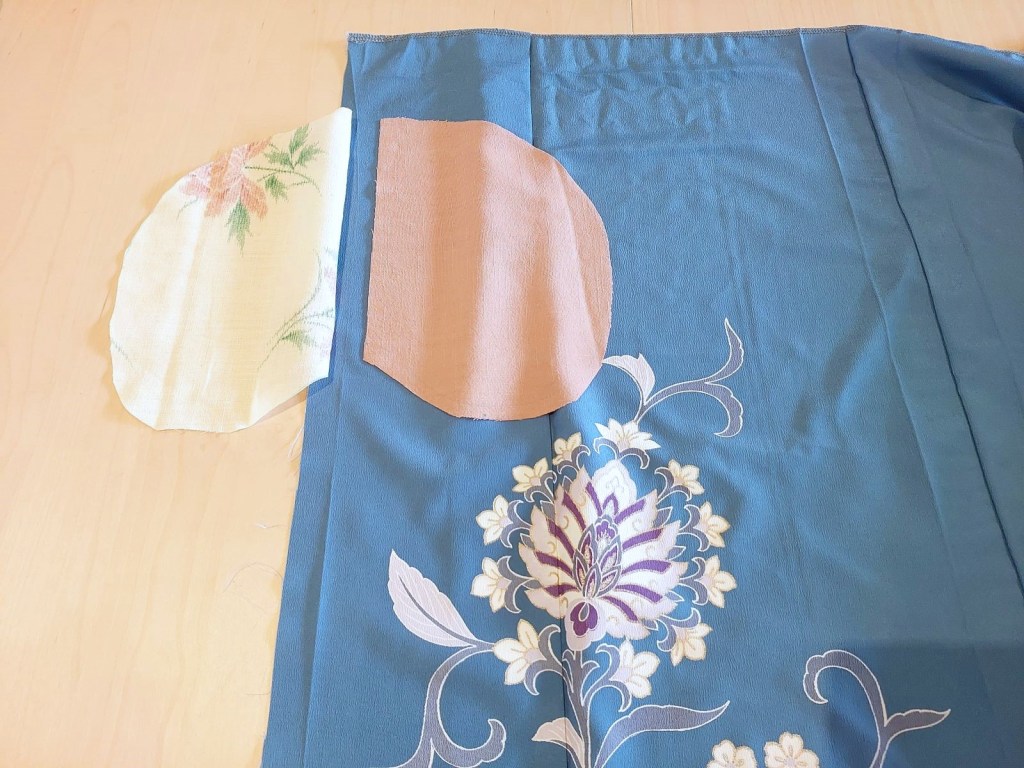

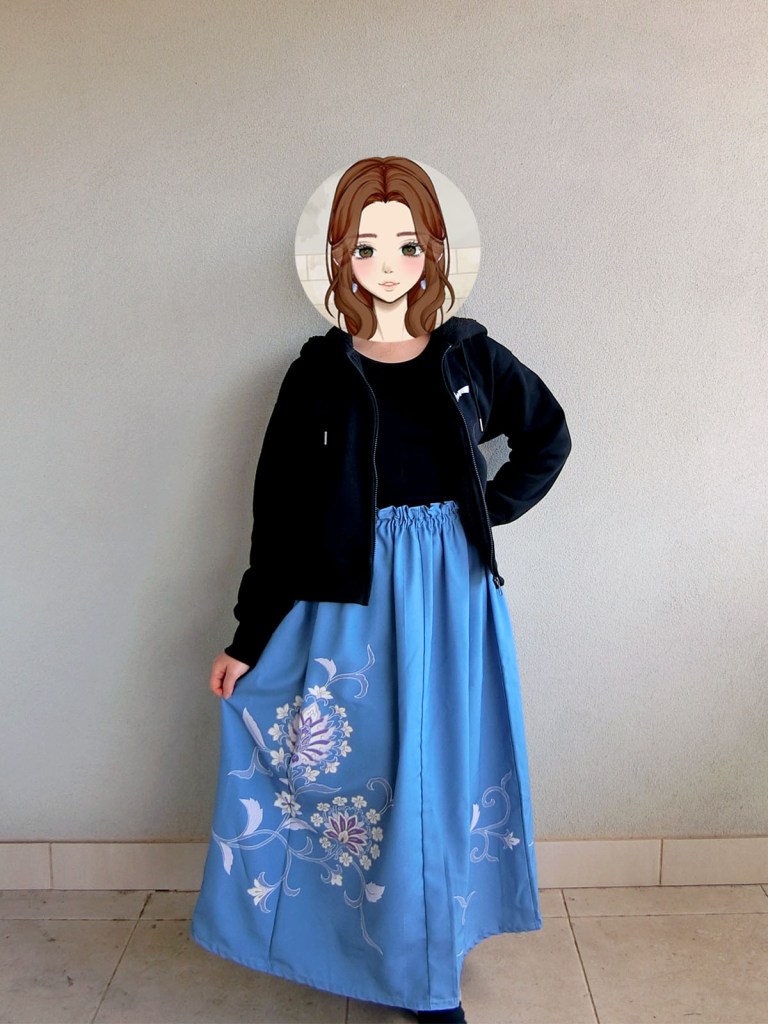
Looks like a pretty gathered skirt now, with an accent pocket.
Extra: Babylock settings
These Baby Lock sewing machine settings were used to overlock and cover stitch the kimono in this project.
Overlock settings
- Length (L) 3
- Width (W) 7
- Differential feed (N) N
- Tension dial Max + to get the loopers close to the edge.
Cover stitch settings
- Length (L) 3
- Chain needle tension (CNt) 6
- Chain looper tension (CLt) 0


Leave a Reply